Key Takeaways
- The KORD 6P67, an assault rifle, complements the RPKM's sustained fire by offering precision at both close and long ranges, ideal for quickly clearing newly exposed adaptive sightlines after destruction events or holding key lanes.
- The PW5A3 SMG provides rapid close-quarters lethality, covering the RPKM's slower handling in tight interiors or during sudden encounters, ensuring squad synergy in objective pushes.
- The UMG-40 SMG extends the RPKM's mid-range dominance with its accurate, lower rate-of-fire profile, perfect for maintaining suppression and engaging targets across evolving levolution landscapes where precision matters.
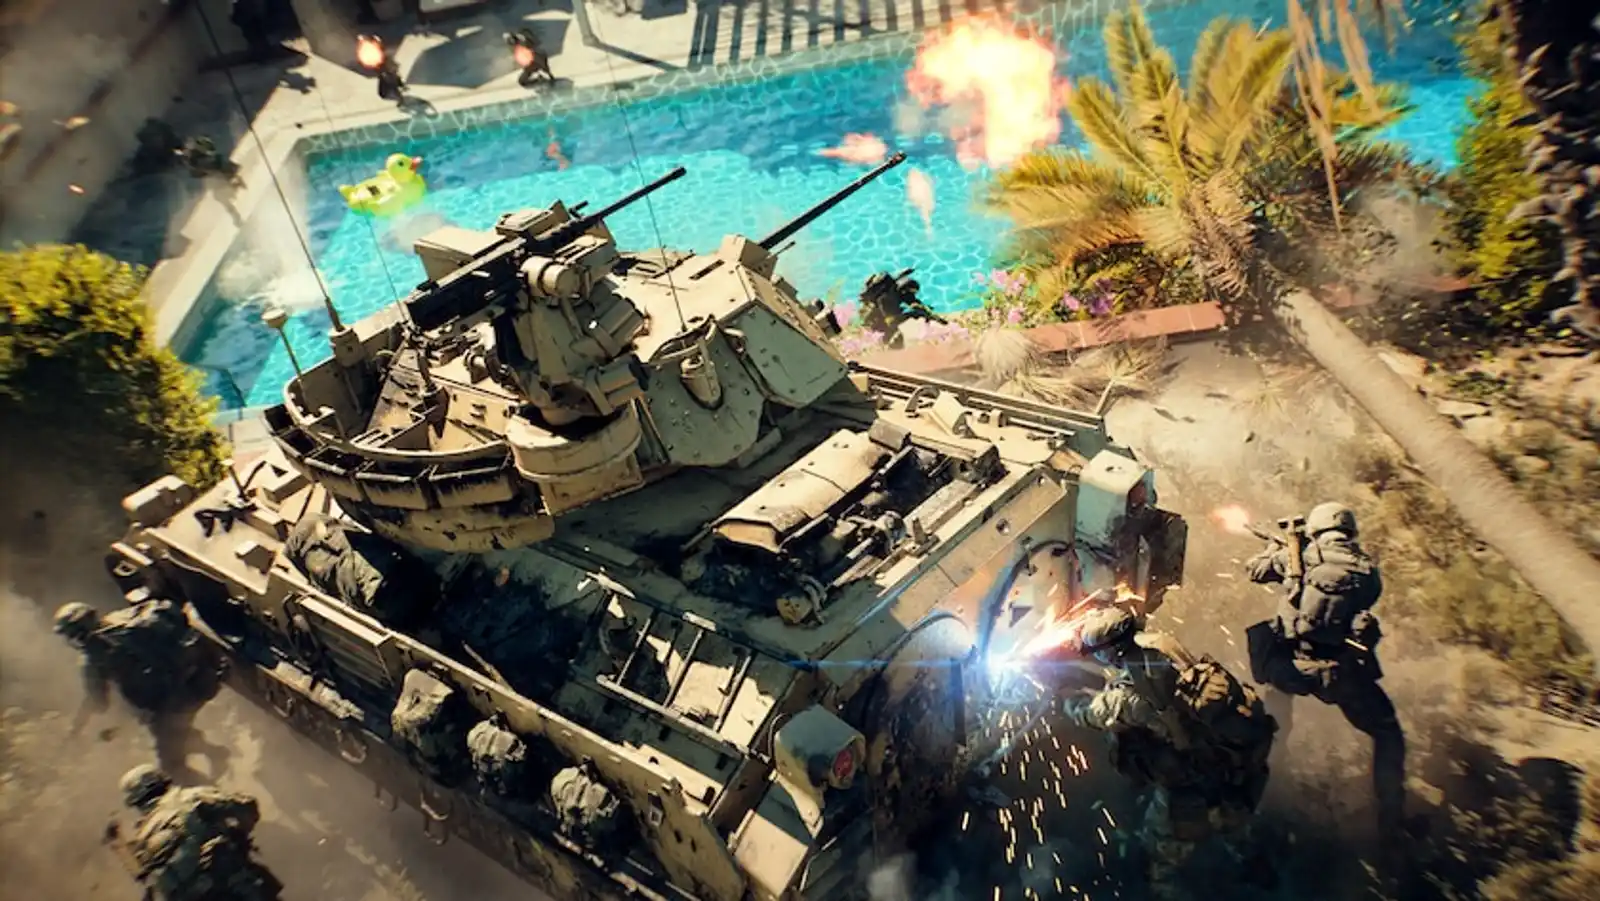
In Battlefield 6 Big Maps, the RPKM Light Machine Gun holds a significant position in the current meta, known for its suppressive capabilities and sustained damage output. However, its inherent limitations in mobility and aim-down-sight speed necessitate strategic weapon pairing to maximize its potential. Proper weapon selection is crucial for players aiming to adapt to the dynamic Big Map environments, where engagement distances constantly shift due to destruction and levolution events. This article will guide readers through the optimal weapon combinations that complement the RPKM, enhancing its strengths and mitigating its weaknesses across various combat scenarios. Understanding these strategic advantages allows players to maintain dominance, contribute effectively to squad synergy, and adapt to evolving adaptive sightlines, ultimately leading to more consistent performance on the battlefield. Prepare to unlock the full potential of your RPKM loadout and master every engagement.
Overview of the RPKM
The RPKM, an original Light Support Weapon, functions as a formidable LMG in Battlefield 6 Big Maps, primarily excelling in mid-range suppressive fire. Its performance characteristics include a large magazine capacity and consistent damage output, making it effective for holding lane control and impacting suppression dynamics. This weapon's strength lies in its ability to sustain fire, pinning down enemies and allowing teammates to advance or reposition, crucial for squad synergy. The RPKM's configurable nature permits some adaptability, yet its primary weakness remains its slower handling, mobility, and aim-down-sight time, which can be detrimental in rapid close-quarters engagements or when quickly reacting to adaptive sightline changes. Specific weapon pairings are essential to enhance the RPKM's performance by covering these limitations. A faster-handling secondary weapon can provide the agility needed for clearing tight interiors, while a more precise option might exploit newly created sightlines from destruction, ensuring the RPKM user remains effective across the diverse and ever-changing landscape of Big Maps.
Best Guns to use with the RPKM
The following recommended weapons have been meticulously selected to complement the RPKM's inherent characteristics. Each pairing addresses specific limitations of the RPKM or enhances its existing strengths, providing a balanced and versatile loadout. The choices aim to optimize performance across varied combat scenarios on Battlefield 6 Big Maps, considering the dynamic nature of destruction and levolution events.
#1 KORD 6P67
The KORD 6P67, an Assault Rifle with low recoil and a high rate of fire, perfectly complements the RPKM by offering versatility across both close and long ranges. While the RPKM provides sustained suppressive fire, the KORD 6P67 allows for rapid target acquisition and engagement, particularly when adaptive sightlines open up due to environmental destruction. This synergy creates a tactical advantage: the RPKM can suppress an area, forcing enemies into cover, while the KORD 6P67 can then quickly eliminate exposed targets or push through newly cleared paths. In terms of loadout, pairing the RPKM with attachments that enhance recoil control and bullet velocity for sustained mid-range engagements (e.g., a heavy barrel and vertical grip) is effective. For the KORD 6P67, a short barrel for faster ADS and a high-capacity magazine would optimize its close-to-mid-range dominance. This pairing excels in scenarios requiring a blend of sustained suppression and aggressive pushes, such as clearing objective points in urban areas or defending key chokepoints where levolution events might alter the landscape. For instance, after a building collapses, the KORD 6P67 can quickly engage enemies in the rubble, while the RPKM provides cover fire. A potential limitation is the combined weight, which might slightly reduce overall mobility, requiring careful positioning.
#2 PW5A3
The PW5A3 SMG, renowned for its admirable performance in engagements up to mid-range, serves as an excellent complement to the RPKM. The RPKM, an LMG, excels in sustained suppressive fire and controlling lanes over longer distances, but its slower handling and ADS time can be a liability in close-quarters combat. The PW5A3 directly addresses this limitation with its superior mobility, faster sprint-to-fire, and rapid close-range time-to-kill. This pairing creates a powerful synergy, allowing players to utilize the RPKM for area denial and long-range suppression, then quickly switch to the PW5A3 for aggressive pushes into tight interiors or when confronted unexpectedly. For a recommended loadout, the RPKM benefits from attachments that further enhance its recoil control and damage range, solidifying its role as a mid-to-long-range anchor. The PW5A3 should be equipped with attachments that maximize its hip-fire accuracy and sprint-to-fire speed, making it an agile and lethal close-quarters tool. This combination excels in dynamic Big Maps where combat frequently transitions between open fields and constricted buildings, especially after destruction events create new entry points or levolution alters engagement distances. The PW5A3 allows for quick adaptation to these changes, maintaining squad synergy by clearing immediate threats. A potential limitation is the shared ammunition type if both weapons use the same caliber, which could lead to resource depletion in prolonged engagements without an ammo crate specialist.
#3 UMG-40
The UMG-40, a polymer SMG with a low rate of fire but superior mid-range performance, pairs effectively with the RPKM, an LMG best suited for mid-range suppressive fire. While both weapons operate effectively in the mid-range, their distinct characteristics create a strong synergy. The RPKM provides sustained, high-capacity suppression, locking down lanes and creating opportunities for team pushes. The UMG-40, with its precise recoil control and .40 caliber rounds, offers a more accurate and controlled mid-range engagement option for picking off targets that the RPKM has suppressed or for quickly eliminating threats when adaptive sightlines shift due to destruction. This pairing allows players to maintain consistent pressure across evolving levolution landscapes. A recommended loadout for the RPKM would focus on maximizing its bullet velocity and recoil stability for sustained fire across open areas. For the UMG-40, attachments enhancing its aim-down-sight speed and further improving its mid-range accuracy would be ideal, such as a laser sight for hip-fire emergencies and an optic for clearer target acquisition. This combination excels in scenarios where maintaining control over contested zones and adapting to dynamic cover is paramount, such as urban combat where buildings are destructible or when holding key positions against flanking maneuvers. The UMG-40 can quickly respond to threats that bypass the RPKM's sustained fire. A potential limitation is that both weapons are primarily effective in the mid-range, which might leave a slight vulnerability in extreme close-quarters if the UMG-40's lower rate of fire is a disadvantage against faster SMGs.
Tactical Usage Tips
Effectively utilizing RPKM weapon combinations in Battlefield 6 Big Maps requires strategic weapon switching and an understanding of each weapon's role. When engaging at longer distances or suppressing enemy positions, the RPKM remains the primary choice, leveraging its large magazine and sustained fire. As the engagement closes, or when pushing into tight interiors and navigating through destruction, a rapid switch to the paired SMG (PW5A3 or UMG-40) or versatile assault rifle (KORD 6P67) is crucial. This ensures optimal time-to-kill in close quarters where the RPKM's slower handling would be a disadvantage. Maximizing synergy involves using the RPKM to lay down suppressive fire, creating opportunities for teammates or for the secondary weapon to capitalize on disoriented enemies. For instance, suppress a sniper's nest with the RPKM, then quickly switch to the KORD 6P67 to push forward and clear the area. During levolution events, anticipate changes in engagement distances and switch weapons proactively. A fast SMG is invaluable for navigating newly formed debris fields, while the RPKM can provide cover fire from a distance. Prioritize adaptive sightlines; if destruction opens up a new flank, use the RPKM to hold the new line of sight, or the SMG to quickly clear the immediate threat. Squad synergy is amplified when players communicate these weapon roles, ensuring a balanced approach to every encounter.
Conclusion
Strategic weapon pairing with the RPKM in Battlefield 6 Big Maps is essential for dominating the dynamic battlefield. The KORD 6P67 offers versatile close-to-long-range precision, complementing the RPKM's suppression and excelling in adapting to destruction-induced adaptive sightlines. The PW5A3 SMG provides rapid close-quarters lethality, covering the RPKM's mobility limitations and enhancing squad synergy in objective pushes. The UMG-40 SMG extends mid-range effectiveness with controlled accuracy, ideal for evolving levolution landscapes. Each pairing caters to distinct playstyles: aggressive players benefit from the SMG's agility, while those who prefer a balanced approach will find the assault rifle's versatility invaluable. The importance of strategic weapon combinations cannot be overstated; they allow players to adapt to constantly changing combat scenarios, from tight interiors to wide-open fields. Experimenting with these suggested pairings will undoubtedly lead to improved performance, greater tactical flexibility, and enhanced contribution to squad objectives on the Big Maps.