Key Takeaways
- The PW5A3 SMG complements the M45A1's close-range limitations by providing superior mid-range lethality and sustained fire, excelling in objective pushes and adaptive sightline management.
- The KORD 6P67 Assault Rifle offers versatility across all ranges, covering the M45A1's short damage range and low magazine capacity. This pairing is optimal for dynamic engagements, adapting to destruction and levolution.
- The UMG-40 SMG enhances the M45A1's close-quarters effectiveness with consistent mid-range performance and manageable recoil, ideal for aggressive flanking and navigating complex urban environments.
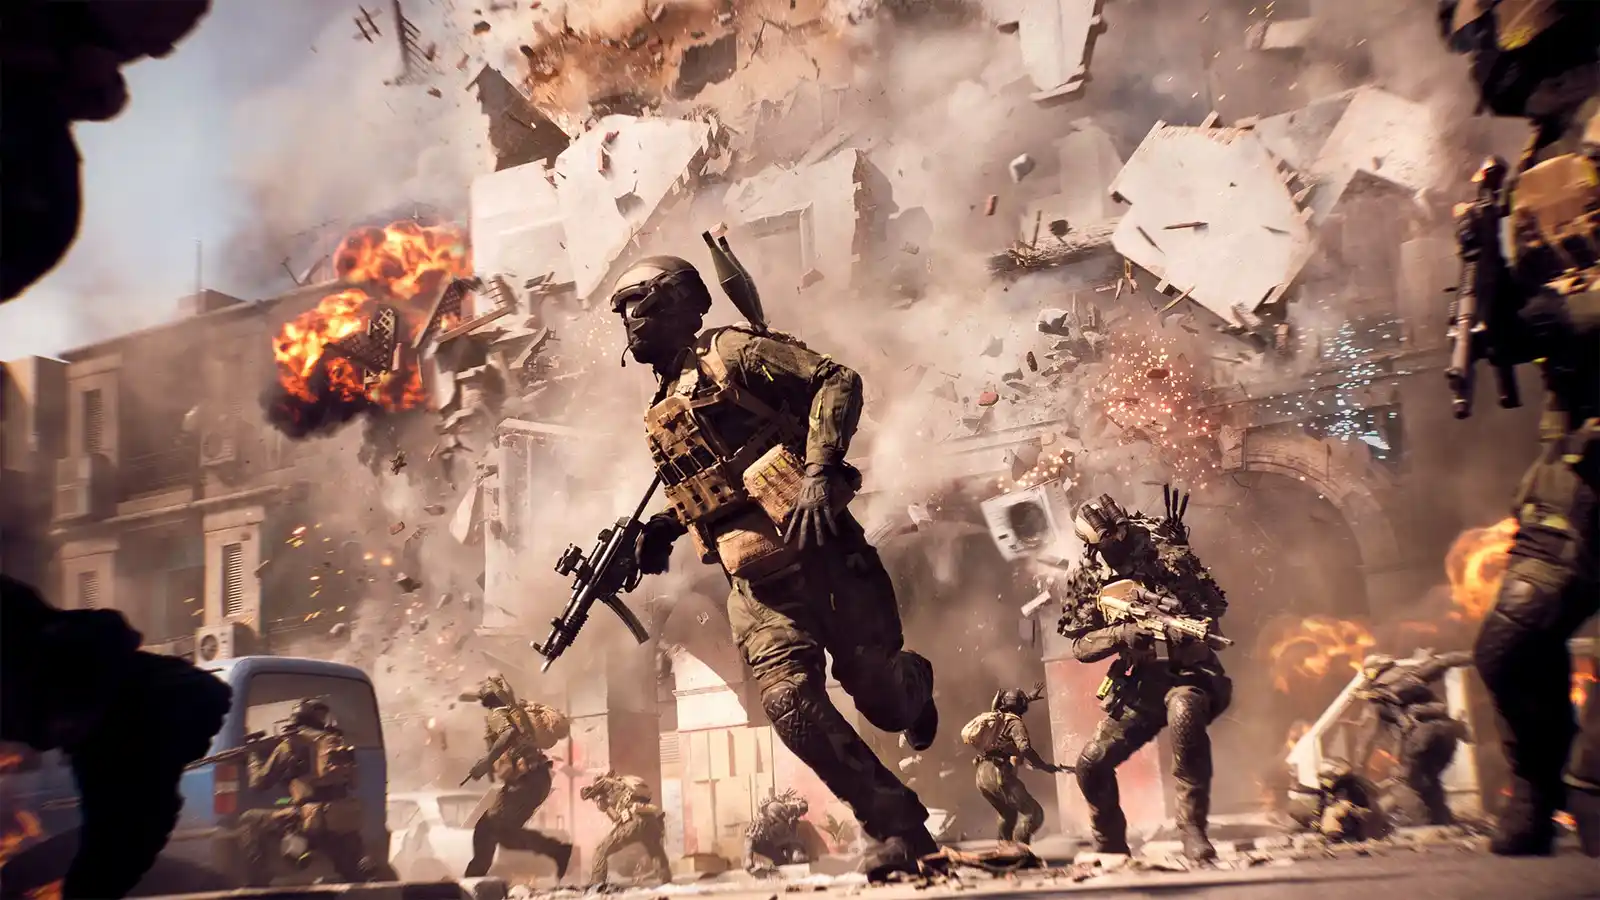
In Battlefield 6 Small Maps, the M45A1 pistol serves as a reliable sidearm, often utilized for quick finishing blows or when primary ammunition is depleted. While its .45 ACP damage output is notable up close, its low base magazine capacity and limited effective range necessitate strategic primary weapon pairings to maximize combat effectiveness. The dynamic nature of small maps, characterized by rapid engagements, frequent destruction, and evolving sightlines, demands a loadout that can adapt to various combat scenarios. Understanding how to effectively pair the M45A1 with a complementary primary weapon is crucial for maintaining consistent pressure and contributing to squad synergy. This article provides a detailed analysis of optimal weapon combinations, exploring how specific primaries enhance the M45A1's strengths and mitigate its weaknesses. Readers will learn about recommended loadouts, ideal combat situations, and tactical advantages gained from these synergistic pairings. Mastering these combinations offers a significant edge, transforming a solid sidearm into a component of a dominant battlefield presence, ready to adapt to any levolution event or shift in engagement distance.
Overview of the M45A1
The M45A1 in Battlefield 6 Small Maps functions as a robust pistol, valued for its significant close-quarters damage output with .45 ACP rounds. Its primary role in the meta is a reliable backup weapon, ideal for securing kills when a primary weapon runs dry or for quick weapon switches in immediate close-range encounters. The weapon exhibits strong stopping power at very short distances, making it effective in tight corridors and during rapid objective pushes where engagements are sudden. However, the M45A1's inherent weaknesses include a low base magazine capacity, which can be detrimental in sustained firefights, and a limited effective damage range, making it less viable beyond close quarters. In environments with dynamic destruction and constantly shifting adaptive sightlines, relying solely on the M45A1 is impractical. Strategic weapon pairings are essential to cover these limitations. A primary weapon that offers sustained fire, greater range, or a higher magazine capacity allows players to leverage the M45A1's close-range punch while maintaining combat effectiveness across varied engagement distances. This approach ensures players can contribute consistently to squad synergy, adapting to the fluid combat scenarios prevalent on small maps and through levolution events.
Best Guns to use with the M45A1
The following weapon recommendations are selected to specifically complement the M45A1's characteristics in Battlefield 6 Small Maps. These pairings address the pistol's low magazine capacity and limited range, providing primary options that excel in sustained firefights and at medium distances. Each chosen weapon either enhances the M45A1's close-range lethality through quick switching or covers its weaknesses, ensuring players maintain combat effectiveness across diverse engagement scenarios and adaptive sightlines.
#1 PW5A3
The PW5A3 SMG serves as an excellent primary pairing for the M45A1 in Battlefield 6 Small Maps, primarily due to its admirable performance in close to mid-range engagements. While the M45A1 offers high burst damage up close, its low magazine capacity necessitates a quick switch to a weapon capable of sustained fire. The PW5A3 fills this gap with its higher rate of fire and larger magazine, allowing players to maintain pressure after exhausting the M45A1's rounds. The SMG's superior mobility and faster ADS time also complement the M45A1's quick draw, facilitating rapid transitions between weapons in dynamic close-quarters combat. This pairing creates a robust loadout for aggressive playstyles, offering tactical advantages in clearing objectives and navigating dense urban environments. The synergy lies in the ability to initiate with the M45A1 for immediate high damage, then seamlessly transition to the PW5A3 for follow-up shots or engaging multiple targets. This is particularly effective during levolution events where new pathways open, requiring fast repositioning and adaptable firepower. Recommended loadout for the PW5A3 includes attachments that enhance recoil control and magazine capacity, such as an extended magazine and a vertical grip, while the M45A1 benefits from a tactical suppressor for stealth and a laser sight for hip-fire accuracy. This combination excels in scenarios like pushing contested control points, clearing buildings affected by destruction, and flanking enemy positions. The PW5A3's mid-range effectiveness covers the M45A1's range limitations, making it ideal for holding adaptive sightlines that emerge from environmental changes. A potential limitation is the combined loadout's reduced effectiveness at long ranges, requiring players to maintain advantageous positioning and rely on squad synergy for distant threats.
#2 KORD 6P67
The KORD 6P67 Assault Rifle presents a highly versatile pairing for the M45A1, offering comprehensive coverage across all engagement ranges in Battlefield 6 Small Maps. While the M45A1 excels in close-quarters burst damage, its limited range and low magazine capacity are significant drawbacks. The KORD 6P67 directly addresses these by providing a low-recoil, high rate-of-fire primary weapon that performs admirably from close to long distances. This allows players to engage targets effectively beyond the M45A1's optimal range and sustain fire through multiple enemy encounters, overcoming the pistol's quick depletion. The synergy of this pairing lies in its adaptability. The M45A1 can be used for immediate close-range threats or as a quick finisher, while the KORD 6P67 handles the majority of engagements, from clearing rooms to suppressing enemies across open lanes. This tactical advantage is particularly potent during dynamic levolution events, where the battlefield constantly reshapes, creating new adaptive sightlines and engagement opportunities. Players can confidently engage at any distance, maintaining consistent pressure and contributing significantly to squad synergy by covering various angles. For an optimal loadout, the KORD 6P67 should be equipped with attachments that further enhance its range and accuracy, such as a long-range barrel, an optical sight for target acquisition, and an extended magazine for sustained fire. The M45A1 benefits from a lightweight trigger for faster fire rate and a laser sight for improved hip-fire accuracy. This combination excels in scenarios requiring immediate adaptation, such as defending or assaulting objectives with mixed engagement distances, or when navigating areas impacted by destruction. The KORD 6P67's ability to engage at range covers the M45A1's primary limitation, making this a balanced and powerful choice. A potential limitation is that while versatile, neither weapon specializes in extreme long-range sniping, requiring precise aim for distant targets.
#3 UMG-40
The UMG-40 SMG offers a distinct complementary role when paired with the M45A1 in Battlefield 6 Small Maps, particularly excelling in mid-range encounters where other SMGs might falter. While the M45A1 provides high close-quarters damage with its .45 ACP rounds, its low magazine capacity and limited effective range are its primary constraints. The UMG-40, chambered in .40 caliber, compensates for these by offering consistent damage output at mid-range with manageable recoil, allowing for more controlled engagements beyond immediate close-quarters. Its lower rate of fire compared to other SMGs contributes to better bullet economy and sustained accuracy. The synergy between the M45A1 and UMG-40 creates a formidable loadout for players who prioritize precise engagements and tactical maneuvering. The M45A1 can be deployed for rapid, decisive close-range kills or as a quick weapon switch when the UMG-40 needs reloading. The UMG-40 then extends the player's effective combat range, allowing for engagements in areas with adaptive sightlines that emerge from destruction or during the aftermath of levolution events. This pairing ensures players can maintain aggressive pushes while still being effective at slightly longer distances than a purely close-range loadout. A recommended loadout for the UMG-40 includes attachments that enhance its mid-range accuracy and control, such as a precision stock, a reliable optical sight for target acquisition, and an extended magazine to maximize its damage per mag. For the M45A1, a lightweight trigger for faster follow-up shots and a laser sight for improved hip-fire accuracy are beneficial. This combination excels in scenarios involving flanking maneuvers, holding key positions with varied sightlines, and engaging enemies in the transitional spaces between close and mid-range combat. While strong in its niche, a potential limitation is its reduced effectiveness in very long-range engagements compared to assault rifles, requiring players to leverage cover and squad synergy to close distances effectively.
Tactical Usage Tips
Effective utilization of M45A1 weapon pairings in Battlefield 6 Small Maps hinges on mastering weapon switching and understanding engagement distances. For immediate close-quarters encounters, initiate with the M45A1 for its high burst damage. If the target is not eliminated or additional enemies appear, quickly switch to the primary weapon (SMG or Assault Rifle) to sustain fire and manage the threat. This rapid transition is crucial for maximizing the M45A1's role as a finisher or an opener. When engaging at mid-range, prioritize the primary weapon. The M45A1 should be reserved for emergency reloads, unexpected close-range pushes, or for finishing off severely damaged opponents. Maximizing synergy involves understanding each weapon's optimal range and damage profile. For instance, with an SMG pairing, leverage mobility to close gaps, using the M45A1 in tight corners or after breaking an enemy's armor. With an Assault Rifle, maintain a slight distance, using its range advantage, and switch to the M45A1 only when forced into extremely close, reactive engagements. Always consider the evolving adaptive sightlines due to destruction and levolution; these changes dictate optimal engagement distances and weapon choice. Effective squad synergy also benefits from these pairings, as players can cover various ranges, supporting teammates and maintaining consistent pressure.
Conclusion
Mastering Battlefield 6 Small Maps with the M45A1 involves strategic weapon pairings that enhance its strengths and mitigate its limitations. The PW5A3 and UMG-40 SMGs offer excellent close to mid-range synergy, ideal for aggressive players who thrive in rapid, infantry-focused combat and dynamic adaptive sightlines. The KORD 6P67 Assault Rifle provides unparalleled versatility, suitable for players who prefer to engage across all ranges and adapt to levolution events and destruction. The importance of strategic weapon combinations cannot be overstated. These pairings transform the M45A1 from a mere sidearm into a critical component of a balanced and effective loadout, significantly contributing to squad synergy. Players are encouraged to experiment with these suggested combinations, fine-tuning loadouts to match individual playstyles and adapt to the ever-changing combat scenarios of Battlefield 6. Discovering the optimal pairing will undoubtedly elevate gameplay and lead to consistent success on the small maps.