Key Takeaways
- The KORD 6P67 assault rifle complements the LMR27 by providing strong close to mid-range damage, ideal for clearing objectives after long-range suppression. This pairing excels in objective pushes and defending contested areas, especially when levolution changes create new close-quarter engagements.
- The PW5A3 SMG offers rapid close-quarters lethality, effectively covering the LMR27's weakness in tight spaces. This combination is optimal for aggressive flanking maneuvers and navigating complex destructible environments where adaptive sightlines are common.
- The UMG-40 SMG, with its mid-range advantage, bridges the gap between the LMR27's long-range precision and immediate close-quarters needs. This pairing is highly effective for maintaining pressure in dynamic engagements, adapting to evolving battlefields and supporting squad synergy by handling varied threats.
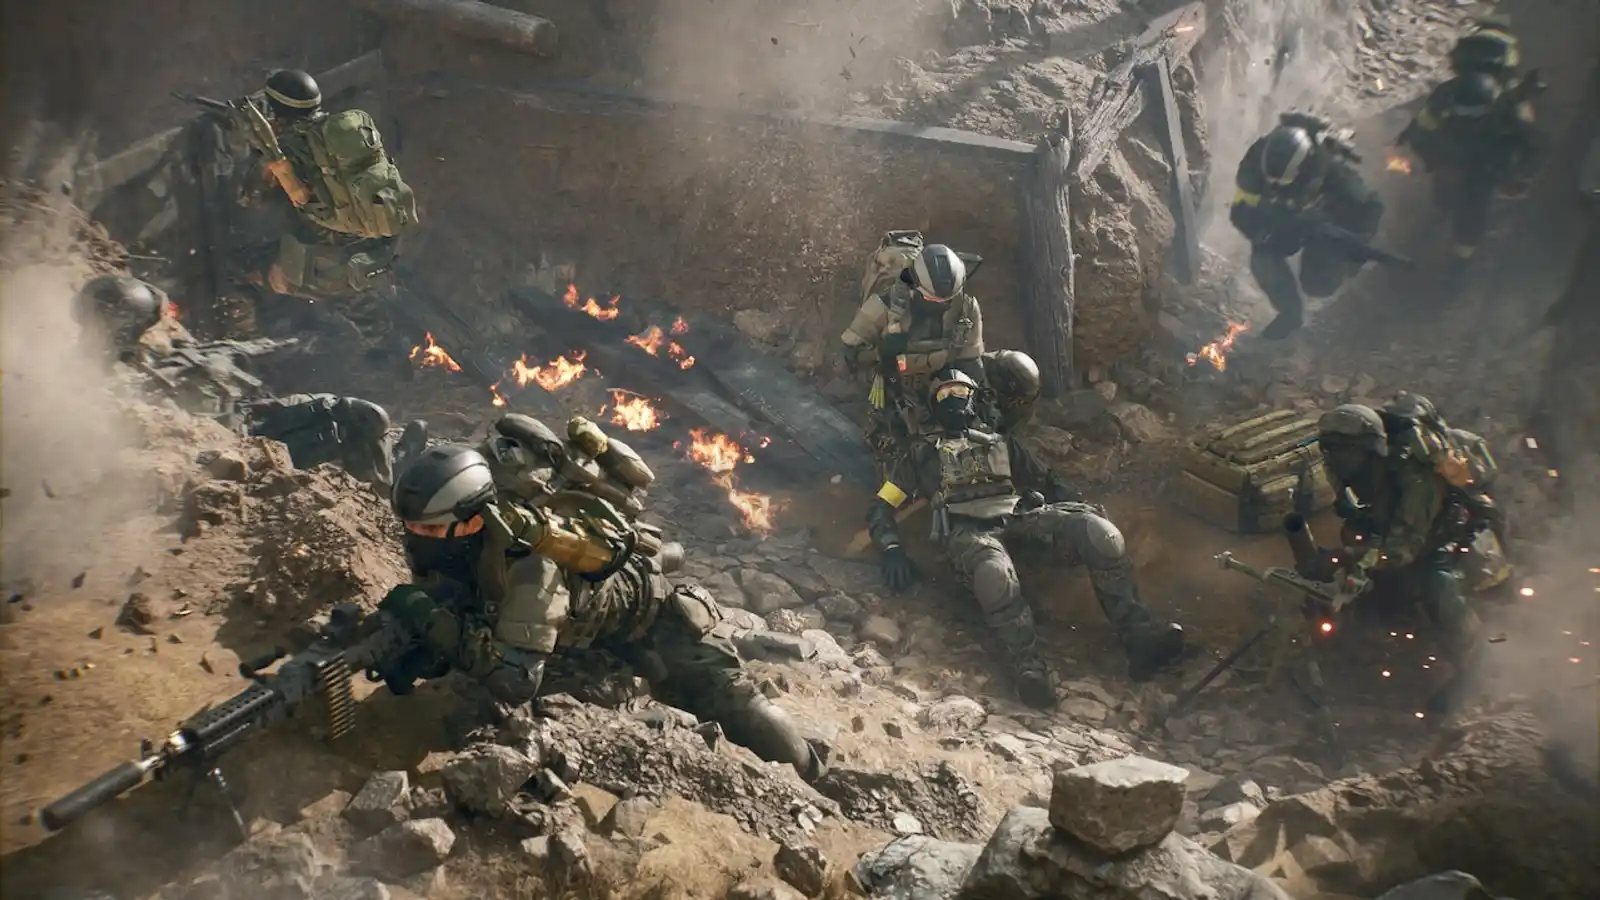
In Battlefield 6 Big Maps for November 2025, the LMR27 marksman rifle holds a distinctive position within the meta. Its capability for rapid follow-up shots positions it as a reliable tool for sustained pressure at range, though its relatively low damage output necessitates strategic play. Proper weapon pairing is not merely an advantage; it is crucial for maximizing the LMR27's potential and mitigating its inherent limitations, particularly in the dynamic, large-scale engagements of Big Maps. This article will guide players through the optimal weapon combinations that transform the LMR27 from a specialized tool into a versatile asset. Readers will learn how to leverage specific secondary weapons to cover close-quarters weaknesses, enhance squad synergy, and adapt to the ever-changing combat landscapes, including destruction and levolution events. Understanding these strategic advantages unlocks new levels of tactical prowess, allowing players to consistently outmaneuver and outgun opponents across the expansive battlegrounds.
Overview of the LMR27
The LMR27, a Marksman Rifle in Battlefield 6, is characterized by its intermediate chambering, enabling rapid follow-up shots. This attribute allows for sustained pressure on targets at medium to long ranges, making it effective for suppressing enemy positions and chipping away at health pools. Its role in the meta is primarily as a support weapon for suppressing fire or as a precision tool for engaging targets that are already weakened. The weapon's primary strength lies in its ability to deliver consistent damage at range with good bullet velocity and manageable recoil, facilitating quick target reacquisition. This makes it suitable for holding adaptive sightlines and contributing to squad synergy through consistent damage output. However, its significant weakness is its relatively low damage per shot, which translates to a higher time-to-kill (TTK) against full-health opponents, especially at closer ranges. This limitation makes the LMR27 vulnerable in unexpected close-quarters engagements or when facing multiple aggressive enemies. Specific weapon pairings are essential to enhance the LMR27's performance. By coupling it with a weapon optimized for close-range combat, players can effectively cover the LMR27's limitations, ensuring readiness for all engagement distances. This strategic pairing allows players to capitalize on the LMR27's strengths in long-range suppression while providing a viable counter for the immediate threats that arise from destruction events or rapid enemy advances.
Best Guns to use with the LMR27
The following recommended weapons have been carefully selected to complement the LMR27's unique attributes. Each pairing addresses the LMR27's inherent limitations, such as its close-range vulnerability, while simultaneously enhancing its strengths in sustained fire and precision. These combinations are designed to provide comprehensive solutions for various combat scenarios encountered in Battlefield 6 Big Maps, ensuring adaptability and effectiveness across all engagement distances.
#1 KORD 6P67
The KORD 6P67, an Assault Rifle known for its low recoil and high rate of fire, offers exceptional synergy when paired with the LMR27. While the LMR27 excels at maintaining pressure from a distance, its lower damage output can be a hindrance in direct engagements. The KORD 6P67 fills this gap by providing robust close to mid-range lethality. Its high rate of fire ensures a faster time-to-kill in close-quarters, effectively compensating for the LMR27's weakness in immediate threats. This pairing creates a versatile loadout capable of dominating a wide spectrum of combat scenarios. Tactically, a player can use the LMR27 to suppress enemies or pick off distant targets, then quickly switch to the KORD 6P67 for clearing objectives or engaging enemies who push through destruction. The low recoil of the KORD 6P67 also allows for accurate sustained fire, making it effective for controlling lanes and suppressing enemies alongside the LMR27. Recommended loadout for the KORD 6P67 includes attachments that enhance its aim-down-sight speed and further reduce recoil, such as a lightweight suppressor and an ergonomic grip. For the LMR27, attachments focusing on bullet velocity and stability, like a long barrel and a bipod, are beneficial. This pairing excels in scenarios involving objective pushes, defending contested areas, and adapting to levolution events that transform long sightlines into closer engagements. For example, after using the LMR27 to provide overwatch, a player can push into a newly collapsed building with the KORD 6P67 to clear it. A potential limitation of this pairing is the overall slower mobility compared to an LMR27 paired with a lighter SMG, which might slightly impact aggressive flanking maneuvers. However, the combined versatility largely outweighs this minor drawback, especially when maintaining squad synergy by covering multiple ranges.
#2 PW5A3
The PW5A3, a popular SMG, provides an excellent close-quarters counterpoint to the LMR27, which primarily operates at longer ranges. The LMR27's strength lies in its precision and rapid follow-up shots for sustained ranged engagements, but its relatively low damage per shot makes it less effective in immediate, close-range confrontations. The PW5A3 excels in this exact scenario, offering high mobility, fast aim-down-sight time, and superior close-range damage output. This pairing creates a highly adaptive loadout, allowing players to effectively engage threats at any distance. The synergy benefits are clear: the LMR27 can be used to hold long sightlines, suppress enemies, or pick off distant targets, while the PW5A3 is readily available for clearing buildings, defending against aggressive pushes, or navigating tight spaces that arise from destruction. This combination significantly enhances a player's ability to react to sudden changes in engagement distance and maintain control over dynamic environments. For the PW5A3, a recommended loadout would focus on maximizing its close-range effectiveness with attachments like an extended magazine, a laser sight for hip-fire accuracy, and a lightweight stock for improved mobility. The LMR27 would benefit from attachments that enhance its bullet velocity and stability, such as a long barrel and a high-power optic. This pairing excels in urban combat, navigating complex interiors, and executing aggressive flanking maneuvers. When levolution events alter the map, creating new close-quarter pathways, the PW5A3 becomes invaluable. A potential limitation is that the PW5A3's effective range drops off significantly beyond mid-range, meaning players must be disciplined in weapon switching and positioning to avoid being caught out. However, for players who prioritize agility and close-quarters dominance while still retaining a long-range option, this pairing is highly effective for maintaining squad synergy and adapting to evolving battlefields.
#3 UMG-40
The UMG-40, a renowned polymer SMG chambered in .40 caliber, offers a distinctive mid-range advantage that complements the LMR27's long-range precision. While the LMR27 excels at rapid follow-up shots from a distance, its lower damage output can be a disadvantage when enemies close the gap. The UMG-40, despite its lower rate of fire compared to other SMGs, outperforms its peers in mid-range encounters, providing a crucial bridge between the LMR27's optimal range and immediate close-quarters combat. This pairing creates a robust and adaptable loadout, allowing players to maintain consistent pressure across varied engagement distances. The synergy benefits are evident in dynamic combat scenarios where the LMR27 can be used for initial suppression or to engage distant threats, while the UMG-40 is ready to effectively handle enemies pushing into the mid-range. This combination is particularly potent when navigating areas affected by destruction, where adaptive sightlines frequently shift from open to confined spaces. For the UMG-40, a recommended loadout would prioritize attachments that enhance its effective range and accuracy, such as a long barrel and a vertical grip, while also considering an extended magazine to maximize its damage per mag. For the LMR27, attachments focusing on bullet velocity and minimal recoil, like a high-power optic and a muzzle brake, are beneficial. This pairing excels in holding key chokepoints, defending objectives with mixed engagement distances, and providing sustained fire support in conjunction with squadmates. When levolution events alter the battlefield, the UMG-40's mid-range prowess allows players to quickly adapt to new engagement envelopes. A potential limitation is its lower rate of fire compared to other SMGs, which might put players at a slight disadvantage in extremely close-quarters, reactive engagements. However, its superior mid-range performance makes it a highly valuable asset for players who prefer a more controlled, precise approach to close-to-mid-range combat, enhancing overall squad synergy by providing reliable damage across multiple distance bands.
Tactical Usage Tips
Effectively utilizing LMR27 weapon combinations in Battlefield 6 Big Maps requires strategic weapon switching and an understanding of engagement distances. When engaging targets at long range, prioritize the LMR27 for its precision and rapid follow-up shots. As enemies close the distance or when pushing into objectives, quickly switch to the paired SMG or Assault Rifle. For instance, after using the LMR27 to suppress a distant sniper, transition to the KORD 6P67 to clear a building that has been opened up by destruction. This rapid adaptation ensures optimal damage output for the current threat. Maximizing synergy involves understanding each weapon's role. The LMR27 provides crucial overwatch and suppression, creating opportunities for aggressive pushes with your secondary. Communication within your squad is also vital; use the LMR27 to mark targets or suppress areas, allowing teammates to advance. In close-quarters, especially after levolution events create new pathways, the SMG pairings (PW5A3 or UMG-40) are invaluable for clearing rooms and defending against unexpected encounters. Always consider the adaptive sightlines created by destruction; a wall that once provided cover might now be an open lane, demanding a quick switch to a close-range option. Prioritize weapon familiarity to ensure smooth transitions and maintain a tactical advantage in the dynamic environment of Battlefield 6 Big Maps.
Conclusion
The LMR27 in Battlefield 6 Big Maps truly shines when paired with a complementary weapon, transforming it into a versatile force on the battlefield. The KORD 6P67 excels for players seeking a balanced approach, offering strong close to mid-range capabilities to support the LMR27's long-range precision. For those who favor aggressive, close-quarters combat and rapid objective clearing, the PW5A3 SMG is an ideal choice, providing unparalleled lethality in tight spaces. Meanwhile, the UMG-40 SMG bridges the gap with its mid-range prowess, perfect for maintaining pressure in dynamic engagements and adapting to shifting sightlines. The importance of strategic weapon combinations cannot be overstated; they allow players to adapt to destruction, capitalize on levolution, and enhance squad synergy. Experiment with these suggested pairings to discover which best suits individual playstyles and tactical preferences. Mastering these combinations will undoubtedly elevate gameplay and provide a significant advantage in the ever-evolving landscapes of Battlefield 6 Big Maps.