Key Takeaways
- The GGH-22 pairs effectively with the PW5A3 SMG, creating a versatile loadout for aggressive close-to-mid range engagements where rapid target acquisition is essential. This combination excels in tight spaces and during rapid pushes through destructible environments.
- The KORD 6P67 assault rifle complements the GGH-22 by providing strong long-range capabilities while maintaining close-quarters responsiveness with the pistol. This pairing is optimal for maps with varied engagement distances and when holding adaptive sightlines.
- Pairing the GGH-22 with the UMG-40 SMG offers a balanced approach for mid-range dominance, allowing players to control lanes and quickly switch to the GGH-22 for unexpected close-quarters encounters. This setup is strong in objective play where sustained fire and quick reactions are critical.
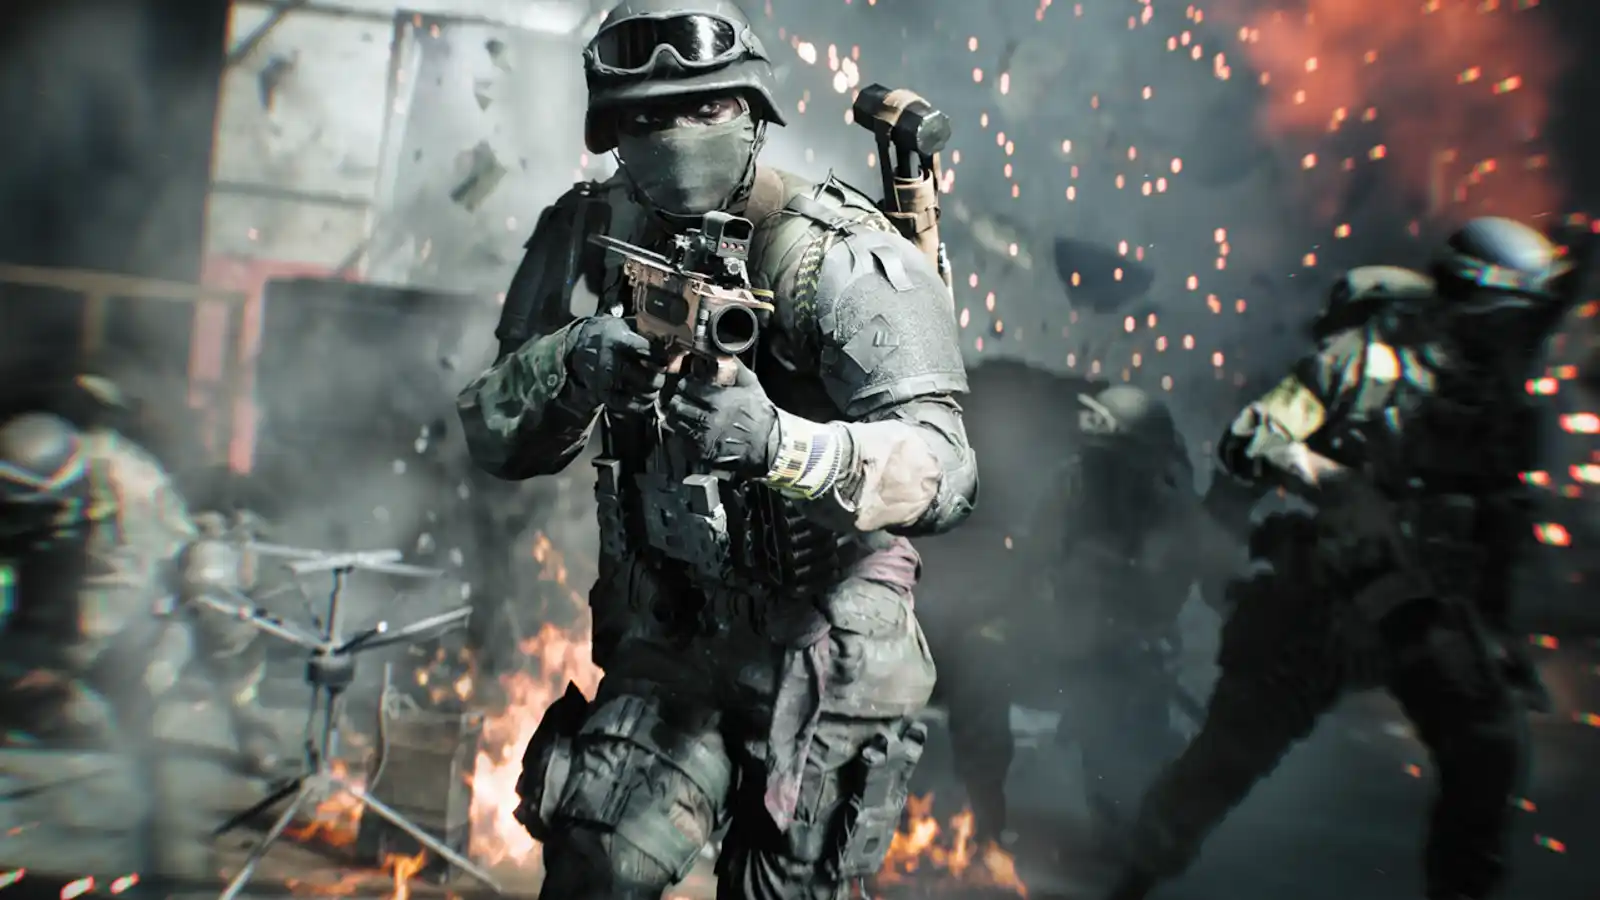
In Battlefield 6 Small Maps, the GGH-22 pistol serves as a critical last-resort sidearm, offering a high fire rate for unexpected close-quarters encounters. Its position in the meta is defined by its ability to provide a quick defensive option when primary weapons run dry or during rapid engagements. However, relying solely on the GGH-22 is not viable due to its low damage output. Therefore, proper weapon pairing is crucial to cover its limitations and maximize a player's combat effectiveness across varied scenarios. This article provides a comprehensive guide to the best weapons to pair with the GGH-22, ensuring players are equipped for every challenge. Readers will learn about optimal loadout combinations, tactical advantages, and specific combat scenarios where these pairings excel. Understanding these strategic combinations offers a significant advantage, transforming potential weaknesses into formidable strengths on the battlefield.
Overview of the GGH-22
The GGH-22 is a pistol in Battlefield 6, characterized by its high-capacity magazine and high rate of fire, designed primarily as a backup weapon. Its role in the meta on Small Maps is to provide a rapid, close-range response when a soldier's primary weapon is depleted or requires a reload. The weapon's strength lies in its quick draw time and ability to deliver a burst of fire in immediate danger, making it effective for bailing players out of close-quarters predicaments. However, its significant weakness is its low damage output, which makes it inefficient for sustained engagements or against multiple opponents without precise aim. This limitation means the GGH-22 cannot function as a primary damage dealer. Specific weapon pairings are therefore essential to enhance its performance. By selecting a primary weapon that covers the GGH-22's damage and range deficiencies, players can create a comprehensive loadout capable of handling a broader spectrum of combat situations, ensuring sustained combat readiness even when adaptive sightlines shift due to destruction or levolution events.
Best Guns to use with the GGH-22
The following weapon recommendations are specifically chosen to complement the GGH-22's role as a high-capacity, high fire rate, low-damage pistol. Each pairing addresses the GGH-22's limitations in damage and range, while enhancing its strengths as a rapid-response sidearm. These combinations aim to provide versatility, ensuring players are prepared for various combat scenarios on Battlefield 6 Small Maps, from close-quarters skirmishes to engagements across changing sightlines.
#1 PW5A3
The PW5A3 SMG, renowned for its admirable performance in close to mid-range engagements, forms a highly effective pairing with the GGH-22 pistol. The PW5A3's strength in sustained fire and decent damage output at its optimal range directly complements the GGH-22's role as a high fire rate, low damage bailout weapon. This synergy creates a loadout capable of dominating fast-paced, infantry-focused combat on Battlefield 6 Small Maps. The PW5A3 handles most engagements, while the GGH-22 provides an immediate, high-capacity backup for unexpected close-quarters encounters or when the SMG runs dry. This pairing offers tactical advantages in environments with significant destruction, where cover can rapidly degrade and new sightlines emerge, demanding quick adaptation. Players can maintain aggressive pushes, leveraging the SMG's mobility and the pistol's quick draw. For a recommended loadout, the PW5A3 benefits from attachments that enhance recoil control and aim-down-sight speed, such as a short barrel, a vertical grip, and a laser sight for hip-fire accuracy. The GGH-22 should prioritize an extended magazine and a tactical light for improved visibility in dark or obscured areas. This combination excels in objective control points, urban environments with tight corridors, and during levolution events that alter map layouts, forcing close-range engagements. The rapid fire of both weapons supports squad synergy by allowing sustained pressure, enabling teammates to push or revive. A potential limitation is the overall reduced effectiveness at longer ranges, requiring players to actively manage engagement distances and utilize cover effectively. While the PW5A3 stretches into mid-range, it is not a long-range solution, making open areas a vulnerability.
#2 KORD 6P67
The KORD 6P67 assault rifle, known for its low recoil and high rate of fire, performs well across close and long ranges, making it an excellent primary weapon to pair with the GGH-22 pistol. This combination provides exceptional versatility, allowing players to engage effectively at virtually any distance on Battlefield 6 Small Maps. The KORD 6P67's consistent damage and accuracy at range cover the GGH-22's inherent limitations in both areas, while the GGH-22 offers an immediate, high fire rate response for sudden close-quarters threats or when the KORD 6P67 requires a reload. This synergy is particularly potent in environments where destruction creates constantly evolving sightlines, as the KORD 6P67 can hold long angles, and the GGH-22 is ready for any close-range breaches. For a recommended loadout, the KORD 6P67 should be equipped with attachments that enhance its long-range precision, such as a suppressor for stealth, an extended barrel for bullet velocity, and an optical sight suitable for medium to long engagements. The GGH-22 benefits from an extended magazine and a lightweight trigger for even faster fire rate. This pairing excels in scenarios requiring both distant suppression and immediate close-quarters defense, such as defending or attacking objectives with multiple approach vectors. During levolution events that open or close pathways, the KORD 6P67 can secure new adaptive sightlines, with the GGH-22 providing insurance against unexpected close-range flanks. This setup significantly contributes to squad synergy by allowing a player to cover various engagement distances, providing suppressive fire and quickly clearing close threats for teammates. A potential limitation is that while both weapons are versatile, mastering the rapid switch between long-range precision with the KORD 6P67 and close-range aggression with the GGH-22 requires practice. Players must be adept at judging engagement distances to maximize the effectiveness of each weapon.
#3 UMG-40
The UMG-40 SMG, a polymer SMG chambered in .40 caliber, distinguishes itself with a lower rate of fire but superior performance in mid-range encounters compared to its peers. Pairing the UMG-40 with the GGH-22 pistol creates a robust loadout for controlling key areas and engaging effectively across close to mid-range distances on Battlefield 6 Small Maps. The UMG-40's mid-range accuracy and manageable recoil compensate for the GGH-22's low damage and limited effective range, while the GGH-22 provides a rapid-fire, high-capacity backup for immediate close-quarters defense. This combination offers significant tactical advantages in scenarios where adaptive sightlines are constantly changing due to environmental destruction. Players can hold angles with the UMG-40, then quickly switch to the GGH-22 if an enemy breaches cover at close range. For an optimal loadout, the UMG-40 should be configured with attachments that enhance its mid-range capabilities, such as a compensator for recoil stability, an extended barrel for damage range, and a clear reflex sight. The GGH-22 benefits from an extended magazine and a laser sight for improved hip-fire accuracy in frantic close-quarters situations. This pairing excels in objective-focused game modes where holding choke points or clearing buildings is crucial. During levolution events that alter the map's layout, the UMG-40 can effectively engage enemies appearing in new mid-range lanes, with the GGH-22 ready for any close-range surprises. This setup enhances squad synergy by allowing a player to maintain consistent pressure and quickly adapt to changing engagement distances, supporting teammates in both offensive and defensive maneuvers. A potential limitation of this pairing is that the UMG-40's lower rate of fire compared to other SMGs might put players at a disadvantage in extremely close, head-on engagements against higher fire rate weapons, requiring precise aim and good positioning.
Tactical Usage Tips
Effectively utilizing weapon combinations with the GGH-22 requires strategic weapon switching and an understanding of engagement distances. For close-quarters combat, such as clearing rooms or pushing objectives, maintain the primary weapon (SMG or Assault Rifle) in hand. Should the primary run dry or require a quick reload in an immediate threat situation, instantly switch to the GGH-22 to finish the engagement. The GGH-22's high fire rate and magazine capacity make it ideal for this bailout role. For mid-range engagements, rely on the primary weapon's accuracy and damage. If an enemy unexpectedly closes the distance, a rapid switch to the GGH-22 can provide a crucial advantage. Maximizing synergy involves understanding each weapon's strengths. Use the primary for its optimal range and damage output, and the GGH-22 as a reliable, fast-response secondary. This dual-threat approach ensures readiness for the dynamic and often unpredictable nature of Battlefield 6 Small Maps, especially with constantly changing adaptive sightlines due to destruction and levolution events. Practice quick switching and target acquisition to seamlessly transition between weapons, enhancing overall combat effectiveness and contributing to squad synergy by maintaining consistent pressure on opponents.
Conclusion
Strategic weapon pairing with the GGH-22 is essential for dominating Battlefield 6 Small Maps. The PW5A3 SMG offers aggressive close-to-mid range power, ideal for fast-paced pushes and clearing tight spaces. The KORD 6P67 assault rifle provides versatile long to close-range capabilities, excellent for holding diverse sightlines and adapting to changing battlefield conditions. Finally, the UMG-40 SMG excels in mid-range control, offering a balanced approach for objective play. Each pairing presents unique advantages, catering to different playstyles and combat scenarios. Players focused on aggressive, close-quarters combat will benefit from an SMG pairing, while those who prefer versatility across distances will find the assault rifle combination more suitable. The importance of strategic weapon combinations cannot be overstated in a game where destruction and levolution constantly alter the combat environment. Experiment with these suggested pairings to discover which best complements your individual playstyle and maximize your effectiveness on the battlefield.