Key Takeaways
Pairing the AK4D with the PW5A3 SMG provides superior close-quarters combat capability, compensating for the AK4D's slower fire rate in tight spaces and during rapid engagements in infantry-focused maps. This combination excels in objective control and clearing confined areas where destruction creates new sightlines.
Combining the AK4D with the KORD 6P67 assault rifle creates a versatile loadout for both close and extended engagements, leveraging the KORD's high rate of fire for aggressive pushes while the AK4D covers mid-range. This synergy is effective for adapting to evolving levolution events that change engagement distances.
The UMG-40 SMG pairs with the AK4D to offer a balanced approach, with the UMG-40 excelling in mid-range encounters where the AK4D's slower fire rate might be a disadvantage. This pairing supports squad synergy by allowing players to cover various engagement ranges effectively, adapting to dynamic battlefield conditions.
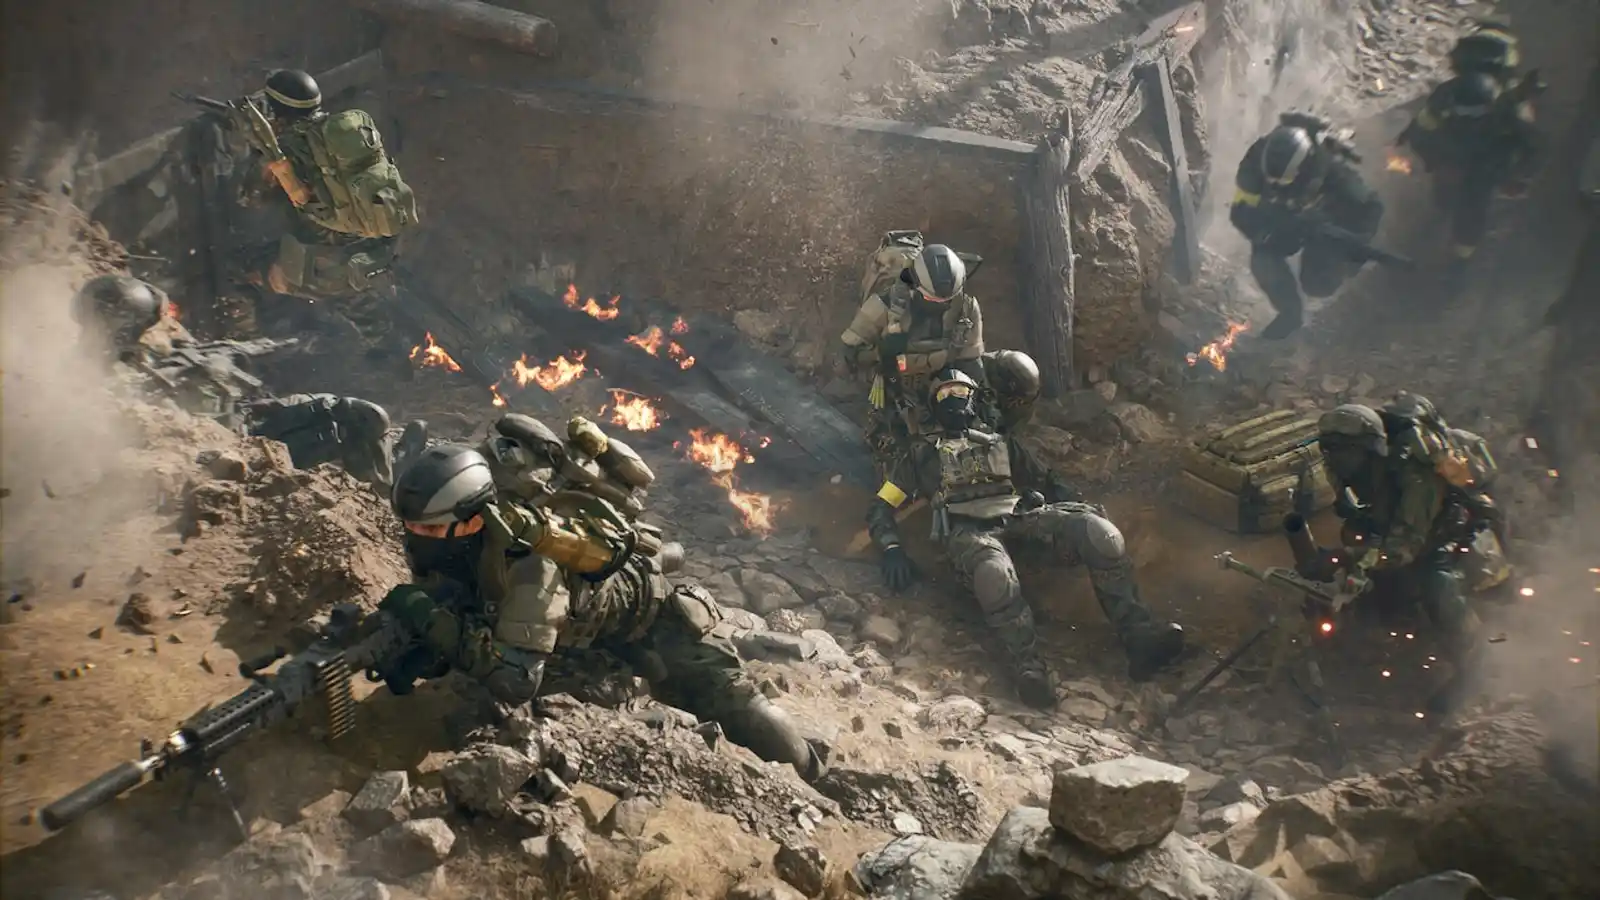
In Battlefield 6 Small Maps, the AK4D assault rifle maintains a consistent presence in the meta, valued for its reliability and damage output at mid to long ranges. However, its slower rate of fire can present challenges in the rapid, close-quarters engagements characteristic of these maps. Proper weapon pairing is therefore not just an advantage but a crucial element for maximizing the AK4D's potential, transforming a solid primary into a formidable force across diverse combat scenarios.
This article provides a detailed analysis of optimal loadout combinations, exploring how specific secondary weapons complement the AK4D's strengths and mitigate its weaknesses. Readers will learn to select pairings that enhance their tactical flexibility, improve their time-to-kill in varied situations, and ultimately gain a strategic edge. Understanding these optimal weapon combinations unlocks new levels of combat effectiveness, allowing players to adapt to dynamic battlefield conditions, from the immediate aftermath of destruction to the shifting landscapes of levolution events.
Overview of the AK4D
The AK4D is an assault rifle known for its classic battle rifle characteristics in Battlefield 6 Small Maps. It features a slower rate of fire but delivers significant damage per shot, making it highly effective in mid to long-range engagements. Its role in the meta is that of a reliable workhorse for players who prioritize accuracy and controlled bursts over spray-and-pray tactics. The weapon's strengths lie in its consistent damage profile at range and manageable recoil, allowing for precise target acquisition across open lanes and through partially destroyed cover.
However, its primary weakness is its lower rate of fire, which can put players at a disadvantage in close-quarters combat, where high-fire-rate SMGs and shotguns dominate. This limitation is particularly pronounced in the fast-paced, infantry-focused Small Maps. Specific weapon pairings are essential to enhance the AK4D's performance by providing a rapid-fire alternative for close-range encounters, effectively covering its inherent limitations and allowing players to maintain combat effectiveness across all engagement distances. This strategic approach ensures adaptability amidst dynamic destruction and evolving sightlines.
Best Guns to use with the AK4D
The recommended weapons for pairing with the AK4D have been carefully selected to address its inherent limitations and amplify its strengths. These pairings provide a crucial balance, offering rapid-fire alternatives for close-quarters engagements while maintaining the AK4D's mid to long-range effectiveness. Each chosen weapon complements the AK4D by filling tactical gaps, ensuring players remain potent across all combat scenarios in Battlefield 6 Small Maps.
#1 PW5A3
The PW5A3 SMG significantly complements the AK4D by providing a rapid-fire solution for close-quarters combat, an area where the AK4D's slower rate of fire can be a disadvantage. The PW5A3's high rate of fire, excellent mobility, and superior close-range time-to-kill (TTK) directly counter the AK4D's limitations in tight spaces. This pairing creates a versatile loadout, allowing players to effectively engage enemies at both mid-to-long range with the AK4D and close-range with the PW5A3. The synergy is evident in its adaptability to the dynamic nature of Battlefield 6 Small Maps.
For instance, after using the AK4D to suppress enemies at a distance, a quick switch to the PW5A3 enables aggressive pushes into objectives or rapid clearing of buildings where destruction has created new entry points. This combination excels in scenarios like capturing flags in confined areas, navigating urban environments, or engaging multiple opponents at close proximity. The recommended loadout for the AK4D includes attachments that enhance its recoil control and damage range, such as a long barrel and a vertical grip, while the PW5A3 benefits from attachments that boost its aim-down-sight (ADS) speed and hip-fire accuracy, like a laser sight and a lightweight stock. This pairing is particularly effective when squad synergy is prioritized, as players can cover different engagement distances, providing comprehensive fire support. A potential limitation of this pairing is that both weapons might struggle in extreme long-range engagements against dedicated sniper rifles, requiring careful positioning and adaptive sightline usage.
#2 KORD 6P67
The KORD 6P67 assault rifle pairs with the AK4D to create a highly adaptable and formidable loadout, offering solutions for both close and extended engagements. While the AK4D excels at mid to long-range with its consistent damage, the KORD 6P67 brings a high rate of fire and low recoil, making it exceptionally potent in close-quarters battles and even capable at longer distances due to its stability. This pairing allows players to seamlessly transition between engagement types. The synergy benefits are substantial: the KORD can be used for aggressive pushes, clearing rooms, or suppressing targets, while the AK4D provides precise follow-up shots or engages enemies at greater distances.
This combination is particularly advantageous in Battlefield 6 Small Maps where levolution events can drastically alter engagement distances and cover. For example, if a building collapses, opening up new sightlines, the AK4D can be used to pick off distant targets, while the KORD handles any immediate threats in the newly formed close-quarter areas. Recommended loadout for the AK4D includes optics for improved target acquisition and extended magazines for sustained fire. For the KORD 6P67, attachments that further reduce recoil and increase sprint-to-fire time are beneficial for aggressive play. This pairing significantly enhances squad synergy, as a player can effectively hold down multiple angles and respond to diverse threats, maintaining team momentum. A potential limitation is that both are assault rifles, meaning a player might lack a dedicated extreme close-range option like a shotgun, or an extreme long-range option like a sniper, requiring precise aim and tactical positioning to overcome these gaps.
#3 UMG-40
The UMG-40 SMG, known for its reliable performance at mid-range, pairs effectively with the AK4D to create a balanced and versatile loadout for Battlefield 6 Small Maps. While the AK4D handles mid to long-range engagements with its consistent damage and controlled fire, the UMG-40 fills the gap by providing a more agile and faster-firing option for encounters where the AK4D's slower rate of fire might be a detriment. The UMG-40's strength lies in its ability to outperform other SMGs at mid-range, making it an excellent bridge between the AK4D's optimal range and true close-quarters combat. This synergy allows players to adapt fluidly to the dynamic environment, especially when destruction mechanics alter cover and create new adaptive sightlines.
For instance, after using the AK4D to engage enemies across a street, switching to the UMG-40 allows for rapid entry into a building and effective clearing of interior spaces. This pairing excels in scenarios requiring quick transitions between open areas and confined spaces, such as defending or attacking objectives with multiple entry points. Recommended loadout for the AK4D focuses on enhancing its stability and damage range, perhaps with a heavy barrel and a bipod for sustained fire. The UMG-40 benefits from attachments that improve its ADS speed and reduce recoil, such as a short barrel and a vertical grip, allowing for quick target acquisition and accurate sustained fire. This combination significantly boosts squad synergy, as the player can effectively engage at various distances, supporting teammates in diverse combat situations. A potential limitation is that while the UMG-40 excels at mid-range for an SMG, it may still be outmatched by dedicated high rate-of-fire SMGs in very tight, reactive close-quarters gunfights, requiring players to leverage movement mechanics and cover effectively.
Tactical Usage Tips
Effectively utilizing the suggested AK4D weapon combinations requires strategic weapon switching and an understanding of engagement distances. When initiating combat at mid to long ranges, the AK4D is the primary choice, delivering accurate and damaging fire. As the engagement distance closes or if an enemy pushes aggressively, a rapid switch to the paired SMG (PW5A3 or UMG-40) is crucial. This quick transition leverages the SMG's superior fire rate and mobility for close-quarters dominance. Conversely, when pushing into an area, leading with the SMG allows for swift room clearing, with the AK4D ready for any longer-range threats that emerge.
When paired with the KORD 6P67, players gain immense versatility; the KORD can be used for sustained suppression or aggressive pushes, while the AK4D provides precise follow-up or covers longer lines of sight. Maximizing synergy involves anticipating enemy positions, utilizing destruction to create new angles, and adapting to levolution events that reshape the battlefield. For example, after a structure collapses, creating new close-range opportunities, immediately switch to the SMG. During sustained fire with the AK4D, consider the KORD for suppression to allow teammates to reposition. Always prioritize the weapon that best suits the immediate threat and environment, ensuring seamless transitions between roles within a squad.
Conclusion
The strategic pairing of the AK4D in Battlefield 6 Small Maps is paramount for achieving consistent success. The PW5A3 and UMG-40 SMGs offer crucial close-quarters capabilities, compensating for the AK4D's slower fire rate and allowing players to dominate tight objective areas and rapidly evolving combat zones. The KORD 6P67 assault rifle provides a versatile alternative, enhancing the AK4D's effectiveness across a wider range of engagements and adapting to dynamic battlefield changes. Players favoring aggressive, objective-focused gameplay will benefit from the AK4D-SMG pairings, while those who prefer a balanced approach with adaptability across distances will find the AK4D-KORD combination ideal.
The importance of strategic weapon combinations cannot be overstated; they enable players to adapt to destruction, leverage levolution events, and enhance squad synergy. Experimentation with these suggested pairings is encouraged to discover which loadout best complements individual playstyles and maximizes combat effectiveness in the fast-paced environment of Battlefield 6 Small Maps.