Key Takeaways
- The PW5A3 pairs effectively with the KORD 6P67, an assault rifle, to cover long-range engagements where the SMG's damage drop-off becomes a limitation. This combination is optimal for maintaining lane control and adapting to evolving sightlines on Big Maps.
- Combining the PW5A3 with the UMG-40, another SMG, creates a highly mobile loadout for aggressive close-to-mid-range pushes. This pairing excels in clearing destructible environments and rapidly repositioning through Levolution events.
- The SOR-556 MK2, a highly accurate assault rifle, complements the PW5A3 by providing precision for mid-to-long-range suppression and eliminating distant threats. This setup supports squad synergy by allowing the player to engage targets across various distances, maintaining pressure on objectives.
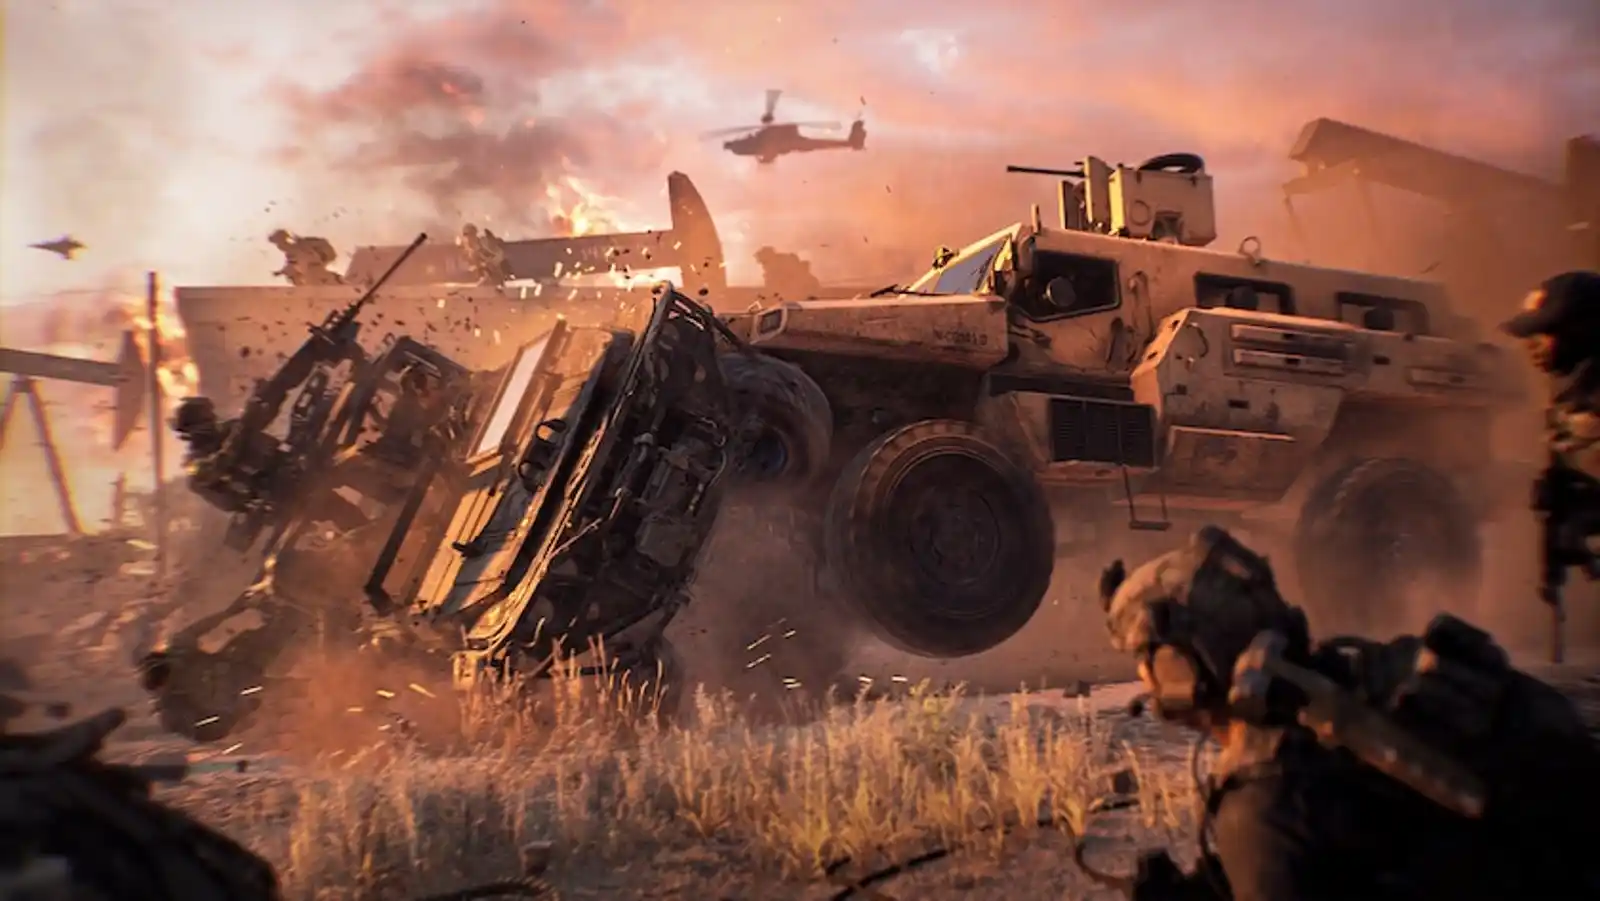
In Battlefield 6 Big Maps, the PW5A3 maintains its position as a reliable submachine gun, favored for its versatility in close to mid-range engagements. Despite its strengths, understanding proper weapon pairing is crucial to overcome its inherent limitations, particularly in the expansive and dynamic environments of Big Maps. The ability to adapt your loadout to varying engagement distances and tactical situations directly impacts combat effectiveness and squad contribution. This article provides an in-depth analysis of the best weapons to pair with the PW5A3, offering strategic insights into optimal combinations. Readers will learn how to leverage these pairings to dominate diverse combat scenarios, from tight interior skirmishes to long-distance lane control. Unlock the full potential of your PW5A3 and gain a decisive advantage through strategic weapon synergy.
Overview of the PW5A3
The PW5A3, a popular SMG in Battlefield 6, performs admirably in all engagements up to and including mid-range. Its high rate of fire and excellent mobility make it a formidable weapon in close-quarters combat, allowing for rapid target acquisition and effective clearing of tight spaces. The weapon's strengths lie in its superior time-to-kill at short distances and its agility, which is vital for navigating complex map layouts and reacting to sudden threats. However, its effectiveness diminishes significantly at longer ranges due to damage drop-off and increased recoil, making it less suitable for holding extended sightlines or engaging distant targets across Big Maps. This limitation is particularly evident when confronting opponents utilizing long-range weapons or holding fortified positions. Specific weapon pairings are essential to enhance the PW5A3's performance by compensating for its range deficiencies. By combining it with a weapon optimized for longer distances, players can maintain combat effectiveness across the varied engagement bands found in Big Maps. This strategy also allows for adaptability as destruction mechanics alter cover and create new sightlines, ensuring the player remains versatile regardless of environmental changes or Levolution events. Optimal pairings enable players to contribute more effectively to squad synergy by covering multiple threat vectors.
Best Guns to use with the PW5A3
The following weapon recommendations have been meticulously selected to complement the PW5A3's strengths and mitigate its inherent weaknesses. Each pairing addresses specific combat scenarios, ensuring comprehensive coverage across the diverse engagement distances present in Battlefield 6 Big Maps. These combinations are designed to enhance overall combat effectiveness by providing tactical versatility and improving adaptability to dynamic battlefield conditions.
#1 KORD 6P67
The KORD 6P67, an assault rifle with low recoil and a high rate of fire, serves as an excellent complement to the PW5A3. While the PW5A3 excels in close-to-mid-range encounters, the KORD 6P67 extends the player's effective range, performing well at both close and long distances. This pairing creates a versatile loadout that covers nearly all engagement bands found on Big Maps. The KORD 6P67's superior bullet velocity and damage range compensate for the PW5A3's drop-off, allowing players to engage distant threats effectively. This synergy is particularly beneficial when adaptive sightlines emerge due to environmental destruction or during large-scale Levolution events that alter map traversal. The ability to switch between the close-quarters efficiency of the PW5A3 and the long-range precision of the KORD 6P67 ensures continuous combat readiness. For a recommended loadout, the KORD 6P67 benefits from attachments that further enhance its accuracy and recoil control for sustained long-range fire, such as a high-magnification optic and a recoil-stabilizing muzzle. The PW5A3 can be optimized for close-range agility with attachments like a laser sight for hip-fire accuracy and a quick-draw grip. This pairing excels in scenarios requiring active lane control, suppressing enemy advances across open terrain, or providing overwatch for squad pushes. Its limitation lies in the potential for slower weapon swap times compared to two lighter weapons, requiring strategic timing in rapid, close-quarters transitions. However, for maintaining consistent pressure and adapting to the fluid nature of Big Maps, this combination significantly enhances squad synergy by allowing one player to effectively cover multiple threat distances.
#2 UMG-40
The UMG-40, a polymer SMG known for its low rate of fire and strong mid-range performance, provides a unique pairing option with the PW5A3. While both are SMGs, the UMG-40's .40 caliber rounds and optimized damage range allow it to outperform many peers in mid-range encounters, bridging the gap where the PW5A3 might begin to struggle. This pairing offers exceptional mobility and agility, making it ideal for aggressive, fast-paced playstyles, especially within the confines of destructible environments. The synergy benefits from having two highly mobile weapons, enabling rapid repositioning, flanking maneuvers, and quick pushes through areas affected by Levolution events. Players can leverage the PW5A3 for immediate, close-quarters engagements within buildings or around objectives, then quickly switch to the UMG-40 for slightly extended SMG duels as they transition between cover. A recommended loadout for the UMG-40 would focus on enhancing its already strong mid-range capabilities with attachments like a clear reflex sight and a barrel that increases bullet velocity. The PW5A3 could maintain its close-range dominance with a compact stock for faster ADS and a high-capacity magazine. This combination excels in objective play where constant movement and adaptability to changing cover are paramount. It is particularly effective in urban combat zones or areas with frequent close-to-mid-range engagements. A potential limitation is the lack of a true long-range option, which might leave the player vulnerable in very open areas or against dedicated snipers. However, for players who prioritize aggressive squad synergy and leveraging movement mechanics, this dual-SMG setup provides unparalleled close-to-mid-range dominance, allowing for effective suppression and area denial in dynamic combat scenarios.
#3 SOR-556 MK2
The SOR-556 MK2, a highly accurate modular assault rifle effective at mid to long-range engagements, presents a robust pairing with the PW5A3. The PW5A3's proficiency in close-to-mid-range combat is perfectly complemented by the SOR-556 MK2's precision and extended damage range, creating a versatile loadout capable of handling nearly any engagement distance on Battlefield 6 Big Maps. This combination allows players to dominate close-quarters battles with the PW5A3's high fire rate and then seamlessly transition to the SOR-556 MK2 for accurate suppression or elimination of threats at a distance. The synergy is particularly strong in scenarios where adaptive sightlines are constantly changing due to environmental destruction or during large-scale Levolution events. The SOR-556 MK2's accuracy enables players to hold key choke points, provide effective cover fire, and pick off enemies attempting to reposition. For a recommended loadout, the SOR-556 MK2 should be equipped with attachments that maximize its accuracy and bullet velocity, such as a precision barrel, a stable stock, and a clear optic suitable for mid-to-long-range engagements. The PW5A3 can be optimized for close-range responsiveness with a lightweight grip and a fast-aiming sight. This pairing excels in maintaining lane control, supporting squad pushes by neutralizing distant threats, and engaging enemies across open areas. Its primary limitation is the potential for slower overall mobility compared to dual-SMG setups, but the enhanced versatility across distances often outweighs this. This combination significantly boosts squad synergy by ensuring the player can contribute effectively to both aggressive assaults and defensive holds, adapting to the full spectrum of combat situations presented in Big Maps.
Tactical Usage Tips
Effectively utilizing the suggested weapon combinations with the PW5A3 requires strategic weapon switching based on engagement distance and environmental factors. For close-quarters combat, always prioritize the PW5A3. Its high fire rate and mobility ensure a rapid time-to-kill in tight spaces, especially when clearing buildings or pushing objectives. As engagement distances open up, switch to the paired assault rifle (KORD 6P67 or SOR-556 MK2) to maintain accuracy and damage output. This transition is crucial when moving from interior spaces to open lanes or engaging enemies across a destroyed cover. Maximizing synergy involves understanding each weapon's optimal range. Use the assault rifle to suppress distant enemies, forcing them into cover, then push forward with the PW5A3 to capitalize on their repositioning. Conversely, if caught in an unexpected long-range engagement with the PW5A3, immediately switch to the assault rifle to return effective fire. Leverage Levolution events to create new sightlines; a paired assault rifle can quickly exploit these changes, while the PW5A3 remains ready for close-range threats that emerge from altered terrain. For the UMG-40 pairing, maintain aggressive pressure in mid-range encounters, using the UMG-40's precision to secure kills, then quickly swap to the PW5A3 for any immediate close-range follow-ups. Consistent practice with weapon switching and understanding the flow of Big Maps will significantly enhance gameplay.
Conclusion
The PW5A3, while potent in its own right, reaches its full potential when strategically paired with complementary weapons in Battlefield 6 Big Maps. The KORD 6P67 and SOR-556 MK2 offer excellent long-range coverage, transforming the player into a versatile threat capable of dominating across all distances and adapting to dynamic destruction and Levolution events. For those prioritizing mobility and aggressive close-to-mid-range dominance, the UMG-40 pairing provides unparalleled agility. Each combination offers unique advantages, catering to different playstyles—from objective-focused pushes to strategic lane control. The importance of strategic weapon combinations cannot be overstated; they are fundamental to maximizing individual performance and contributing effectively to squad synergy. Players are encouraged to experiment with these suggested pairings, find what best suits their preferred approach, and master the art of adaptive loadouts to consistently secure victory on the ever-evolving battlefields.