Key Takeaways
- Pairing the M45A1 with the M4A1 assault rifle provides versatile combat capabilities, covering medium to long-range engagements while the M45A1 handles immediate close-quarters threats or reload gaps.
- The SGX SMG complements the M45A1 by offering superior close-range damage output and mobility, making it ideal for aggressive pushes into contested areas or clearing interiors where destruction creates new pathways.
- Combining the M45A1 with the M87A1 shotgun creates a formidable close-quarters specialist loadout, allowing for devastating room-clearing potential and rapid elimination of multiple targets in tight spaces.
In Battlefield 6 Big Maps, understanding weapon synergy is paramount for battlefield dominance. The M45A1 pistol, a reliable sidearm, holds a unique position in the current meta, often serving as a critical backup or a quick-swap option in dire situations. Its effectiveness, however, is significantly amplified when paired with a primary weapon that complements its strengths and mitigates its inherent limitations. Proper weapon pairing is not merely about having two guns; it is about creating a cohesive loadout that allows players to adapt to the dynamic and evolving combat scenarios characteristic of Big Maps. Factors such as destruction altering sightlines, levolution events changing engagement distances, and the need for squad synergy all underscore the importance of a well-thought-out weapon combination.
This article provides a comprehensive guide to the best weapons to pair with the M45A1, offering detailed insights into optimal loadout combinations and tactical advantages. Readers will learn how to leverage these pairings to gain strategic advantages, maintain consistent combat effectiveness, and contribute decisively to squad objectives across the varied landscapes of Battlefield 6.
Overview of the M45A1
The M45A1 in Battlefield 6 Big Maps functions as a classic sidearm, delivering considerable damage with its .45 ACP rounds. Its role in the meta is primarily as a reliable secondary weapon, suitable for emergency close-quarters engagements or as a rapid follow-up when a primary weapon runs dry. A key strength of the M45A1 is its quick draw time and solid stopping power at very close ranges, making it an effective tool for finishing off weakened opponents or for desperate self-defense. However, its primary weakness lies in its low base magazine capacity, which limits sustained engagement potential, and its significant damage drop-off beyond close quarters. This pistol is not designed for extended firefights or engaging targets at medium to long ranges.
Therefore, specific weapon pairings are crucial to enhance its performance and cover its limitations. By selecting a primary weapon that excels in areas where the M45A1 falters, players can create a balanced loadout capable of adapting to the diverse combat distances and fluid tactical situations presented by Big Maps, especially when destruction opens new sightlines or levolution alters engagement zones. Effective pairing ensures continuous combat readiness and supports overall squad synergy by allowing players to maintain pressure regardless of the immediate situation.
Best Guns to use with the M45A1
The following recommended weapons have been carefully selected to specifically complement the M45A1. Each pairing addresses the M45A1's inherent limitations, such as its low magazine capacity and restricted effective range, or enhances its strengths in close-quarters combat. These combinations provide a balanced approach to the varied engagement distances found in Battlefield 6 Big Maps.
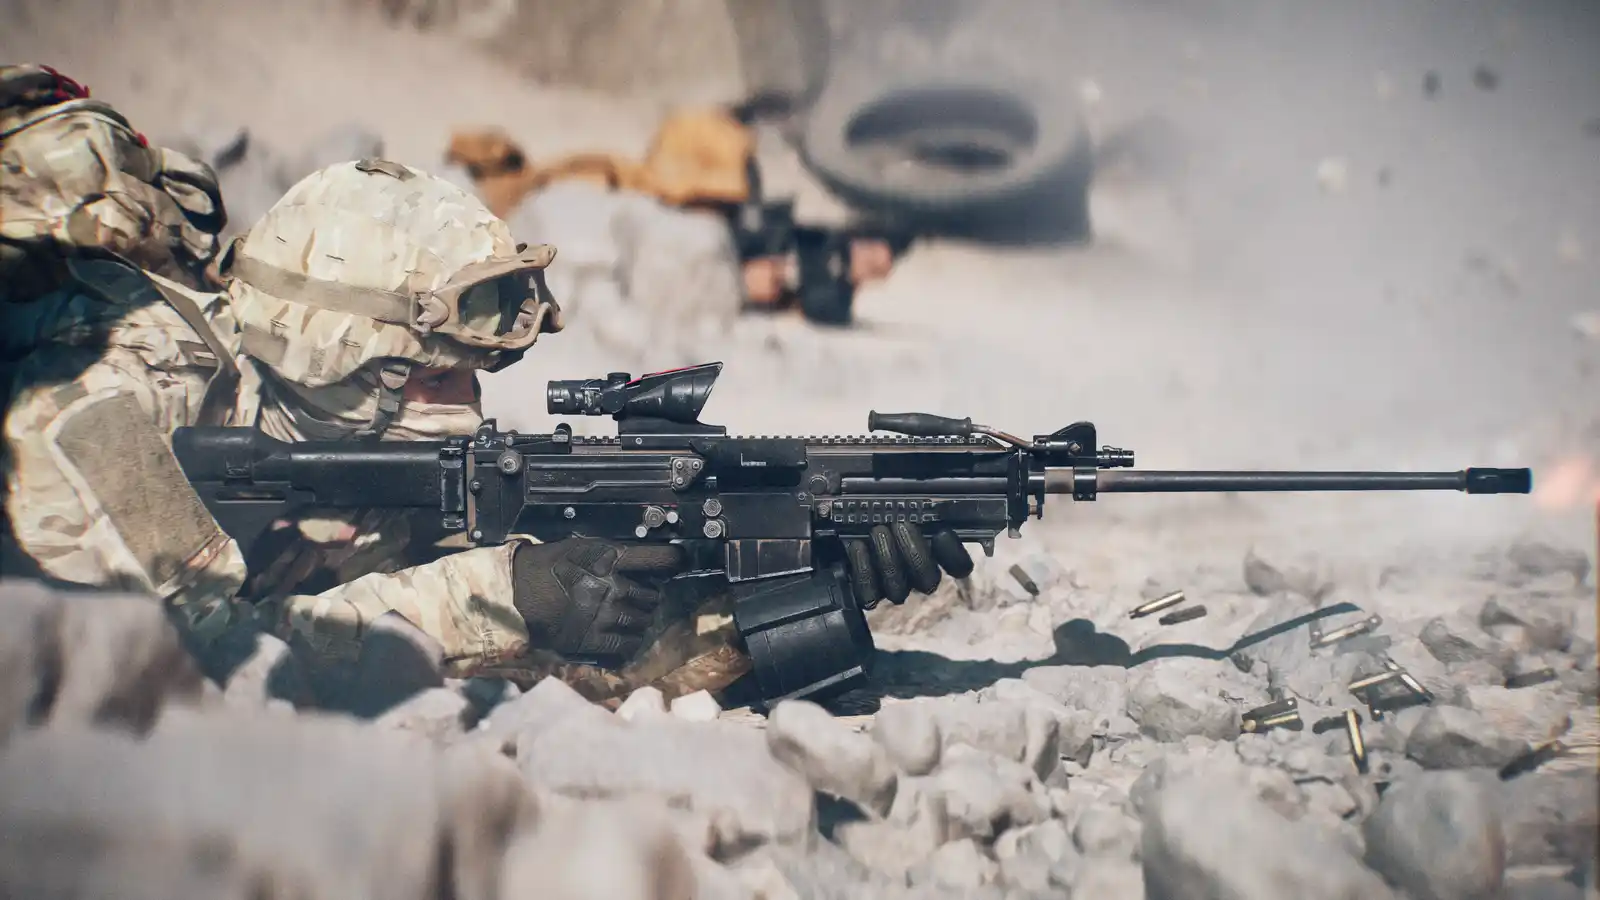
#1 M4A1
Pairing the M4A1 assault rifle with the M45A1 pistol creates a highly versatile loadout, adept at handling a wide spectrum of engagement distances in Battlefield 6 Big Maps. The M4A1, with its high cyclic rate, excels in medium-range engagements, providing sustained fire and decent damage output. While its effective range extension requires competent recoil management, it offers a significant advantage over the M45A1's limited range. This synergy allows players to engage targets effectively from a distance with the M4A1, then quickly switch to the M45A1 for immediate close-quarters threats or to finish off opponents if the M4A1's magazine is depleted. The M45A1 acts as a reliable backup, covering the M4A1 during reloads or when rapid, close-range damage is needed.
A recommended loadout for the M4A1 would include a medium-range optic, a vertical grip for recoil control, and an extended magazine to maximize its sustained fire capabilities. For the M45A1, an extended magazine is advisable to mitigate its low base capacity. This pairing excels in scenarios requiring adaptive sightline management, such as defending or assaulting objectives across open terrain with intermittent cover, where destruction might create new lines of fire. It also performs well in situations where levolution events dramatically alter engagement distances, allowing for quick adaptation. Potential limitations include the M4A1's need for recoil control at longer ranges, which, if not managed, can leave players vulnerable, making the M45A1 a less ideal follow-up at those distances.
#2 SGX
The SGX SMG, when paired with the M45A1, forms a potent close-quarters combat specialist loadout, ideal for aggressive playstyles within Battlefield 6 Big Maps. The SGX, a modern 9.19mm PDW, is designed for close-range engagements, boasting a high rate of fire and excellent mobility. This directly complements the M45A1 by providing a primary weapon that can dominate tight spaces and rapidly eliminate multiple targets. The M45A1 serves as an immediate backup for the SGX, especially useful if the SMG runs out of ammunition during a frantic close-range encounter or for quick target transitions.
The synergy benefits include superior mobility for flanking maneuvers and rapid objective pushes, enhanced close-range time-to-kill, and the ability to maintain aggression in confined areas. A recommended loadout for the SGX would prioritize attachments that further enhance its close-quarters performance, such as a laser sight for improved hip-fire accuracy, a short barrel for faster ADS time, and an extended magazine. The M45A1 benefits from an extended magazine to provide more shots in a pinch. This pairing excels in urban environments, inside buildings, or during pushes through areas heavily affected by destruction, where adaptive sightlines favor rapid, mobile engagements. It is particularly effective for clearing objectives and maintaining squad synergy through aggressive advances. A potential limitation is the SGX's inherent weakness at longer ranges, which means players must rely heavily on their positioning and movement to close distances, making them vulnerable in open areas. The M45A1 cannot effectively compensate for this range deficit.
#3 M87A1
The M87A1 pump-action shotgun, paired with the M45A1 pistol, creates an exceptionally powerful close-quarters loadout designed for devastating impact in tight spaces within Battlefield 6 Big Maps. The M87A1, chambered with 3" shells, offers improved stopping power and is capable of eliminating opponents rapidly at very close ranges. This weapon perfectly complements the M45A1 by providing overwhelming burst damage, ideal for clearing rooms and defending choke points. The M45A1 acts as a crucial secondary, offering a quick follow-up weapon for targets that survive the initial shotgun blast or for engaging multiple enemies when the M87A1 requires a reload.
The synergy benefits are immediate and impactful close-range lethality, allowing players to dominate interiors and surprise enemies around corners. A recommended loadout for the M87A1 would focus on maximizing its close-range effectiveness and handling, such as a tighter choke for improved pellet spread and a tactical stock for faster aiming. For the M45A1, an extended magazine is essential to provide additional capacity for follow-up shots. This pairing excels in highly contested objective areas, especially those with heavy destruction that creates numerous close-quarters engagement opportunities and altered sightlines. It is also highly effective in urban combat and during rapid assaults on enemy positions, contributing significantly to squad synergy by quickly neutralizing threats in confined spaces. A primary limitation is the M87A1's extremely limited effective range, which necessitates careful positioning and map awareness to avoid being caught in open areas where both weapons are at a severe disadvantage. The M45A1, while a decent backup, cannot effectively bridge this range gap.
Tactical Usage Tips
Effectively utilizing M45A1 weapon combinations requires strategic awareness and quick decision-making. For engagements at varied distances, mastering weapon switching is crucial. When pushing into close quarters or encountering an immediate threat, a rapid swap from a primary assault rifle (like the M4A1) to the M45A1 can provide the necessary burst damage or a quick finish. Conversely, if a close-range primary weapon (such as the SGX or M87A1) runs dry during an intense firefight, switching to the M45A1 allows for continuous pressure without the delay of a full reload.
Maximizing synergy involves understanding each weapon's optimal range. Use the M4A1 for medium to long-range suppression and damage, then transition to the M45A1 if an enemy pushes too close or if the M4A1 needs to reload. With the SGX, maintain aggressive pushes in tight spaces, using the M45A1 as a reliable backup for quick target acquisition or when facing multiple opponents. For the M87A1, dominate interiors with its devastating power, and be prepared to quickly draw the M45A1 for any survivors or unexpected threats. Always consider the dynamic environment of Battlefield 6 Big Maps; destruction can open new sightlines requiring a range adjustment, and levolution events may necessitate a rapid change in engagement strategy. Optimal squad synergy is achieved when players effectively manage their loadouts to cover various threats, supporting teammates through adaptable combat roles.
Conclusion
Selecting the best weapon to pair with the M45A1 in Battlefield 6 Big Maps is essential for maximizing combat effectiveness. The M4A1 provides versatile medium-range capabilities, offering a balanced approach for various scenarios. The SGX excels in aggressive close-quarters combat, perfect for players who prefer rapid assaults and flanking maneuvers. The M87A1 shotgun delivers unparalleled stopping power in tight spaces, making it ideal for objective clearing and defending. Each pairing offers unique advantages, catering to different playstyles and tactical needs.
Understanding these strategic combinations and how they leverage the M45A1's strengths while mitigating its weaknesses is key to success. Players are encouraged to experiment with these suggested pairings to discover which combination best suits their individual preferences and contributes most effectively to their squad's success on the dynamic battlefields of Battlefield 6.