Key Takeaways
- The PW5A3 SMG complements the M433's close-range dominance by extending effectiveness into mid-range engagements, ideal for pushing objectives and navigating destruction in tight spaces.
- The KORD 6P67 Assault Rifle pairs with the M433 to provide balanced close and long-range capabilities, crucial for holding evolving sightlines and supporting squad pushes across varied terrain.
- The UMG-40 SMG offers a mid-range advantage that covers the M433's limitations beyond close quarters, excelling in flanking maneuvers and maintaining pressure in areas affected by levolution events.
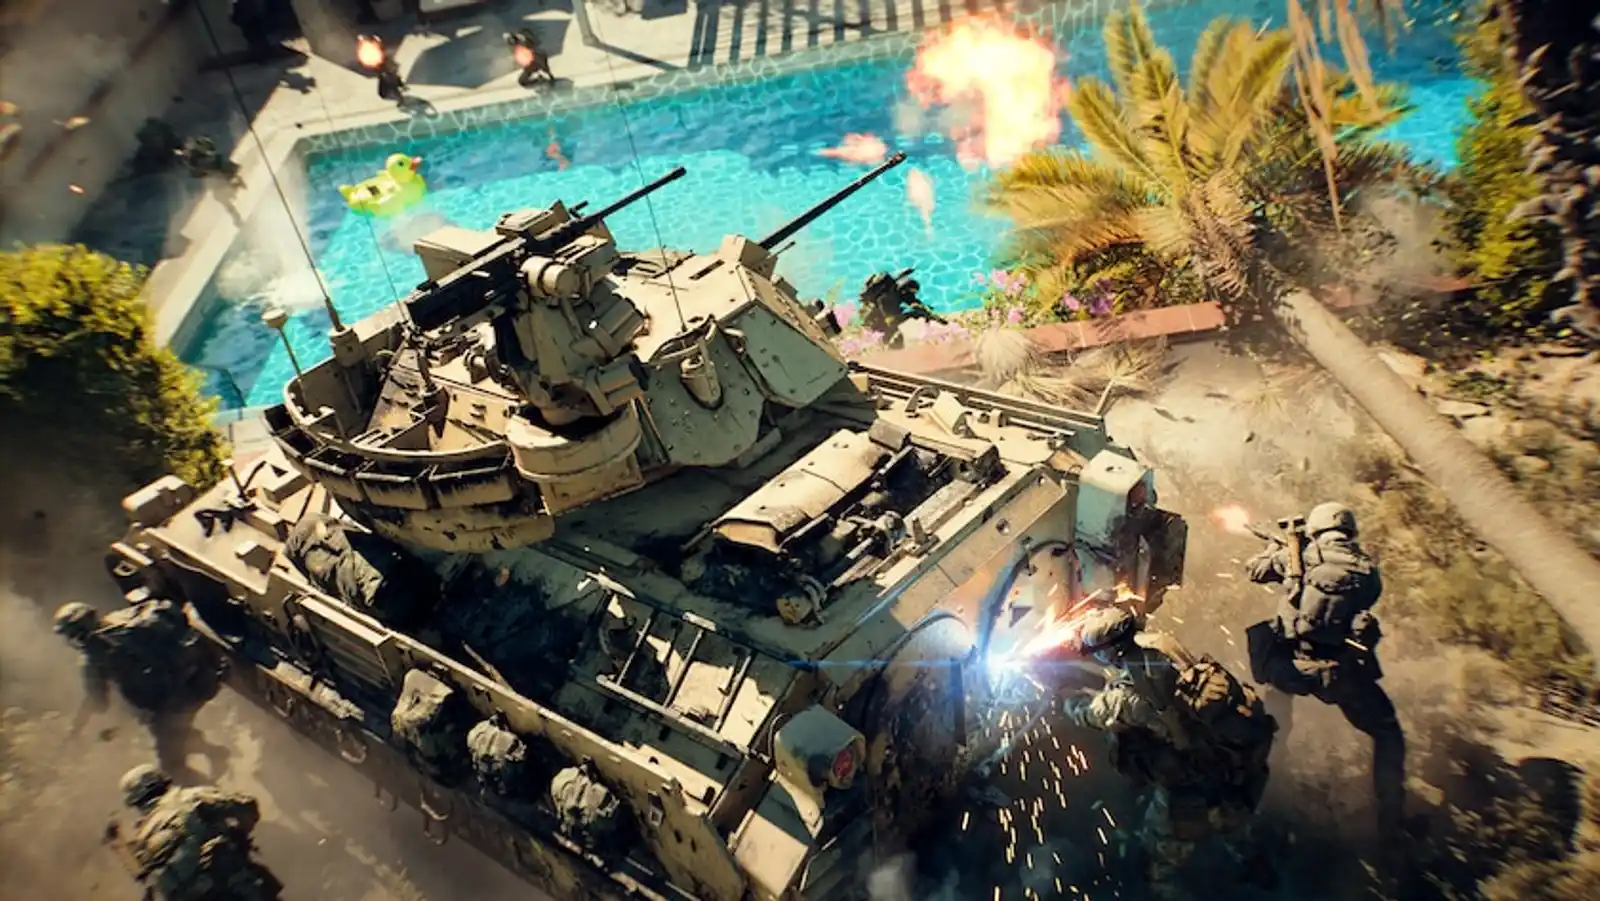
The M433 assault rifle maintains a prominent position within the Battlefield 6 small maps meta, recognized for its potent close-range capabilities. However, its effectiveness diminishes at longer distances, making strategic weapon pairing not merely beneficial but crucial for consistent performance. This article delves into optimal secondary weapon choices that complement the M433, transforming a strong individual weapon into a versatile loadout capable of dominating varied combat scenarios. Readers will gain comprehensive insights into weapon synergies, recommended loadouts, and tactical applications. Understanding these strategic advantages allows players to adapt to the dynamic environments of Battlefield 6, ensuring readiness for any engagement distance and maximizing their impact on the battlefield.
Overview of the M433
The M433 is an assault rifle chambered in 5.56x45, distinguished by its above-average rate of fire. This characteristic positions it as a highly effective weapon for closer-range engagements, where its high damage output per second translates into a rapid time-to-kill. In the Battlefield 6 small maps meta, the M433 excels in objective pushes, clearing tight corridors, and reacting quickly to close-quarter threats. Its primary strength lies in its aggressive close-range lethality and manageable recoil when used within its optimal distance. Conversely, the M433's main weakness becomes apparent in mid to long-range encounters, where damage fall-off and bullet velocity limitations reduce its effectiveness. This necessitates precise weapon pairings that can extend a player's engagement capabilities beyond the M433's inherent range. By selecting a complementary secondary weapon, players can cover the M433's limitations, allowing for adaptability across the diverse combat distances present in small maps and maintaining effectiveness as destruction alters sightlines.
Best Guns to use with the M433
The following recommended weapons have been carefully selected to enhance the M433's performance by addressing its inherent limitations or amplifying its strengths. Each pairing provides distinct tactical advantages, ensuring players are equipped for a wider array of combat scenarios. These combinations are designed to maintain combat effectiveness across varying engagement distances and adapt to dynamic map conditions, including destruction and evolving sightlines.
#1 PW5A3
The PW5A3 SMG, a popular weapon performing admirably in engagements up to mid-range, forms a highly effective pairing with the M433. While the M433 excels in close-quarters combat with its high rate of fire, the PW5A3 extends a player's lethality into the crucial mid-range, where the M433's effectiveness begins to wane. This synergy creates a versatile loadout capable of dominating the predominantly close-to-mid range engagements found on Battlefield 6 small maps. The PW5A3's superior mobility and faster aim-down-sight time complement the M433's more static firing stance, allowing for aggressive pushes and rapid repositioning, especially important when navigating areas affected by environmental destruction. This pairing ensures sustained squad synergy by enabling players to engage threats effectively regardless of the immediate combat distance, supporting teammates in both tight objective control and flanking maneuvers.
For the M433, a recommended loadout includes a short-range optic, a vertical grip for improved recoil control, and an extended magazine to sustain fire during intense close-quarter battles. The PW5A3 benefits from a mid-range optic, a laser sight for improved hip-fire accuracy in emergencies, and a suppressor to maintain stealth during flanking operations. This combination excels in scenarios involving tight objective areas, urban environments with frequent corner fights, and during levolution events that create new lines of sight. When structures collapse, opening up new angles, the PW5A3 can quickly engage targets at the newly exposed mid-ranges, while the M433 remains ready for any close-in threats. A potential limitation of this pairing is its reduced effectiveness at true long-range engagements, requiring players to actively manage their positioning to remain within optimal combat distances.
#2 KORD 6P67
The KORD 6P67, an assault rifle characterized by its low recoil and high rate of fire, offers exceptional performance across both close and long ranges, making it an outstanding complement to the M433. While the M433 dominates close-range encounters, the KORD 6P67 effectively covers the M433's limitations at extended distances, creating a balanced and highly adaptable loadout. This pairing provides significant synergy benefits, allowing players to maintain consistent damage output irrespective of the engagement range, crucial for controlling dynamic battlefields in Battlefield 6. The KORD 6P67's stability and accuracy at range enable players to hold adaptive sightlines that emerge from destruction events or levolution, providing crucial overwatch for squad pushes. This enhances squad synergy by ensuring suppressive fire and eliminating distant threats, allowing M433 users to focus on close-quarter objective clearing.
For the M433, a recommended loadout focuses on close-range optimization: a red dot sight, a laser sight for improved hip-fire, and a fast-mag attachment for quick reloads. The KORD 6P67 should be configured for accuracy and range, featuring a medium-power optic (e.g., 2x-4x), a heavy barrel for bullet velocity, and a bipod or foregrip for sustained fire stability. This combination excels in scenarios where engagement distances fluctuate rapidly, such as defending or attacking multi-level objectives, or when traversing open areas between points of cover. The KORD 6P67 can suppress enemies across open ground, while the M433 handles any immediate threats. A potential limitation is the dual assault rifle setup might feel less agile than an SMG pairing in extremely tight, rapid-movement scenarios, requiring players to be mindful of their weapon switch timing.
#3 UMG-40
The UMG-40, a renowned polymer SMG with a low rate of fire chambered in .40 caliber, excels at mid-range encounters, making it an effective pairing for the M433. While the M433 is optimized for aggressive close-quarters combat, the UMG-40 provides a reliable and precise option for engagements beyond the M433's optimal range, particularly in the critical 20-50 meter bracket. This pairing creates a versatile loadout that allows players to effectively control the varied engagement distances prevalent in Battlefield 6 small maps. The UMG-40's superior mid-range accuracy and manageable recoil complement the M433's close-range dominance, ensuring a consistent threat across the battlefield. This synergy is particularly beneficial when navigating areas impacted by destruction, where evolving sightlines demand adaptability. Players can use the UMG-40 to engage targets across newly opened spaces, while the M433 remains ready for any immediate close-range threats. This enhances squad synergy by allowing the player to cover multiple threat vectors, providing suppression or eliminations at mid-range while teammates push objectives.
For the M433, a recommended loadout includes a compact optic, a vertical grip, and an extended magazine to maximize its close-range potential. The UMG-40 benefits from a holographic sight for clear target acquisition, a compensator to further reduce recoil, and a quick-draw grip for faster weapon switching. This combination excels in scenarios involving flanking maneuvers, holding choke points with mixed engagement distances, and adapting to levolution events that reshape the battleground. For instance, after a building collapse, the UMG-40 can effectively clear newly exposed mid-range sightlines, while the M433 is ready for any enemies pushing through the rubble. A potential limitation of this pairing is the UMG-40's lower rate of fire compared to other SMGs, which may require more precise aim in very close, frantic engagements.
Tactical Usage Tips
Effectively utilizing M433 weapon combinations requires strategic weapon switching and an understanding of engagement distances. For close-quarter battles within structures or tight objective points, the M433 remains the primary choice due to its high rate of fire and close-range lethality. As engagement distances extend beyond 20 meters, or when navigating open lanes created by destruction, transitioning to the paired SMG or assault rifle becomes critical. For instance, if pushing through a building that has partially collapsed, creating new mid-range sightlines, switching to the PW5A3 or UMG-40 allows for effective engagement of targets at these new distances, while retaining the M433 for any enemies encountered in the immediate rubble. When holding a position, the KORD 6P67 can provide suppressive fire or eliminate distant threats, allowing the M433 user to cover closer approaches. Maximizing synergy involves anticipating these distance changes and pre-switching weapons. For example, before rounding a corner into a potentially open area, equip the longer-range weapon. Conversely, when breaching an enemy-held room, ensure the M433 is ready. Utilizing squad synergy by coordinating pushes and covering different angles further enhances the effectiveness of these pairings, ensuring continuous threat coverage across all ranges.
Conclusion
The M433, while a formidable close-range assault rifle in Battlefield 6 Small Maps, truly shines when paired with a complementary secondary weapon. The PW5A3 and UMG-40 SMGs excel at extending engagement capabilities into the mid-range, offering versatility for aggressive pushes and adapting to dynamic environments shaped by destruction. The KORD 6P67 assault rifle provides a balanced approach, covering both close and long-range threats, ideal for holding evolving sightlines and providing sustained fire support. Players seeking to dominate close-to-mid range engagements and maintain high mobility will find the SMG pairings beneficial. Those who prioritize adaptability across all distances and value sustained fire for squad synergy will gravitate towards the KORD 6P67. Strategic weapon combinations are paramount for success in Battlefield 6's fast-paced small maps. Experimenting with these suggested pairings allows players to discover the optimal loadout that perfectly aligns with their individual playstyle and maximizes their impact on the battlefield.