Key Takeaways
- The L85A3 assault rifle complements the M123K by providing reliable mid to long-range engagement capabilities, crucial for controlling evolving sightlines on Big Maps. This pairing excels when holding lanes or engaging targets across open areas after M123K suppression.
- The SGX SMG enhances the M123K's close-quarters dominance with superior mobility and faster target acquisition, ideal for aggressive pushes through destructible cover. This combination allows for rapid transitions between suppressing fire and swift room clearing.
- The DRS-IAR LMG offers a versatile secondary LMG option, extending sustained suppression and providing flexible fire support in dynamic engagements. This pairing is optimal for maintaining area denial and adapting to new combat fronts created by Levolution events.
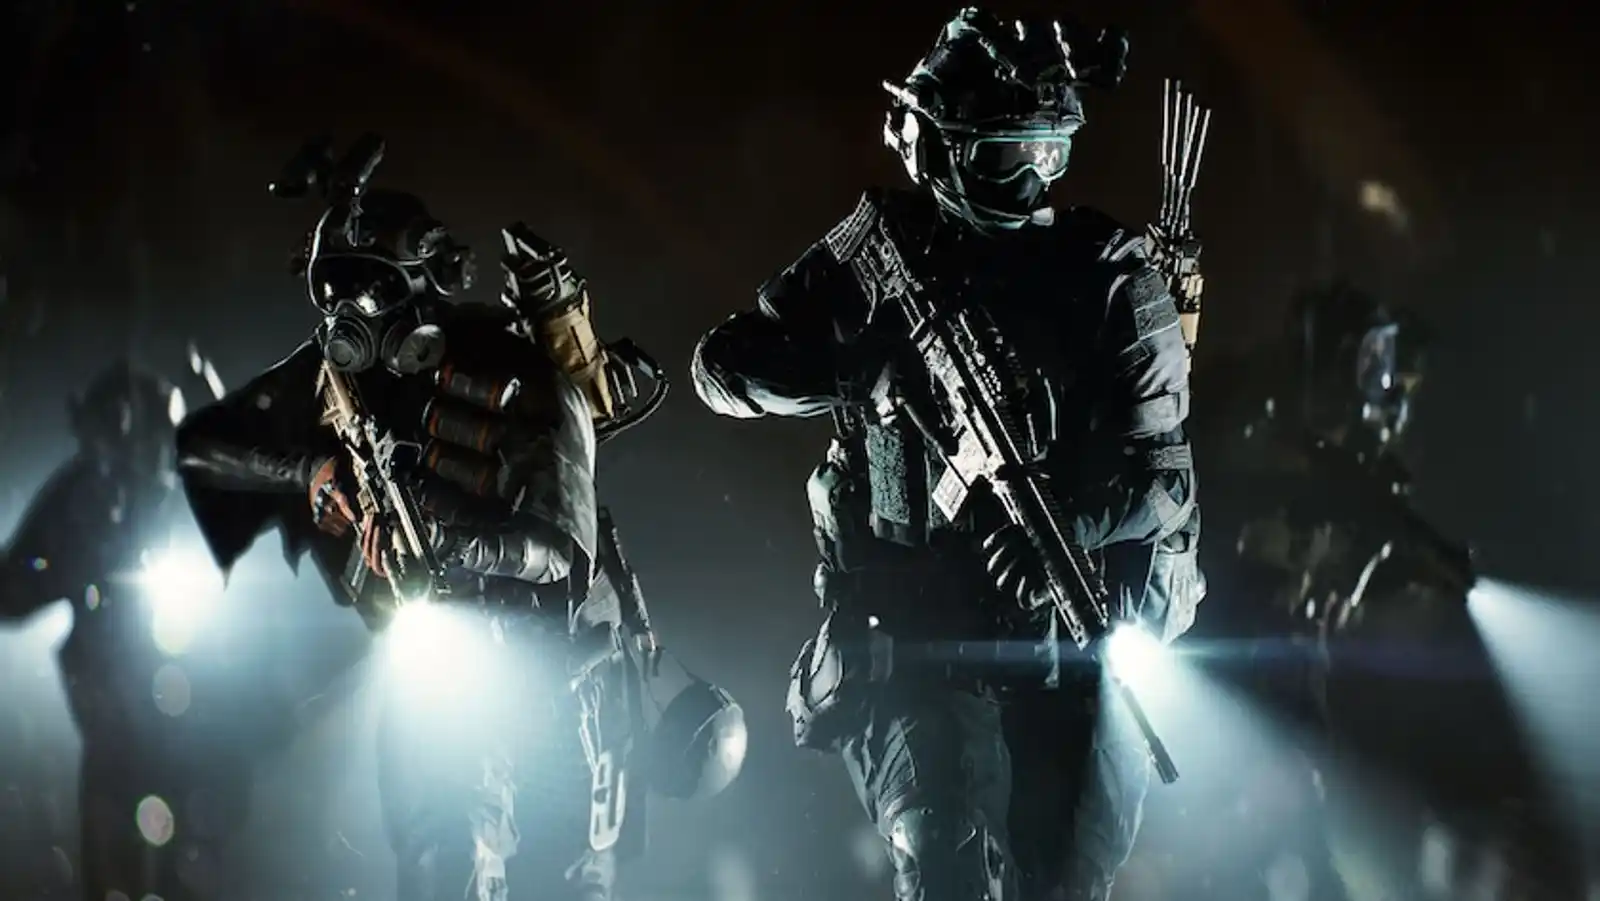
In Battlefield 6 Big Maps, the M123K Light Machine Gun stands as a formidable force in close-quarters combat and area suppression. Its high fire rate and large magazine capacity make it an ideal choice for mobile fire support, capable of dominating tight spaces and pinning down enemy advances. However, mastering the M123K's full potential on the expansive battlefields of Season 2 requires strategic weapon pairing. The diverse engagement distances and dynamic environments, influenced by destruction and Levolution events, necessitate a versatile loadout.
This article explores the optimal weapon combinations that complement the M123K, covering its inherent limitations and amplifying its strengths. Readers will gain insights into specific weapon synergies, recommended loadouts, and tactical applications for various combat scenarios. Understanding these strategic advantages is paramount for players aiming to consistently outperform opponents and adapt to the ever-changing combat landscape of Battlefield 6 Big Maps. Proper pairing ensures readiness for any threat, from close-range skirmishes to long-distance engagements.
Overview of the M123K
The M123K is a prominent Light Machine Gun in Battlefield 6 Big Maps, particularly effective for players seeking mobile fire support and close-quarters dominance. Its high rate of fire and substantial magazine capacity allow for sustained suppression, making it an invaluable tool for controlling objectives and denying enemy pushes. The weapon excels in tight interior spaces and during aggressive advances where its rapid bullet output can quickly overwhelm opponents.
Despite its strengths, the M123K exhibits limitations typical of its class. Its mobility is reduced compared to assault rifles or SMGs, and its slower aim-down-sight time can be a disadvantage in reactive engagements. While formidable up close, its effectiveness diminishes significantly at mid to long ranges due to increased recoil spread and reduced bullet velocity. Strategic weapon pairings are crucial to mitigate these weaknesses. By combining the M123K with a complementary secondary weapon, players can address its range limitations, enhance overall adaptability, and maintain effectiveness across the diverse engagement distances found on Big Maps, especially as destruction reshapes sightlines and Levolution events alter combat flow.
Best Guns to use with the M123K
The following weapon recommendations have been carefully selected to complement the M123K's inherent characteristics in Battlefield 6 Big Maps. Each pairing addresses specific limitations of the M123K, such as its range and handling, while simultaneously enhancing its strengths in suppression and close-quarters combat. These combinations aim to provide players with versatile loadouts capable of adapting to the dynamic combat environments, evolving sightlines, and squad synergy requirements of Season 2.
#1 L85A3
The L85A3 assault rifle serves as an excellent complement to the M123K, effectively bridging the M123K's mid-to-long range limitations. While the M123K dominates close-quarters and provides sustained suppression with its high fire rate, the L85A3 offers a steady rate of fire and superior accuracy at extended distances. This pairing creates a versatile loadout, allowing players to maintain pressure across all engagement bands on Battlefield 6 Big Maps.
The synergy between these two weapons is evident in their ability to adapt to dynamic combat scenarios. When destruction alters cover or Levolution events open new sightlines, the L85A3 can engage targets that are out of the M123K's optimal range, preventing enemies from repositioning effectively. Conversely, if an enemy pushes too close, a quick switch to the M123K provides immediate, overwhelming fire. This combination is particularly effective for squad synergy, as the M123K can suppress an area while the L85A3 picks off exposed targets, or vice versa.
Recommended loadout for the M123K includes attachments enhancing recoil control and bullet velocity, such as an extended barrel and a vertical grip, to slightly extend its effective range. For the L85A3, focus on attachments that further improve accuracy and stability for mid-to-long range engagements, such as a high-magnification optic and a heavy barrel. This pairing excels in scenarios involving lane control, holding flanks, and engaging targets across open areas or after cover has been destroyed. A potential limitation is the slower weapon swap time between an LMG and an AR compared to lighter weapon types, requiring conscious positioning to avoid being caught unprepared in rapid transitions.
#2 SGX
The SGX SMG, a modern 9.19mm PDW, pairs with the M123K by amplifying its close-quarters dominance and enhancing player mobility. While the M123K provides heavy, sustained fire and suppression in tight spaces, the SGX offers superior aim-down-sight speed, sprint-to-fire time, and overall mobility. This combination allows for extremely aggressive playstyles, enabling rapid transitions between suppressing fire and swift, decisive engagements within close proximity.
The tactical advantage of this pairing lies in its adaptability within destructible environments and during fast-paced objective assaults. When pushing through buildings or areas with heavy cover that can be destroyed, the M123K can lay down suppressing fire, forcing enemies to reposition. A quick switch to the SGX then allows for rapid advancement and clearing of newly exposed positions or flanking routes. For squad synergy, this pairing supports aggressive pushes, with the M123K providing cover fire while the SGX user rapidly eliminates threats, maintaining momentum.
Recommended loadout for the M123K should prioritize mobility and faster handling, such as a lighter stock and a quick-draw grip, to complement the SGX's speed. For the SGX, attachments should focus on maximizing close-range damage and mobility, like a short barrel and a laser sight for hip-fire accuracy. Alternatively, configuring the SGX with a longer barrel and a slight magnification optic can extend its effective range slightly, providing more versatility. This pairing excels in clearing objectives, pushing through contested chokepoints, and exploiting adaptive sightlines created by destruction. A potential limitation is that both weapons primarily favor close-range engagements, which can leave players vulnerable in extended open areas if the SGX is not configured for improved range.
#3 DRS-IAR
The DRS-IAR, a reliable Light Support Weapon that blurs the line into a service rifle, pairs with the M123K by offering a versatile alternative LMG option, enhancing sustained fire capabilities and adaptability. While the M123K excels in mobile close-quarters suppression, the DRS-IAR can be configured through its Gunsmith system to provide more stable, sustained fire at mid-range or even act as a more precise LMG. This allows for continuous heavy weapon pressure across varied engagement distances on Battlefield 6 Big Maps.
The tactical advantage of this pairing lies in its ability to maintain constant area denial and adapt to evolving combat fronts. For instance, if the M123K runs dry or requires a reload, a quick switch to the DRS-IAR ensures uninterrupted suppression and fire support, crucial for squad synergy during pushes or defensive stands. This is particularly valuable during Levolution events, where new pathways and sightlines emerge, demanding consistent heavy firepower to control. Both weapons contribute to effective suppression dynamics, making enemy repositioning difficult and allowing teammates to advance or flank.
Recommended loadout for the M123K should focus on its close-quarters strengths, such as a compact stock and a high-capacity drum magazine. For the DRS-IAR, attachments should enhance its versatility, perhaps a medium-range optic, a heavy barrel for bullet velocity, and a bipod for increased stability when holding positions. This allows the DRS-IAR to cover mid-range engagements more effectively than the M123K. This pairing excels in scenarios requiring sustained fire, holding multiple lanes, and adapting to large-scale map changes. A potential limitation is that both weapons are LMGs, meaning the overall mobility and aim-down-sight speed of the player will be lower compared to loadouts incorporating an SMG or assault rifle, requiring careful positioning and pre-aiming.
Tactical Usage Tips
Effectively utilizing M123K weapon combinations requires strategic awareness of engagement distances and dynamic battlefield conditions. When paired with the L85A3, players should leverage the M123K for aggressive pushes into close-quarters zones and for laying down suppressing fire. Transition to the L85A3 for engaging targets at mid to long ranges, particularly when holding lanes or exploiting new sightlines created by destruction. The slower weapon swap necessitates anticipating range changes.
With the SGX, the M123K initiates suppression or clears immediate threats, while the SGX provides superior mobility for flanking, rapid objective pushes, or quick room clearing. This pairing excels in fast-paced, close-range combat where quick reactions and agile movement are paramount. For the DRS-IAR pairing, the M123K handles mobile fire support and close-range suppression, while the DRS-IAR offers a stable platform for sustained mid-range fire or for maintaining pressure during M123K reloads. This ensures continuous heavy firepower, crucial for controlling areas affected by Levolution events. Maximizing synergy involves understanding each weapon's optimal range and switching proactively, not reactively. Always consider squad synergy; use the M123K's suppression to enable teammates' pushes or provide cover for revives.
Conclusion
Mastering the M123K in Battlefield 6 Big Maps hinges on selecting the right secondary weapon. The L85A3 provides crucial mid-to-long range precision, perfectly complementing the M123K's close-quarters dominance and adapting to evolving sightlines. For players prioritizing aggressive close-range engagements and superior mobility, the SGX enhances the M123K's clearing potential. Meanwhile, the DRS-IAR offers sustained LMG pressure across varied distances, ideal for maintaining area control during dynamic Levolution events.
Each pairing offers distinct tactical advantages, catering to different playstyles—from the versatile lane controller to the agile objective pusher or the steadfast fire support specialist. Strategic weapon combinations are not merely about individual weapon power but about creating a cohesive loadout that adapts to Battlefield 6's complex environments and supports squad synergy. Experiment with these suggested pairings to discover which best suits your approach and elevate your performance on the battlefield.