Key Takeaways
- The M4A1 assault rifle complements the M123K by providing reliable mid-range engagement capabilities, ideal for securing lanes and engaging targets exposed by M123K suppression, especially as destruction alters sightlines.
- The SGX SMG offers superior close-quarters mobility and rapid target acquisition, allowing aggressive pushes into tight spaces and flanking maneuvers, while the M123K provides area denial and suppressive fire.
- The M87A1 shotgun delivers devastating close-range stopping power, ensuring immediate threat neutralization in unexpected encounters, particularly in confined areas or during rapid objective assaults where levolution has created new pathways.
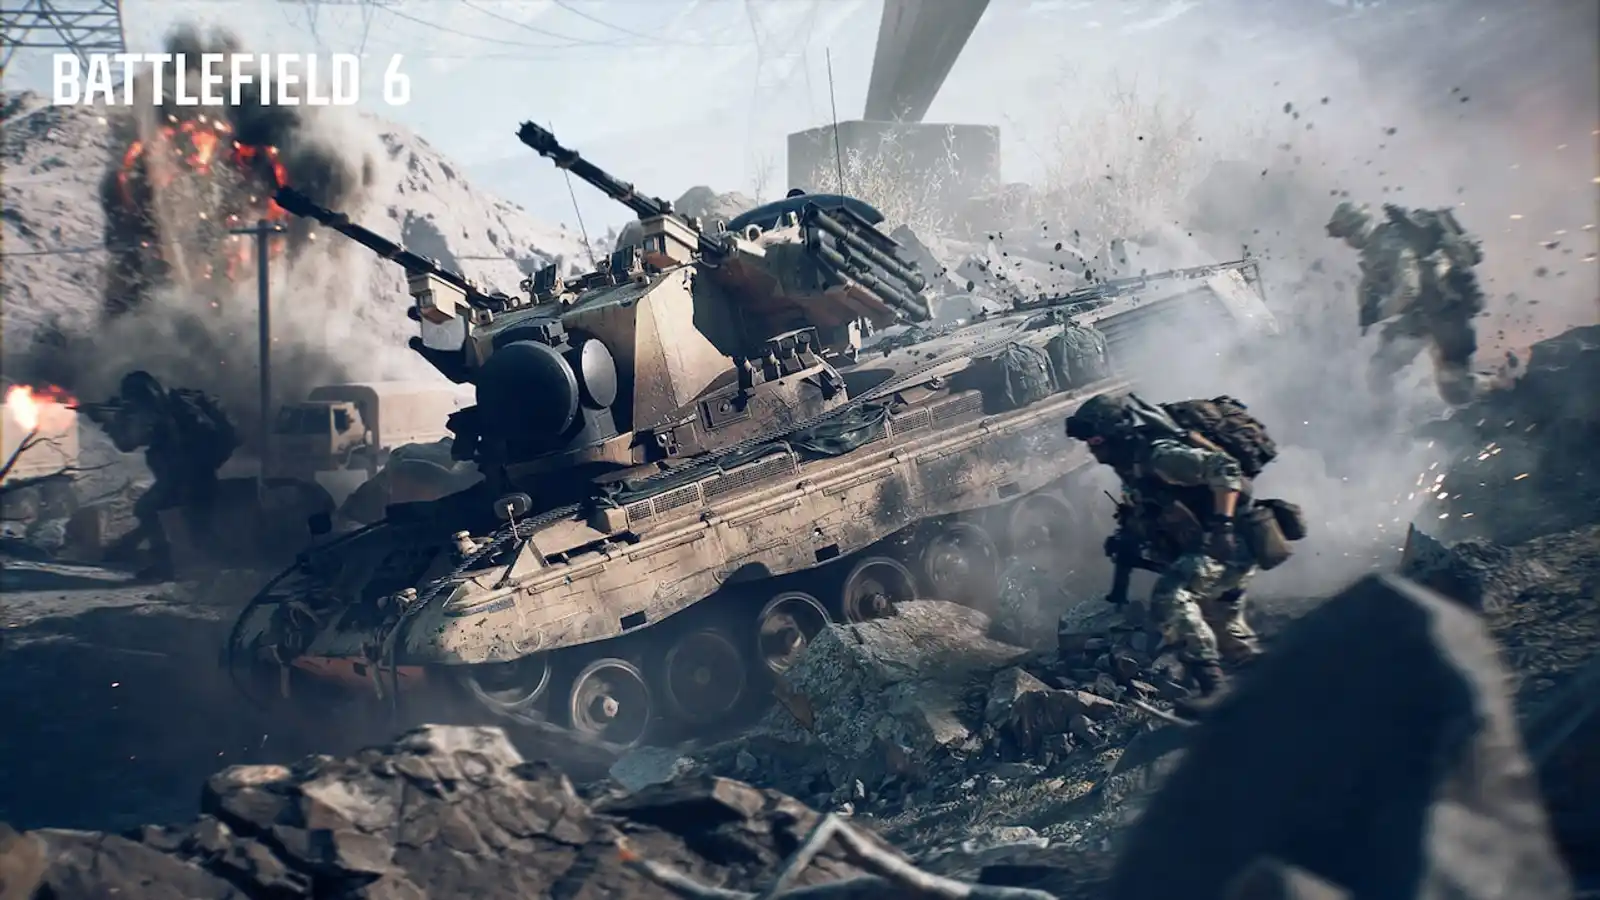
The M123K currently holds a significant position in the Battlefield 6 meta as a highly effective Light Machine Gun, celebrated for its mobile fire support capabilities and high rate of fire. While formidable in close-quarters and suppression, its true potential is unlocked through strategic weapon pairing. Proper secondary weapon selection is crucial to compensate for the M123K's inherent limitations, such as its slower handling and reload times.
This article will guide players through an in-depth analysis of optimal weapon combinations, detailing how each pairing enhances the M123K's strengths and mitigates its weaknesses across Battlefield 6's expansive Big Maps. Understanding these strategic advantages allows players to adapt to dynamic combat scenarios, from evolving sightlines due to destruction to sudden changes brought by Levolution events, ensuring sustained squad synergy and overall battlefield dominance.
Overview of the M123K
The M123K is an LMG designed for mobile fire support in Battlefield 6. Its performance characteristics include a high fire rate and substantial damage output, making it dominant in close-quarters engagements and highly effective at suppressing enemy positions. This weapon excels at maintaining sustained fire, creating area denial, and pinning down opponents, which is crucial for controlling lanes on Big Maps. Its primary strength lies in its ability to quickly eliminate multiple targets at close range and provide consistent suppressive fire, aiding squad movements and objective pushes.
However, the M123K's weaknesses include slower mobility, extended reload times, and reduced effectiveness at longer ranges due to increased recoil and bullet drop. Specific weapon pairings are essential to enhance the M123K's performance by covering these limitations. A well-chosen secondary weapon can provide versatility for mid-to-long range engagements, improve mobility for repositioning, or offer a quick-swap option for immediate close-quarters threats during reloads. This strategic approach ensures the M123K user remains effective across varied combat distances and scenarios, adapting to the dynamic nature of Battlefield 6's destruction and levolution mechanics.
Best Guns to use with the M123K
The following recommended weapons have been carefully selected to complement the M123K's unique combat profile. Each pairing addresses specific limitations or amplifies existing strengths, ensuring versatility across diverse engagement distances and combat scenarios. These combinations aim to optimize performance by offering solutions for mid-range threats, rapid close-quarters responses, or improved mobility, thereby enhancing overall battlefield effectiveness and squad synergy.
#1 M4A1
The M4A1 assault rifle serves as an excellent complement to the M123K, primarily by extending the effective engagement range and providing a versatile option for mid-range combat. While the M123K excels in close-quarters suppression and sustained fire, its mobility and accuracy at distance can be limiting. The M4A1, with its balanced damage, moderate recoil, and higher bullet velocity, allows the player to engage targets effectively beyond the M123K's optimal range. This pairing creates significant synergy; the M123K can suppress enemy positions, forcing opponents into cover, while the M4A1 can then be used to pick off exposed targets or engage threats that are too distant for the LMG.
Tactical advantages include maintaining pressure across varying distances and adapting to adaptive sightlines created by environmental destruction. For instance, after the M123K suppresses a building, the M4A1 can clear newly exposed windows or doorways. A recommended loadout for the M123K would focus on increased magazine capacity and recoil control to maximize suppression, while the M4A1 benefits from attachments that enhance accuracy and reduce recoil for precise mid-range engagements. This combination excels in Big Maps where lane control is vital, allowing players to hold positions or push objectives with both suppressive power and accurate follow-up fire. Potential limitations include a slight overlap in effective range, though the M4A1's superior handling makes it more agile for quick target acquisition. Squad synergy is enhanced as the M4A1 user can provide cover fire during M123K reloads or engage flankers while the LMG maintains front-line suppression.
#2 SGX
The SGX SMG pairs effectively with the M123K by drastically enhancing close-quarters combat capabilities and player mobility. The M123K, while powerful up close, suffers from slower aim-down-sight (ADS) time and general handling, making rapid target acquisition in dynamic, tight spaces challenging. The SGX, a modern 9.19mm PDW, offers superior mobility, significantly faster ADS time, and a high fire rate, making it ideal for aggressive pushes, clearing interiors, and reacting swiftly to immediate threats. This combination creates a potent synergy: the M123K can be used for suppressive fire and area denial in open lanes or chokepoints, while the SGX allows for rapid transitions into buildings or around corners where destruction has created new pathways.
Tactical advantages include the ability to swiftly reposition and engage enemies in close proximity, crucial during Levolution events that alter map layouts and create unexpected engagement zones. For a recommended loadout, the M123K should prioritize sustained fire and recoil stability for effective suppression, while the SGX benefits from attachments that maximize hip-fire accuracy and sprint-to-fire time for aggressive, mobile engagements. This pairing excels in objective-focused gameplay within Big Maps, particularly when capturing points that involve tight spaces or multi-level structures. While the SGX can be configured for improved ranged capabilities, its primary limitation remains its effectiveness beyond short distances, which the M123K can then cover. Squad synergy benefits from the M123K providing suppressive cover for an SGX-wielding teammate to push flanks or clear rooms, maintaining offensive momentum.
#3 M87A1
The M87A1 shotgun, a reliable pump-action weapon chambered with 3-inch shells, provides unparalleled close-range stopping power, making it an impactful pairing with the M123K. While the M123K dominates with sustained fire and suppression, its effectiveness in immediate, unexpected close-quarters encounters, especially during reloads, can be a vulnerability. The M87A1 fills this gap by offering instant, devastating damage at very short distances, ensuring immediate threat neutralization. This synergy allows the M123K user to maintain suppressive fire or engage at medium range, then quickly switch to the M87A1 for any sudden, close-proximity threats, particularly in areas where destruction has created tight corridors or ambush points.
Tactical advantages include superior defense against aggressive pushes and the ability to clear confined spaces rapidly. For example, after a Levolution event collapses a structure, the M87A1 becomes invaluable for securing the newly formed enclosed spaces. A recommended loadout for the M123K would focus on magazine capacity and sustained fire, while the M87A1 benefits from attachments that improve pellet spread and reload speed, maximizing its close-range lethality. This pairing excels in urban environments, objective defense, or when breaching buildings on Big Maps. The primary limitation of the M87A1 is its extremely limited effective range, making it almost useless beyond close quarters. However, this is precisely where the M123K's strengths come into play, providing cover for longer engagements. Squad synergy is enhanced as the M123K can suppress an area, allowing the M87A1 user to push through and clear immediate threats, securing a position for the team.
Tactical Usage Tips
Effectively utilizing the M123K with its suggested pairings requires strategic weapon switching and an understanding of engagement distances. For mid-range encounters, initiate with the M123K to apply suppression, then quickly switch to the M4A1 to pick off targets exposed by the LMG's fire or by environmental destruction. This maximizes damage output and maintains pressure. In close-quarters combat, if caught off guard or needing to clear a room rapidly, immediately swap from the M123K to the SGX or M87A1. The SGX offers speed and a high rate of fire for multiple targets, while the M87A1 provides instant, decisive stopping power against single, immediate threats.
Maximizing synergy involves using the M123K's suppressive capabilities to create opportunities for the secondary weapon. For example, suppress a doorway with the M123K, then push through with the SGX. Pay attention to adaptive sightlines created by destruction and Levolution events; the M4A1 excels in these evolving landscapes, while the SGX and M87A1 dominate in the newly formed tight spaces. Maintaining squad synergy is also key; use the M123K to provide covering fire for teammates advancing or repositioning, allowing them to leverage their own weapon strengths.
Conclusion
Strategic weapon pairing with the M123K is fundamental for success in Battlefield 6 Big Maps. The M4A1 provides crucial mid-range versatility, adapting to evolving sightlines and ensuring sustained engagement. The SGX offers unmatched close-quarters mobility and rapid threat neutralization, ideal for aggressive pushes and flanking. For immediate, devastating close-range stopping power, the M87A1 shotgun is the optimal choice, especially in confined areas or during rapid objective assaults. Players preferring a balanced approach will find the M4A1 pairing most suitable, offering a solution for nearly all engagement distances. Those who favor aggressive, fast-paced gameplay will benefit from the SGX, while players focused on objective defense and clearing tight spaces will excel with the M87A1. The importance of strategic weapon combinations cannot be overstated, as they directly impact adaptability to destruction, Levolution events, and overall squad synergy. Experiment with these suggested pairings to discover which best complements individual playstyles and maximizes effectiveness on the battlefield.