Key Takeaways
- Pairing the AK-205 with the PW5A3 SMG excels in close-quarters combat, where the SMG's high mobility and rapid fire rate compensate for the AK-205's slower handling, ideal for clearing objectives and navigating tight spaces.
- Combining the AK-205 with the KORD 6P67 Assault Rifle provides versatility for all ranges, leveraging the KORD's low recoil and high rate of fire for sustained engagements while the AK-205 maintains its superior ranged performance.
- The UMG-40 SMG pairs with the AK-205 to create a formidable mid-range setup, utilizing the UMG-40's consistent damage and stability to control sightlines and suppress enemies, complementing the AK-205's carbine capabilities.
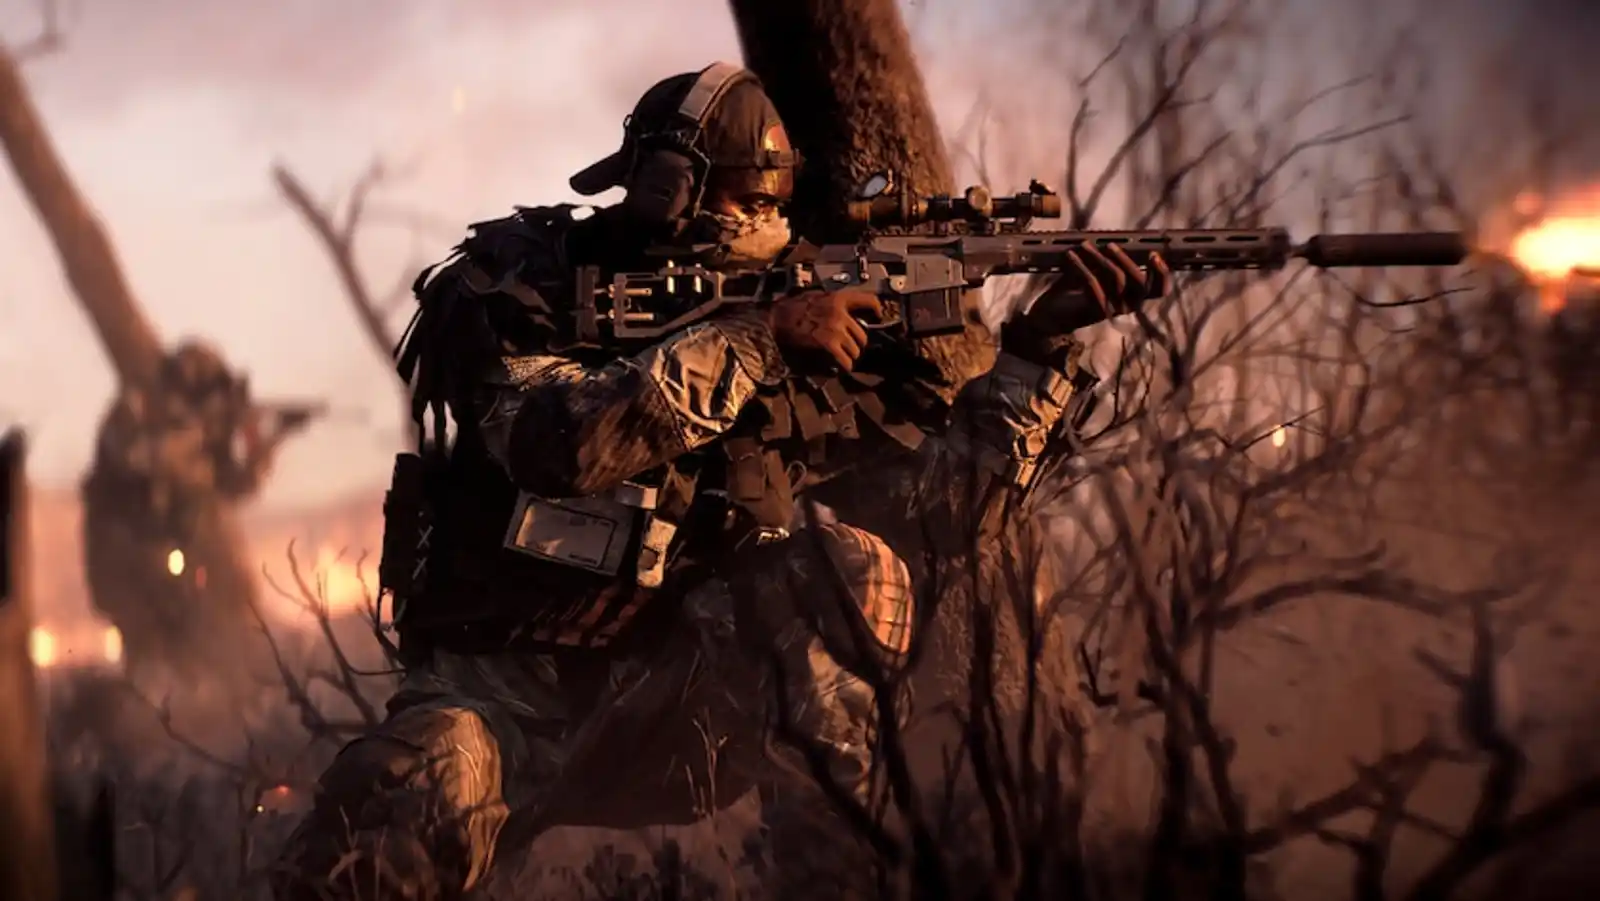
The AK-205 carbine currently holds a significant position within the Battlefield 6 meta, particularly on small maps, due to its balanced performance. Its superior ranged capabilities for a carbine make it a reliable choice, but its average cyclic rate can leave players vulnerable in rapid close-quarters engagements. Proper weapon pairing is crucial for the AK-205 to mitigate these limitations and amplify its strengths, ensuring adaptability across diverse combat scenarios.
This article will guide players through optimal loadout combinations, offering strategic insights into how specific secondary weapons can transform the AK-205 into a more versatile and dominant force. Understanding these strategic advantages allows players to adapt to evolving destruction, levolution events, and maintain squad synergy, ultimately leading to more consistent performance and control over the battlefield.
Overview of the AK-205
The AK-205 is a carbine chambered in 5.45x39mm, known for its average cyclic rate and superior ranged performance in Battlefield 6. It occupies a niche in the meta, excelling in engagements beyond typical SMG range but often outpaced by assault rifles in sustained long-range fire. Its strengths include consistent accuracy and damage at medium distances, making it effective for holding sightlines and picking off targets. However, its average fire rate can be a weakness in close-quarters combat, where faster-firing weapons dominate. The AK-205 also demands precise aim due to its lower rate of fire compared to many SMGs or assault rifles, which can be challenging during rapid target acquisition.
Specific weapon pairings are essential to enhance the AK-205's performance and cover these limitations. By complementing its ranged capabilities with a weapon optimized for close-range encounters, or by providing sustained suppression, players can create a versatile loadout that adapts to the dynamic nature of small maps, including evolving destruction and levolution events.
Best Guns to use with the AK-205
The following recommended weapons have been carefully selected to complement the AK-205's strengths and address its limitations. Each pairing aims to enhance overall combat effectiveness by providing solutions for different engagement distances and tactical situations, ensuring adaptability on Battlefield 6's small maps.
#1 PW5A3
The PW5A3 SMG pairs effectively with the AK-205, creating a versatile loadout optimized for dynamic engagements on small maps. The AK-205, a carbine with superior ranged performance, benefits from the PW5A3's strength in close-quarters combat. The SMG's high rate of fire, excellent mobility, and fast ADS time complement the AK-205's average cyclic rate, allowing players to quickly switch to a more agile weapon for rapid target acquisition in tight spaces. This synergy creates a balanced approach, where the AK-205 handles mid-range engagements and the PW5A3 dominates close-range encounters.
Recommended loadout for the AK-205 includes attachments that enhance recoil control and bullet velocity, such as a long barrel and a vertical grip, to maximize its ranged potential. For the PW5A3, focus on attachments that boost sprint-to-fire time and hip-fire accuracy, like a laser sight and a lightweight stock, to ensure quick reactions in close proximity.
This pairing excels in scenarios involving objective pushes, clearing buildings, or navigating areas with frequent destruction, where adaptive sightlines are crucial. The PW5A3 allows for aggressive plays, quickly eliminating threats before they can react, while the AK-205 provides cover fire or picks off enemies at a distance. When levolution events alter the map, requiring rapid adaptation to new traversal lanes, the PW5A3's mobility becomes invaluable.
Potential limitations include a reduced effectiveness at extreme long ranges for both weapons, as neither is designed for sniping. Additionally, ammunition management becomes important in sustained firefights, especially with the PW5A3's high rate of fire. Effective squad synergy can mitigate this by ensuring a support player provides ammo, allowing the aggressive player to maintain pressure.
#2 KORD 6P67
The KORD 6P67 Assault Rifle provides a robust pairing with the AK-205, offering exceptional versatility across all engagement ranges on Battlefield 6's small maps. The AK-205, with its superior ranged performance as a carbine, benefits from the KORD 6P67's low recoil and high rate of fire. This combination allows players to maintain consistent damage output whether engaging enemies up close or suppressing targets at a distance. The KORD 6P67's ability to perform well at both close and long ranges fills any gaps in the AK-205's effectiveness, particularly in situations where sustained fire is necessary. This synergy ensures players are prepared for any combat scenario, from rapid assaults to holding defensive positions.
For the AK-205, a loadout focusing on extended magazines and a holographic sight can enhance its utility in mid-range skirmishes. The KORD 6P67 benefits from attachments that further reduce recoil, such as a compensator and a heavy stock, ensuring maximum accuracy during sustained fire.
This pairing excels in scenarios requiring adaptable firepower, such as pushing through contested zones or defending objectives where enemies may appear from multiple angles. The KORD 6P67's high damage per mag makes it ideal for suppressing multiple targets, creating opportunities for squad mates to advance or reposition. When destruction changes the battlefield, opening new sightlines or creating choke points, this pairing allows players to quickly adapt their engagement strategy. Levolution events that alter the map layout can be navigated effectively, as both weapons offer reliable performance in varying environments.
Potential limitations include a slightly slower ADS time for the KORD 6P67 compared to lighter weapons, which can be a minor disadvantage in extremely close, reactive engagements. However, the overall balance of range and fire rate makes this a highly effective and adaptable combination, especially when leveraged with strong squad synergy for coordinated assaults and defensive stands.
#3 UMG-40
The UMG-40 SMG offers a distinct pairing with the AK-205, creating a mid-range focused loadout that excels in controlling engagements on Battlefield 6's small maps. While the AK-205 provides superior ranged performance as a carbine, the UMG-40, a polymer SMG chambered in .40 caliber with a low rate of fire, outperforms its peers at mid-range encounters. This unique characteristic complements the AK-205 by providing a stable, accurate, and damaging option for the crucial 20-40 meter range where many small map engagements occur. The UMG-40's consistent damage and manageable recoil allow players to maintain pressure and secure eliminations without needing the rapid fire of other SMGs, preserving ammunition more effectively.
For the AK-205, a loadout that emphasizes bullet velocity and a clear optic, like a 2x scope, will further enhance its mid-to-long range precision. The UMG-40 benefits from attachments that improve its ADS speed and stability, such as a lightweight grip and a red dot sight, making it quick to aim and accurate for sustained mid-range duels.
This pairing excels in scenarios where players need to hold key positions, control chokepoints, or engage enemies across moderate distances that might be too far for typical SMGs but too close for a dedicated long-range weapon. The UMG-40's effective mid-range performance is particularly useful when destruction creates new, open sightlines, allowing players to capitalize on these changes. It also supports squad synergy by providing consistent suppressive fire, making it easier for teammates to push or flank. Levolution events that alter cover or engagement distances can be managed by leveraging the UMG-40's reliable mid-range capabilities.
Potential limitations include the UMG-40's lower rate of fire, which might be a disadvantage in extremely close, frantic engagements against faster-firing SMGs. However, its accuracy and damage per shot often compensate for this, especially when players prioritize headshots. This pairing requires a player to understand the optimal engagement distances for both weapons, switching strategically to maximize their combined effectiveness.
Tactical Usage Tips
Effectively utilizing the suggested AK-205 weapon combinations requires strategic weapon switching and an understanding of engagement distances. For close-quarters combat, immediately switch to the SMG (PW5A3 or UMG-40) to leverage its superior mobility and faster fire rate. This is crucial when pushing objectives or clearing buildings where destruction has created tight corridors. For mid-range engagements, the AK-205 remains highly effective, but consider the KORD 6P67 for sustained fire or suppressing multiple targets, especially when adaptive sightlines open up due to levolution events.
To maximize synergy, practice quick weapon swaps. Use the AK-205 to soften targets at range, then switch to the SMG for the finishing blow as you close the distance. Conversely, if an SMG engagement extends beyond its optimal range, transition to the AK-205. Utilize squad synergy by communicating target locations. A well-placed AK-205 burst can suppress an enemy, allowing a teammate with an SMG to flank. Always consider the evolving battlefield; destruction creates new cover and flanking routes, making adaptable weapon choices paramount for maintaining pressure and controlling the flow of combat.
Conclusion
Mastering the AK-205 in Battlefield 6 Small Maps hinges on strategic weapon pairings. The PW5A3 SMG offers unmatched close-quarters dominance, ideal for aggressive pushes and navigating tight spaces. The KORD 6P67 Assault Rifle provides balanced versatility, excelling across all ranges and offering robust sustained fire for dynamic engagements. The UMG-40 SMG carves out a niche in mid-range control, delivering consistent damage and stability. Each pairing offers unique advantages, catering to different playstyles and tactical needs. Experimenting with these combinations is crucial to discovering which best complements individual preferences and adapts to the ever-changing battlefield, including destruction and levolution events. Strategic weapon choices are not just about individual lethality but also about enhancing squad synergy and adapting to evolving combat scenarios, ultimately leading to greater success on the small maps.