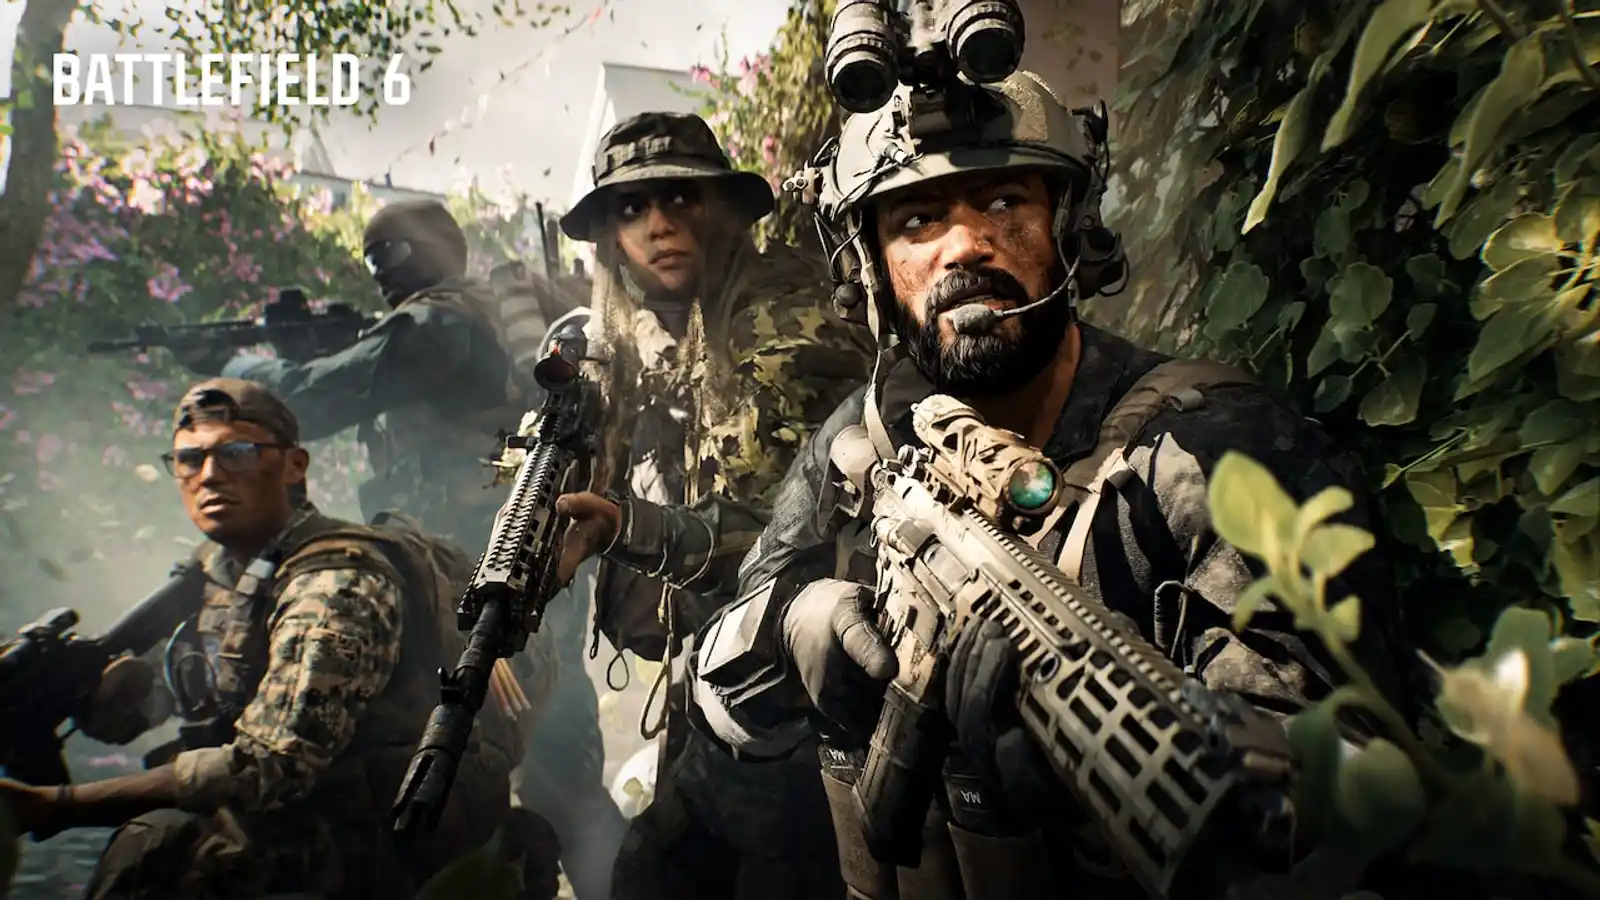
Key Takeaways
- The M4A1 extends the USG-90's effective engagement range, providing reliable medium to long-range fire support crucial for controlling lanes and adapting to evolving sightlines on Big Maps. This pairing excels in objective pushes and holding key positions.
- The SGX offers a highly mobile, close-quarters alternative to the USG-90, allowing for rapid repositioning and aggressive pushes in tight interiors. This combination is optimal for maintaining squad synergy during rapid assaults and exploiting destruction-created pathways.
- The M87A1 provides devastating close-range stopping power, creating a formidable duo for clearing buildings and defending objectives in tight spaces. This pairing ensures dominance in urban combat scenarios and during levolution events that funnel combat into confined areas.
In Battlefield 6 Big Maps, mastering weapon synergy is paramount for achieving dominance, especially when wielding the USG-90. This high-capacity PDW, known for its exceptional rate of fire, currently holds a strong position in the close-quarters meta. However, its lower effective damage and limited range on expansive maps necessitate strategic weapon pairings. Proper secondary weapon selection is not merely an option but a critical component of a successful loadout, allowing players to adapt to the varied engagement distances and dynamic combat scenarios prevalent in Big Maps. This article provides an in-depth analysis of the best weapons to pair with the USG-90, detailing optimal loadout combinations and tactical applications. Readers will discover how to leverage these pairings to cover the USG-90's limitations, enhance its strengths, and maintain combat effectiveness across all ranges. Understanding these strategic advantages is key to navigating Battlefield 6's evolving battlefields, where destruction and levolution constantly reshape the combat landscape and demand adaptive sightline considerations. Unlock the full potential of your USG-90 and secure victory.
Overview of the USG-90
The USG-90 operates as a high-capacity PDW within the Battlefield 6 Big Maps meta, distinguished by its unique design and exceptional rate of fire. Its primary role is to dominate close-quarters engagements, where its rapid projectile output can quickly suppress and eliminate targets. Strengths include superior mobility, fast aim-down-sight times, and a high damage per magazine at close distances, making it formidable in urban environments or during pushes into confined objectives.
However, the weapon exhibits notable weaknesses beyond its optimal range. Its lower effective damage and substantial damage drop-off at medium to long distances significantly reduce its lethality in open areas. Furthermore, while its high rate of fire is an advantage up close, it contributes to challenging recoil management for sustained accuracy over longer sightlines. Therefore, specific weapon pairings are crucial to mitigate these limitations. By complementing the USG-90 with a weapon suited for extended ranges, players can maintain combat effectiveness across the diverse landscapes of Big Maps, adapting to dynamic destruction that opens up new sightlines and leveraging squad synergy to cover positional weaknesses. This strategic approach ensures viability when the battle shifts from tight interiors to wide-open lanes.
Best Guns to use with the USG-90
The following weapon recommendations have been meticulously selected to complement the USG-90's inherent strengths while effectively mitigating its limitations on Battlefield 6 Big Maps. Each pairing offers distinct tactical advantages, providing solutions for varied engagement distances and combat scenarios. These combinations are designed to enhance overall combat effectiveness, ensuring players maintain versatility and adaptability across dynamic battlefields, whether confronting enemies in tight corridors or across open terrain.
#1 M4A1
The M4A1, a versatile assault rifle, forms a highly effective pairing with the USG-90 by directly addressing the SMG's primary limitation: effective range. While the USG-90 excels in close-quarters engagements with its high rate of fire, the M4A1 extends the player's lethal reach into medium and even longer distances. The M4A1's higher bullet velocity and more stable damage range significantly complement the USG-90's drop-off, creating a balanced loadout capable of handling diverse combat scenarios on Battlefield 6 Big Maps.
This synergy provides crucial tactical advantages. Players can leverage the USG-90 for aggressive pushes into objectives and clearing tight interiors, then seamlessly switch to the M4A1 to engage targets across open lanes, hold choke points, or provide suppressive fire for squad movements. The M4A1's capacity for competent recoil management allows for consistent accuracy, essential when adaptive sightlines emerge due to environmental destruction or during levolution events that alter engagement distances. This pairing ensures players remain effective whether fighting in newly opened spaces or maintaining lane control.
Recommended loadouts optimize this duality. For the USG-90, attachments focusing on mobility and close-range lethality such as a Laser Sight, Extended Magazine, and a compact optic are ideal. For the M4A1, prioritizing range and recoil control is key; a Long Barrel, Vertical Grip, and a 3x or 4x scope, combined with a Compensator, will enhance its medium to long-range capabilities.
This combination excels in scenarios involving objective defense on large maps, engaging enemies across destroyed cover, or providing support fire during squad advances. While highly versatile, a potential limitation is that the M4A1, despite its versatility, may not offer the same extreme close-quarters burst damage as a shotgun, nor the absolute long-range precision of a sniper rifle, requiring players to maintain awareness of optimal engagement distances.
#2 SGX
The SGX, another modern 9.19mm PDW, pairs with the USG-90 to create a highly mobile and adaptable close-to-mid-range loadout. While both are SMGs, the SGX's capacity to be configured for improved ranged capabilities allows it to bridge the gap just beyond the USG-90's optimal engagement distance. This complements the USG-90 by offering a secondary weapon that maintains high mobility but can engage targets more effectively in the 20-40 meter range, where the USG-90's damage output begins to significantly decline.
The synergy between these two SMGs provides distinct tactical advantages centered around aggressive, fast-paced gameplay. Players can leverage the USG-90 for unparalleled lethality in extreme close-quarters combat, then swiftly switch to the SGX for follow-up engagements or to clear slightly more open areas. This combination excels in rapid repositioning, exploiting destruction to create new pathways, and maintaining relentless pressure on objectives. It is particularly effective for squad synergy during coordinated assaults, allowing the team to push through congested areas and adapt quickly to dynamic combat shifts caused by levolution events.
For the USG-90, a loadout prioritizing extreme close-range dominance with attachments like a Laser Sight, Extended Magazine, and a lightweight stock enhances its agility. The SGX, when paired, should be configured to maximize its extended range potential; a Compensator for recoil control, an Extended Barrel (if available for damage range), and a 1.5x or 2x optic allows for more precise engagements at slightly longer distances.
This pairing excels in urban combat, navigating complex interior spaces, and executing rapid flanking maneuvers. Its primary limitation, however, is a continued vulnerability in truly long-range engagements. While the SGX can extend the effective SMG range, this loadout will still struggle against dedicated assault rifles or sniper rifles across expansive open terrain, demanding disciplined movement and strategic use of cover.
#3 M87A1
The M87A1 pump-action shotgun, chambered with 3" shells for improved stopping power, forms a formidable close-quarters pairing with the USG-90. This combination capitalizes on extreme close-range lethality, where the USG-90's high rate of fire is complemented by the M87A1's devastating burst damage. While the USG-90 excels in sustained close-range engagements, the M87A1 provides an immediate, high-impact solution for eliminating threats in tight spaces, effectively creating an unparalleled close-quarters combat specialist loadout.
The synergy benefits are clear: unmatched dominance in interior combat scenarios. Players can initiate engagements with the USG-90, then switch to the M87A1 for instant elimination of heavily armored or multiple clustered enemies. This tactical advantage is crucial for clearing buildings, defending confined objectives, and countering aggressive pushes. The pairing is particularly potent in areas affected by Battlefield 6's destruction mechanics, where rubble and newly opened pathways can create unpredictable close-range encounters, or during levolution events that funnel combat into tighter spaces, demanding rapid and decisive action. Squad synergy is enhanced by a player capable of quickly neutralizing threats in confined areas, allowing teammates to focus on broader objectives.
Recommended loadouts for this duo emphasize close-range performance. For the USG-90, attachments like a Laser Sight, Extended Magazine, and a lightweight stock optimize hip-fire accuracy and agility. The M87A1 benefits from a Choke to tighten pellet spread, an Extended Magazine Tube for increased capacity, and a Laser Sight for enhanced hip-fire precision, as optics are generally less critical for shotguns.
This combination excels in urban combat, clearing small objectives, and ambushing enemies in choke points. However, a significant limitation is the severe lack of effective range. This pairing leaves the player highly vulnerable in any medium to long-range engagement, necessitating constant awareness of the battlefield, strategic positioning, and reliance on cover to close distances with opponents.
Tactical Usage Tips
Effectively utilizing weapon combinations with the USG-90 hinges on decisive weapon switching and leveraging environmental dynamics. When paired with the M4A1, the USG-90 should be the primary for aggressive entries and clearing interiors. Upon transitioning to open areas or encountering distant threats, a swift switch to the M4A1 enables effective medium-range engagements, providing crucial lane control and suppressing fire. This strategy is vital for adapting to Battlefield 6's evolving sightlines created by destruction.
For the USG-90 and SGX pairing, the focus is on maintaining relentless close-to-mid-range pressure. Use the USG-90 for initial assaults, then transition to the SGX for slightly extended SMG engagements or when the USG-90 requires a reload, ensuring continuous combat readiness. With the M87A1, the USG-90 handles sustained close-quarters fire, while the shotgun is reserved for instant, decisive eliminations in extreme close-range ambushes or room clearing.
Maximizing synergy involves acute map awareness to anticipate engagement distances. Players should utilize Battlefield 6's movement mechanics, like tactical sprint and slide canceling, to rapidly close gaps or reposition to optimal ranges for their current weapon. Always leverage destruction-created cover and adapt to levolution events, using them to funnel enemies into your preferred engagement distances or to break unfavorable sightlines. Effective communication within the squad further amplifies these pairings, allowing for coordinated pushes and covering fire.
Conclusion
Mastering the USG-90 in Battlefield 6 Big Maps necessitates strategic weapon pairings to overcome its inherent limitations and amplify its close-quarters strengths. The M4A1 offers versatile medium-to-long range support, ideal for players seeking a balanced approach to lane control and adaptive sightline management. For aggressive, highly mobile players, the SGX extends the SMG's effective range while maintaining agility, perfect for exploiting destruction and rapid objective assaults. Conversely, the M87A1 provides unparalleled close-range burst damage, making it the choice for those who dominate interiors and defend objectives against overwhelming odds.
Strategic weapon combinations are paramount for navigating Battlefield 6's dynamic environments, where levolution and destruction constantly reshape the battlefield. Experimenting with these suggested pairings will unlock new tactical possibilities, allowing players to adapt to any combat scenario. Discover the loadout that best complements your playstyle and dominate the battlefield.