Key Takeaways
- The L85A3 assault rifle complements the PW5A3 by extending effective range, offering stability for mid to long-range engagements. This pairing excels in open areas and during levolution events where sightlines shift, allowing players to adapt to evolving combat distances.
- The SGX SMG enhances the PW5A3's close-quarters dominance, providing exceptional mobility and rapid target acquisition. This combination is optimal for aggressive pushes into contested objectives and navigating dense urban environments where destruction creates new engagement angles.
- The DRS-IAR LMG provides sustained suppressive fire and increased damage per magazine, supporting squad synergy while the PW5A3 handles close-range threats. This pairing is ideal for holding key positions, denying enemy advances, and controlling choke points, especially when adaptive sightlines require continuous pressure.
The PW5A3 submachine gun remains a prominent force in Battlefield 6 Battle Royale Season 2, holding its ground as a versatile weapon for engagements up to mid-range. Its high fire rate and manageable recoil make it a favored choice for aggressive players and those seeking rapid target elimination. However, even with its strengths, the PW5A3 possesses limitations, particularly at longer distances where its damage drop-off and bullet velocity become less effective.
This makes strategic weapon pairing not merely an advantage, but a crucial component for sustained success across the diverse and dynamic battlegrounds of Extreme Measures. Understanding how to complement the PW5A3's capabilities with a secondary weapon is essential for adapting to Battlefield 6's evolving combat scenarios, including environmental destruction and levolution events that constantly reshape the battlefield. This article will guide players through optimal weapon combinations, detailing how to leverage each pairing to cover the PW5A3's weaknesses and amplify its strengths, ensuring tactical superiority in every encounter. Master these strategic synergies to unlock the full potential of your loadout and dominate the competition.
Overview of the PW5A3
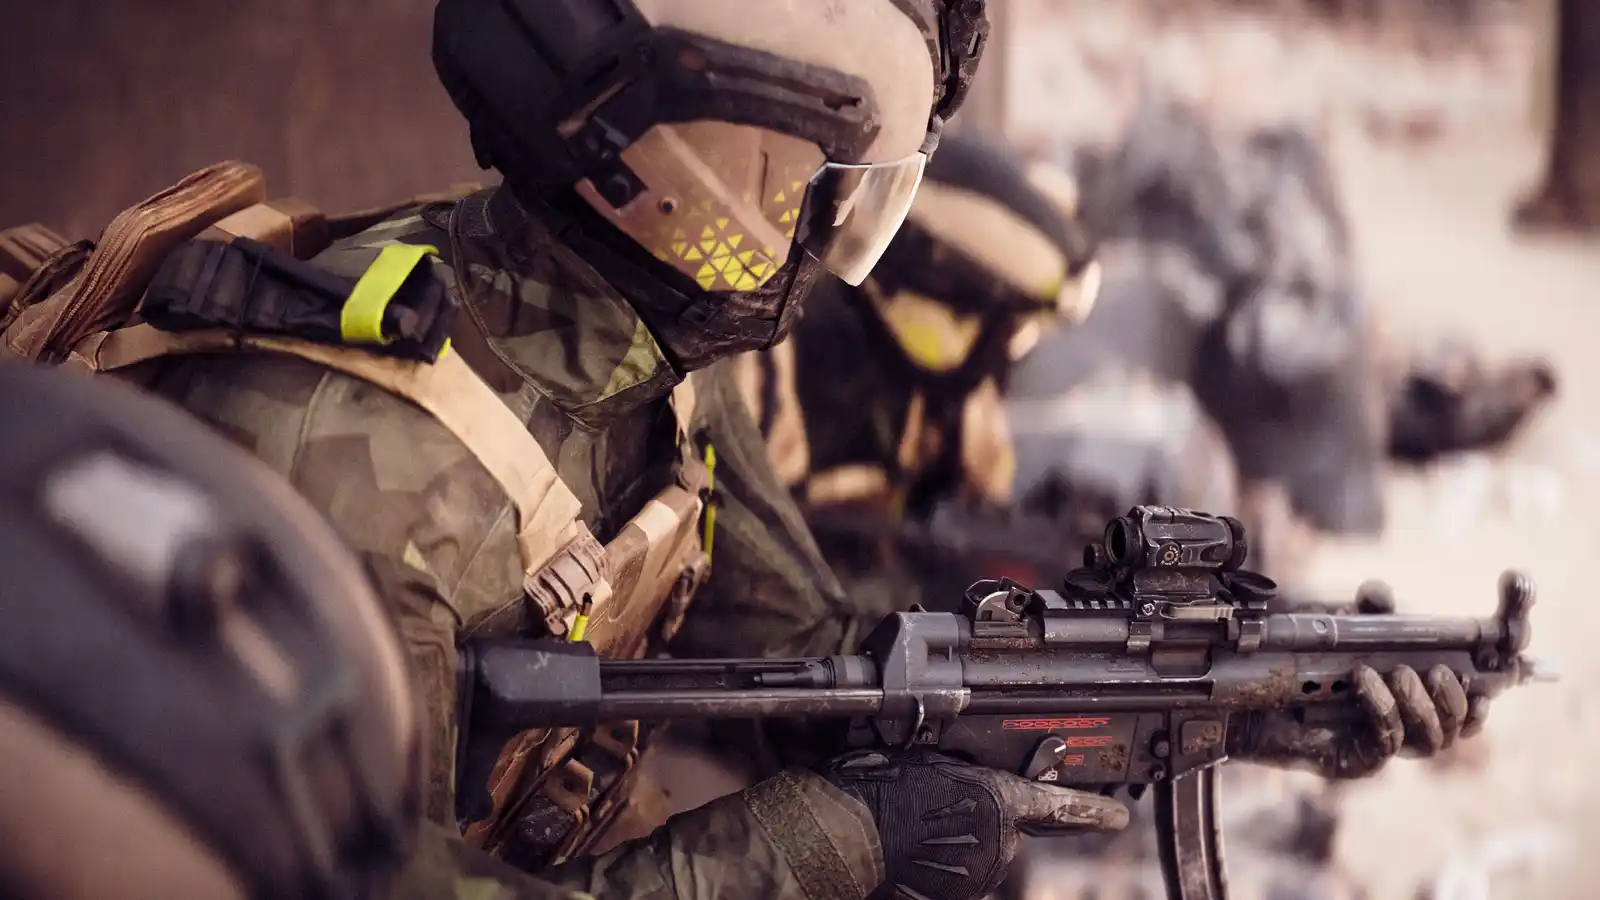
The PW5A3 is a submachine gun that maintains a strong presence in the Battlefield 6 Battle Royale meta, particularly in Season 2. Characterized by a high rate of fire and excellent mobility, it performs admirably in close-quarters combat and remains effective into mid-range engagements. Its strengths lie in its rapid time-to-kill (TTK) at short distances, quick aim-down-sight (ADS) time, and manageable recoil pattern, making it highly effective for aggressive playstyles and clearing objectives.
However, the PW5A3 exhibits limitations at longer ranges, where its damage output significantly diminishes, and bullet velocity becomes a disadvantage against distant targets. This inherent short to mid-range specialization necessitates careful weapon pairing. By combining the PW5A3 with a weapon capable of engaging at extended distances or providing sustained fire, players can mitigate its range limitations. Such strategic pairings allow players to maintain effectiveness across the Battlefield 6 map, adapting to the dynamic destruction and levolution events that frequently alter engagement distances and sightlines. This approach ensures comprehensive coverage for all combat scenarios.
Best Guns to use with the PW5A3
The following weapon recommendations have been carefully selected to enhance the PW5A3's performance in Battlefield 6 Battle Royale. Each pairing addresses specific limitations of the SMG, such as its effective range, or further amplifies its close-quarters dominance. These combinations are designed to provide tactical versatility, allowing players to adapt to diverse combat situations, including rapid shifts in engagement distances caused by destruction and levolution.
#1 L85A3
The L85A3 assault rifle forms a highly effective pairing with the PW5A3, creating a versatile loadout capable of dominating across all engagement distances in Battlefield 6 Battle Royale. While the PW5A3 excels in close to mid-range encounters with its high fire rate and mobility, the L85A3, with its steady rate of fire and optimized performance for mid to long-range engagements, perfectly fills the gap. This synergy provides players with a seamless transition between combat scenarios. The L85A3's superior damage range and bullet velocity allow for effective suppression and elimination of distant threats, a critical advantage when adaptive sightlines emerge due to environmental destruction or during large-scale levolution events.
Tactical advantages include maintaining pressure on enemies retreating from a close-range push with the PW5A3, or initiating long-range engagements before closing the distance. For squad synergy, the L85A3 can provide covering fire, allowing teammates to advance or revive, while the PW5A3 is ready for any close-quarter breaches.
Recommended loadout for the L85A3 includes a high-magnification optic (e.g., 3x or 4x), a heavy barrel for improved bullet velocity, and a bipod or foregrip for enhanced recoil control. For the PW5A3, a laser sight for hip-fire accuracy and an extended magazine are beneficial. This pairing excels in open areas like the Contaminated map's forest sections, defending objectives with long lines of sight, or during the chaotic aftermath of a levolution event where the battlefield is exposed. A potential limitation is the slightly slower handling of the L85A3 compared to other assault rifles, requiring players to anticipate range changes and switch weapons proactively.
#2 SGX
The SGX submachine gun, when paired with the PW5A3, creates a formidable close-quarters combat specialist loadout designed for aggressive, high-mobility play in Battlefield 6 Battle Royale. Both weapons are SMGs, but the SGX, described as a modern 9.19mm PDW suited for close-range engagements with configurable ranged capabilities, complements the PW5A3 by amplifying its strengths rather than covering its weaknesses. This pairing focuses on overwhelming opponents in tight spaces and rapid objective capture. The SGX's exceptional mobility and faster sprint-to-fire time, potentially superior to the PW5A3 in extreme close range, allows for rapid repositioning and flanking maneuvers.
The synergy benefits are evident in urban environments or inside buildings where destruction has created new pathways and engagement angles. Players can use the SGX for initial aggressive pushes, relying on its quick handling, and then switch to the PW5A3 for sustained close-range fire or to conserve SGX ammunition. This dual-SMG approach maximizes close-range time-to-kill (TTK) and ensures a continuous stream of fire against multiple targets, crucial for squad synergy during breaches or defending confined spaces.
Recommended loadout for the SGX includes attachments that enhance its close-range capabilities, such as a short barrel for improved ADS speed and a high-capacity magazine. For the PW5A3, a suppressor for stealth and a quick-release magazine are beneficial. This pairing excels in scenarios requiring rapid clearing of structures, navigating the dense forests of the Contaminated map where close-quarters ambushes are frequent, or during the immediate aftermath of a levolution event that creates confined combat zones. A potential limitation is the lack of effective long-range engagement options, making players vulnerable in open areas or against opponents equipped for extended distances.
#3 DRS-IAR
The DRS-IAR light machine gun (LMG) provides a robust and tactically advantageous pairing with the PW5A3 in Battlefield 6 Battle Royale, establishing a loadout focused on sustained fire, area denial, and supporting squad synergy. While the PW5A3 dominates close to mid-range, the DRS-IAR, a reliable LSW versatile enough to blur into a service rifle depending on attachments, extends the player's effective range and offers significant suppressive capabilities. This combination allows players to control sightlines and maintain pressure across varying distances.
The synergy benefits are particularly evident in defensive scenarios or when holding key positions. The DRS-IAR's large magazine capacity and consistent damage output enable sustained suppressive fire, making it difficult for enemies to push through chokepoints or hold ground. This suppression can create adaptive sightlines for teammates to exploit or allow the PW5A3 user to reposition for a flanking maneuver. During levolution events or when destruction opens up new angles, the LMG can quickly establish dominance over newly exposed areas. This pairing significantly enhances squad synergy, as the DRS-IAR can lay down suppressing fire to cover revives or provide cover for advancing teammates, while the PW5A3 handles any immediate close-range threats that manage to break through.
Recommended loadout for the DRS-IAR includes a high-power optic for long-range target acquisition, a heavy barrel for improved bullet velocity, and an extended magazine for maximum sustained fire. For the PW5A3, a laser sight for hip-fire accuracy and a compact stock for improved mobility are beneficial. This pairing excels in holding fortified positions, controlling major lanes on the Contaminated map, or providing overwatch during objective captures. A potential limitation is the DRS-IAR's slower handling and reload speed, which can be detrimental if caught off guard in close quarters without a quick switch to the PW5A3.
Tactical Usage Tips
Effective utilization of PW5A3 weapon combinations in Battlefield 6 Battle Royale hinges on strategic weapon switching and understanding engagement distances. When initiating combat, assess the range. For close-quarters encounters, prioritize the PW5A3 or SGX for their superior mobility and rapid time-to-kill. Maintain constant movement, leveraging slide canceling and tactical sprint to close gaps or reposition, especially in areas with recent destruction creating new cover. For mid to long-range engagements, quickly switch to the L85A3 or DRS-IAR. These weapons provide the necessary stability and damage range to engage distant targets effectively, allowing players to hold adaptive sightlines.
Maximizing synergy involves using each weapon for its intended purpose. The L85A3 and DRS-IAR can provide crucial suppressive fire, forcing enemies into vulnerable positions that the PW5A3 can then exploit. During levolution events, anticipate changes in terrain and adjust your primary weapon accordingly; a collapsed building might necessitate a rapid switch to the PW5A3, while newly opened fields favor the longer-range options. Always consider squad synergy; an LMG user providing cover fire allows the PW5A3 user to push aggressively. Mastering these transitions ensures consistent effectiveness across all Battlefield 6 combat scenarios.
Conclusion
Mastering weapon pairings with the PW5A3 is paramount for success in Battlefield 6 Battle Royale. The L85A3 offers balanced long-range capability, ideal for adapting to open sightlines and levolution events. For aggressive close-quarters players, the SGX amplifies the PW5A3's inherent strengths, ensuring dominance in tight spaces and through destructible environments. The DRS-IAR provides unparalleled suppressive fire and area denial, crucial for squad synergy and holding key positions against relentless pushes. Each pairing caters to distinct playstyles, from the versatile all-rounder to the dedicated close-quarters specialist or the tactical anchor. Strategic weapon combinations are not merely an advantage; they are a necessity for navigating Battlefield 6's dynamic battlefields. Experiment with these suggested loadouts to discover the synergy that best complements your approach and elevate your gameplay to new heights.