Key Takeaways
Pairing the M240L with the L85A3 provides versatility, allowing players to maintain suppressive fire with the LMG before switching to the assault rifle for agile mid-range engagements, especially when adaptive sightlines emerge from destruction.
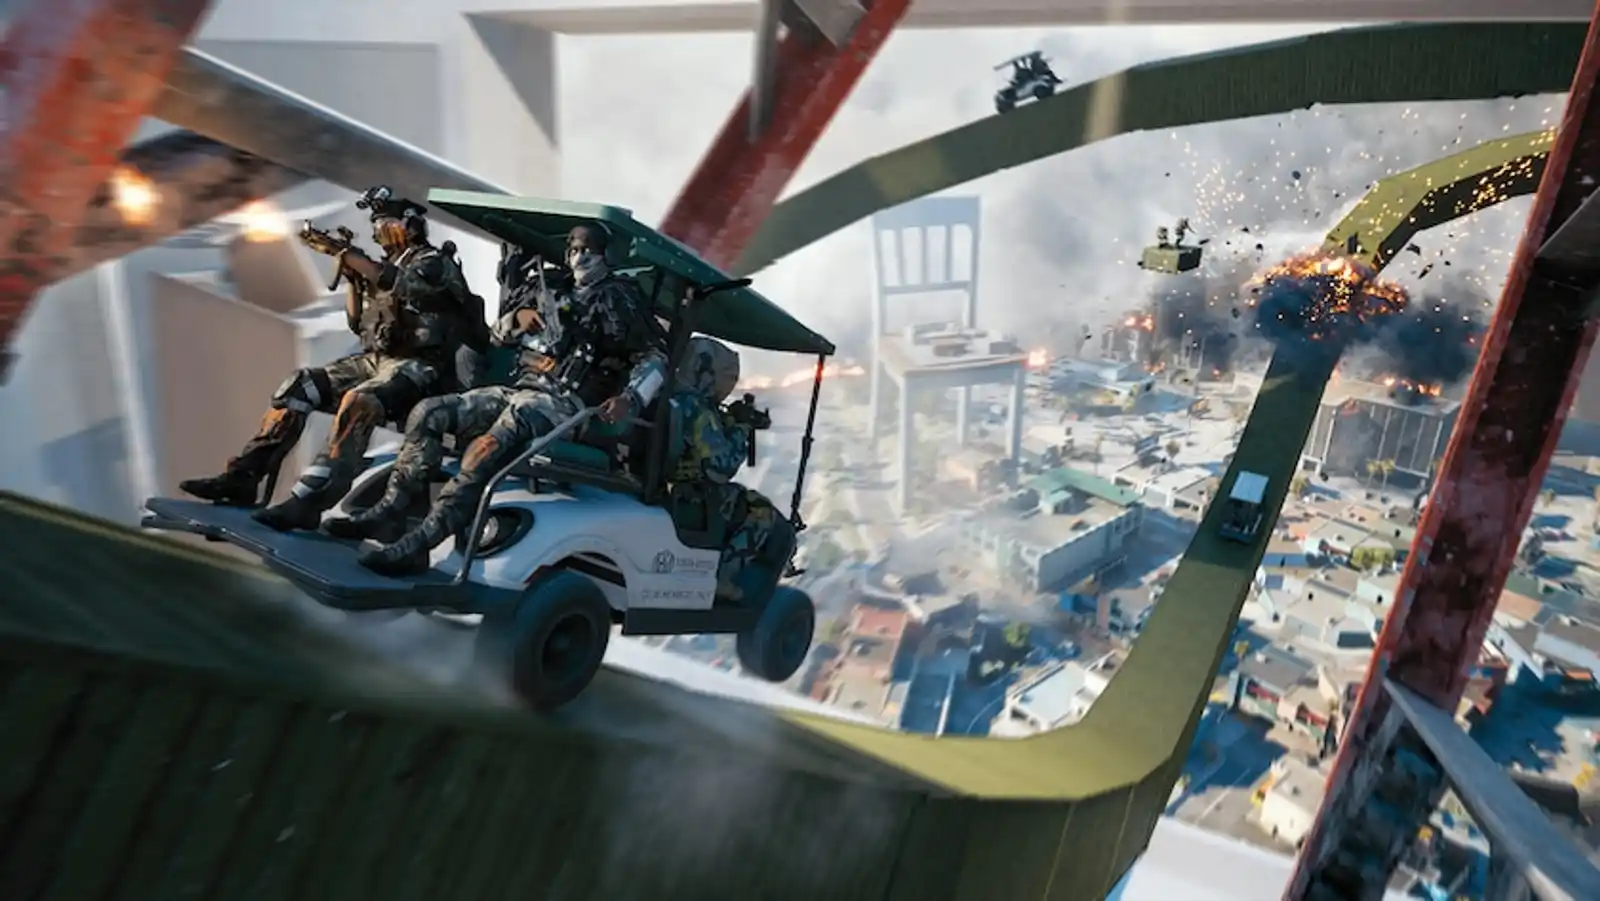
Combining the M240L with the SGX SMG creates a formidable duo for both long-range suppression and aggressive close-quarters combat, ideal for clearing newly exposed areas after levolution events.
The DRS-IAR, when paired with the M240L, enhances squad synergy by offering sustained fire support across multiple ranges, ensuring continuous pressure on objectives and covering teammates during repositioning.
The M240L Light Machine Gun holds a significant position in the Battlefield 6 meta, known for its sustained firepower and area denial capabilities on Big Maps. While its raw power is undeniable, maximizing its potential requires strategic weapon pairing. The M240L's strengths are amplified, and its inherent limitations are mitigated, by selecting a complementary secondary weapon. This article explores the best weapon combinations for the M240L, providing players with the knowledge to adapt to the dynamic combat environments of Battlefield 6, including evolving destruction and levolution events. Readers will gain insights into optimal loadouts and tactical approaches, unlocking strategic advantages that ensure dominance across diverse combat scenarios. Understanding these pairings is crucial for maintaining effective squad synergy and controlling critical lanes.
Overview of the M240L
The M240L is a general purpose machine gun modernized for improved weight and increased capacity, making it effective in both aggressive and defensive roles within Battlefield 6 Big Maps. As an LMG, its primary performance characteristics include high damage output, substantial magazine capacity, and strong suppression capabilities. These attributes make it excellent for holding choke points, providing sustained fire support, and suppressing enemy advancements. Its strengths lie in its ability to maintain continuous pressure, create adaptive sightlines through destruction, and contribute significantly to squad synergy by enabling teammates to push or reposition. However, the M240L's weaknesses include slower mobility, extended reload times, and reduced effectiveness in rapid close-quarters engagements. Specific weapon pairings are essential to enhance its performance by compensating for these limitations. A well-chosen secondary weapon can provide the agility needed for quick flanks, cover during reloads, or excel in tight interior spaces that the M240L struggles with, ensuring adaptability across the varied engagement distances of Big Maps.
Best Guns to use with the M240L
The following recommended weapons were selected based on their statistical profiles and tactical utility, specifically chosen to complement the M240L. Each pairing addresses the M240L's inherent limitations, such as close-quarters effectiveness or mobility, while simultaneously enhancing its strengths in sustained fire and area denial. These combinations ensure adaptability across varied combat scenarios on Battlefield 6 Big Maps.
#1 L85A3
The L85A3, an assault rifle with a steady rate of fire, favors mid to long-range engagements, making it an excellent complement to the M240L in Battlefield 6 Big Maps. While the M240L provides sustained suppressive fire and excels at holding lanes, the L85A3 offers greater mobility and precision for engaging targets that the LMG might struggle to track quickly or in situations requiring more agile movement. This pairing creates a synergy where the M240L can suppress an area, allowing the L85A3 user to pick off exposed enemies or push through newly cleared adaptive sightlines created by destruction. The tactical advantage lies in the ability to seamlessly transition between heavy suppression and focused, accurate fire. For a recommended loadout, the M240L benefits from attachments that reduce recoil and improve bullet velocity for long-range engagements, such as a heavy barrel and a high-power scope. The L85A3 should be equipped with attachments that enhance ADS speed and provide a stable platform for follow-up shots, like a vertical grip and a holographic sight. This pairing excels in scenarios involving objective pushes on open terrain, defending fortified positions, or exploiting levolution events that alter engagement distances. A potential limitation is that neither weapon is optimal for extreme close-quarters combat, which might leave players vulnerable in tight interior spaces.
#2 SGX
The SGX, a modern 9.19mm PDW suited for close-range engagements and configurable for improved ranged capabilities, pairs exceptionally well with the M240L. This combination addresses the M240L's primary weakness: its lack of mobility and close-quarters effectiveness. The M240L provides overwhelming suppressive fire for controlling lanes and denying areas, while the SGX offers rapid target acquisition and high damage output in tight spaces. This synergy allows players to maintain a strong presence at long range with the LMG, then quickly switch to the SMG for aggressive pushes into buildings or clearing objectives where destruction has created new entry points. The tactical advantage is immediate adaptability across all engagement distances, crucial for Big Maps. For loadouts, the M240L should focus on recoil control and extended magazines to maximize suppression. The SGX, when paired, benefits from attachments that boost hip-fire accuracy and sprint-to-fire time for quick reactions in close combat, such as a laser sight and a lightweight stock. This pairing excels in urban environments, clearing interiors, or defending objectives after a levolution event shifts the combat zone. A limitation is the SGX's reduced effectiveness at longer ranges, meaning players must rely heavily on the M240L for distant threats, requiring efficient weapon switching.
#3 DRS-IAR
The DRS-IAR, described as a reliable LSW that blurs the boundary into a service rifle, offers a versatile pairing with the M240L. While both are LMG-type weapons, the DRS-IAR's adaptability through attachments allows it to fill roles that complement the M240L's dedicated heavy suppression. The M240L provides unwavering sustained fire for area denial and suppressing multiple targets, while the DRS-IAR can be configured for more precise, medium-range engagements or even aggressive pushes where a slightly lighter LMG is advantageous. This pairing enhances squad synergy by providing continuous heavy fire support, allowing for flexible tactical approaches. The DRS-IAR can be used for more mobile suppression or for maintaining pressure while the M240L reloads, covering critical adaptive sightlines. For a recommended loadout, the M240L should optimize for maximum bullet velocity and damage range. The DRS-IAR, when paired, can be equipped with attachments that improve ADS speed and offer better recoil control for more agile engagements, such as a short barrel and a red dot sight. This combination excels in scenarios requiring sustained pressure on objectives, controlling multiple lanes simultaneously, or adapting to the dynamic changes brought by levolution events. A potential limitation is that having two LMGs might reduce overall mobility, making rapid repositioning more challenging without careful planning.
Tactical Usage Tips
Effectively utilizing M240L weapon combinations requires strategic weapon switching and an understanding of engagement distances. When engaging enemies at long range, initiate with the M240L to lay down suppressive fire, forcing enemies into cover or slowing their advance. As the engagement distance closes or if an enemy pushes into a tighter space, quickly switch to your paired weapon—the L85A3 for mid-range precision, the SGX for aggressive close-quarters clearing, or the DRS-IAR for continued adaptable fire. Maximizing synergy involves using the M240L to create adaptive sightlines through destruction, then exploiting those openings with the more agile secondary weapon. For instance, use the M240L to suppress a doorway, then switch to the SGX to clear the room. During levolution events, anticipate new traversal lanes and adjust your weapon choice accordingly. The M240L can hold newly exposed long sightlines, while the secondary weapon handles emerging close-quarters threats. Always consider squad synergy; use the M240L's suppression to cover teammates' advances or revives, and be ready to switch to your agile secondary for immediate threats.
Conclusion
Mastering the M240L in Battlefield 6 Big Maps hinges on strategic weapon pairings. The L85A3 offers versatile mid-range precision, complementing the M240L's suppression for dynamic combat. The SGX provides crucial close-quarters dominance, making it ideal for aggressive plays and clearing interiors. The DRS-IAR extends sustained fire support, ensuring continuous pressure across varied distances and enhancing squad synergy. Each pairing caters to distinct playstyles: the L85A3 for balanced aggression, the SGX for close-range specialists, and the DRS-IAR for heavy support roles. Understanding these combinations is vital for adapting to destruction, levolution, and evolving sightlines. Players are encouraged to experiment with these suggested pairings, finding the optimal loadout that maximizes their M240L effectiveness and contributes to team success on the ever-changing battlefields.