Key Takeaways
- M4A1: Complements L85A3's mid-range focus with high close-range damage. Ideal for aggressive pushes and clearing newly formed sightlines after destruction.
- SGX: Provides superior close-quarters combat capability, offsetting the L85A3's slower handling. Excels in urban environments and objective clearing.
- M87A1: Delivers devastating close-range stopping power, making it effective for defending objectives or clearing tight spaces. Perfect for countering flankers in levolution-altered areas.
The L85A3 maintains a strong presence in the Battlefield 6 meta, valued for its consistent mid-to-long range performance. However, its effectiveness on Big Maps is significantly amplified by strategic weapon pairing. Understanding how to complement the L85A3's strengths and mitigate its weaknesses through a secondary weapon is crucial for achieving squad synergy and adapting to dynamic combat. This article explores optimal weapon combinations, offering detailed insights into loadouts and tactical applications. Readers will discover how to leverage these pairings to dominate diverse combat scenarios, from engaging at extended ranges to clearing tight interiors, ensuring readiness for destruction and levolution events that redefine the battlefield. Mastering these combinations provides a distinct strategic advantage, transforming individual prowess into team-wide success.
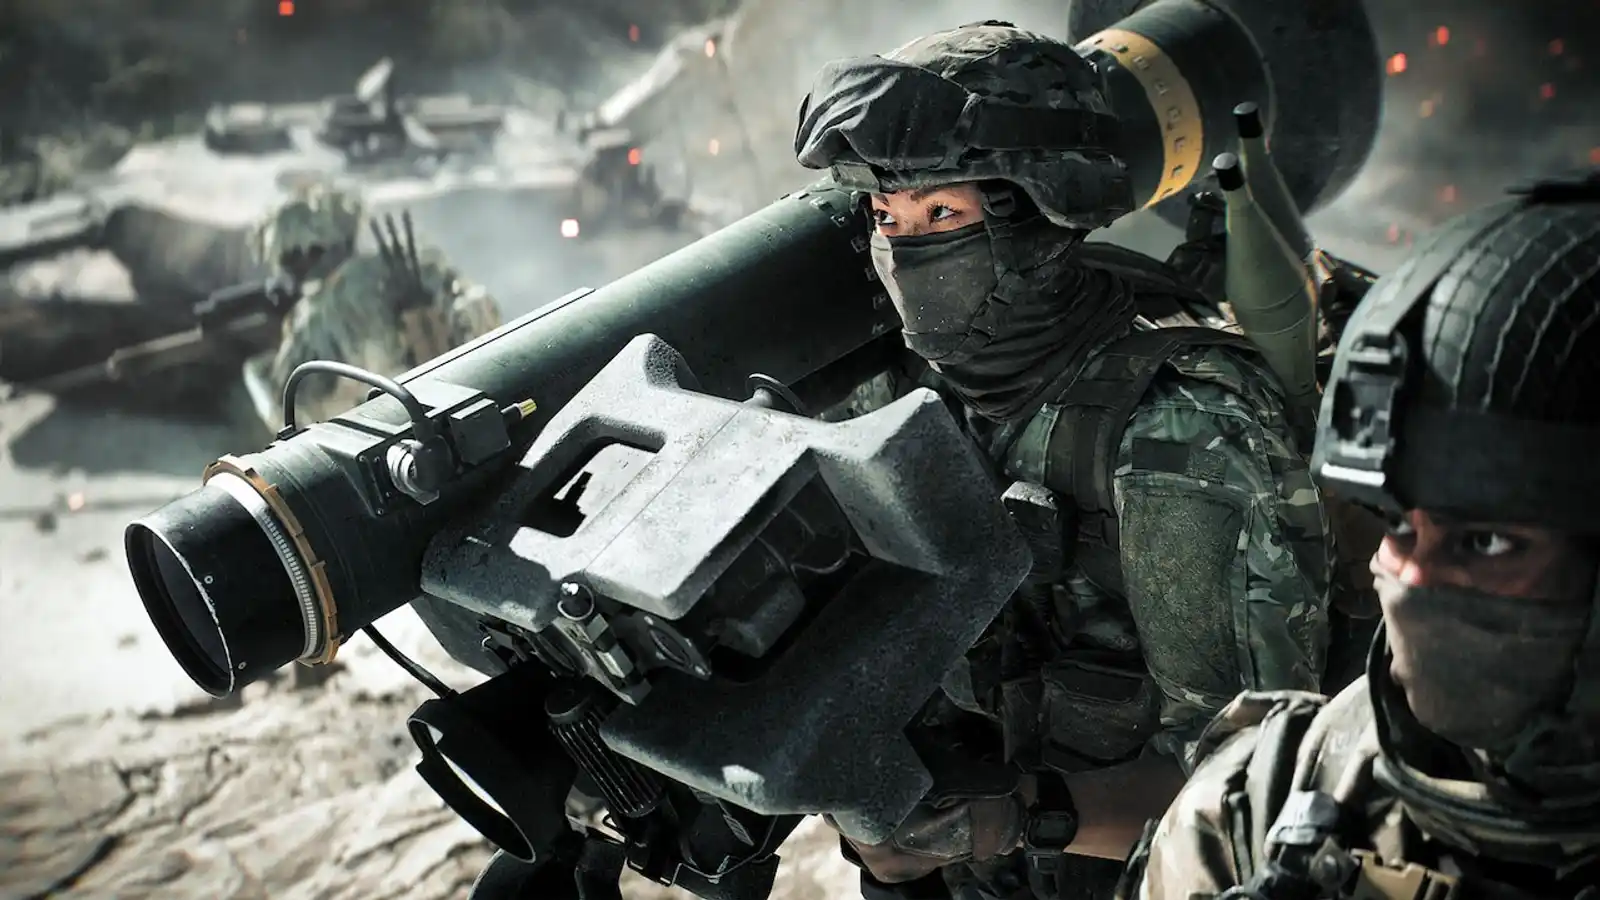
Overview of the L85A3
The L85A3, an assault rifle, is a reliable choice in Battlefield 6, particularly suited for mid to long-range engagements due to its steady rate of fire and manageable recoil. Its consistent damage output and bullet velocity make it effective for holding lane control and applying suppression on Big Maps. However, the L85A3's primary limitation lies in its slower handling characteristics compared to dedicated close-quarters weapons, which can hinder reactive engagements in tight spaces or during rapid repositioning. While it excels in static or predictable engagements, the dynamic nature of Battlefield 6, with its destruction and levolution events, often necessitates adaptability. Specific weapon pairings can significantly enhance the L85A3's overall performance by covering its close-range vulnerabilities, improving mobility for adaptive sightline adjustments, and ensuring players remain effective across all engagement distances, thereby contributing more consistently to squad synergy.
Best Guns to use with the L85A3
The following weapon recommendations were carefully selected to enhance the L85A3's battlefield versatility. Each pairing weapon addresses specific limitations of the L85A3, such as close-quarters combat effectiveness or rapid target acquisition, while simultaneously amplifying its strengths in mid-range engagements. These combinations ensure players are equipped for the diverse combat scenarios presented by Battlefield 6 Big Maps, including adapting to destruction and levolution.
#1 M4A1
The M4A1, an assault rifle with a high cyclic rate, complements the L85A3 by providing superior close-to-medium range lethality, offsetting the L85A3's more deliberate handling. While the L85A3 excels at sustained fire and precision at range, the M4A1 offers a faster time-to-kill in closer engagements, crucial for clearing objectives or pushing through areas affected by destruction. The synergy between these two weapons allows for seamless transitions across different engagement distances. When a sightline is destroyed, revealing new close-quarters threats, switching to the M4A1 provides an immediate advantage.
Tactical advantages include maintaining offensive pressure during levolution events that condense combat areas. The L85A3 can suppress enemies at a distance, while a squad member utilizing the M4A1 can capitalize on the suppressed targets by pushing into newly exposed positions. This pairing enhances squad synergy, as one player can cover long angles while the other secures immediate threats.
Recommended M4A1 loadout: Short Barrel, High Capacity Magazine, Laser Sight, and a Reflex Optic. This prioritizes close-quarters performance and quick target acquisition.
Recommended L85A3 loadout: Long Barrel, Vertical Grip, High Power Optic (e.g., ACOG), and a Suppressor for stealthy mid-range engagements.
This pairing excels in urban environments with mixed engagement distances, or during objective assaults where both long-range suppression and close-quarters clearing are required. Its limitation is that both weapons are assault rifles, meaning a player might lack extreme close-range burst or dedicated long-range precision beyond the L85A3's optimal. Recoil management on the M4A1 is also key to extending its effective range.
#2 SGX
The SGX, a modern 9.19mm PDW, is an SMG specifically designed for close-range engagements. It dramatically complements the L85A3 by providing exceptional mobility and a high rate of fire for close-quarters combat, an area where the L85A3's mid-to-long range focus can be a disadvantage. The SGX's superior sprint-to-fire and ADS times make it ideal for reactive gunfights, especially when navigating tight interiors or flanking maneuvers on Big Maps.
This pairing creates significant synergy by allowing players to effectively engage at all distances. The L85A3 handles open areas and long sightlines, while the SGX dominates in buildings, trenches, or areas transformed by destruction. For instance, after a building collapses, creating new close-quarters choke points, quickly switching to the SGX ensures immediate lethality. This adaptability is vital for maintaining squad synergy, as players can confidently push into dangerous areas, knowing they have the right tool for any immediate threat. Levolution events that alter map layouts often create unexpected close-range encounters, where the SGX shines.
Recommended SGX loadout: Shortest Barrel, Laser Sight, Extended Magazine, and a lightweight stock for maximum mobility and hip-fire accuracy.
Recommended L85A3 loadout: Heavy Barrel, Bipod (for stability in long engagements), ACOG Optic, and a High-Capacity Magazine.
This pairing excels in scenarios requiring rapid transitions between open and confined spaces, such as capturing objectives with multi-story buildings or navigating complex terrain. A potential limitation is the SGX's limited effective range, meaning players must be disciplined in weapon switching and positioning to avoid being caught in open areas with the SMG.
#3 M87A1
The M87A1, a reliable pump-action shotgun, offers devastating close-range stopping power, providing an immediate and powerful counter to the L85A3's primary weakness in very tight quarters. Chambered with 3" shells, its improved stopping power ensures quick eliminations, which is critical when defending objectives or clearing rooms. This pairing allows the L85A3 to maintain its role as a mid-to-long range assault rifle while the M87A1 serves as an unparalleled solution for any close-range threat.
The synergy is particularly effective in environments with significant destruction or during levolution events that funnel players into confined spaces. When a wall is destroyed, exposing an enemy at close range, the M87A1 delivers instant lethality. This combination enhances squad synergy by enabling a player to hold a versatile position, covering both distant threats with the L85A3 and immediate breaches with the M87A1. It creates a robust defense against aggressive pushes or unexpected flankers.
Recommended M87A1 loadout: Short Barrel, Laser Sight, and extended tube for maximum close-range damage and capacity.
Recommended L85A3 loadout: Mid-Range Optic (e.g., Holographic), Vertical Grip, and a Muzzle Brake to enhance mid-range accuracy and control.
This pairing excels in objective defense, clearing congested areas, or ambushing enemies in highly destructible environments. It is also strong for reactive play when enemies push through chokepoints. The primary limitation is the M87A1's extremely limited effective range and slow rate of fire, demanding precise aim and careful positioning. Players must commit to close-quarters engagements when switching to the shotgun.
Tactical Usage Tips
Effectively using L85A3 weapon combinations hinges on intelligent weapon switching. For mid to long-range engagements, the L85A3 is the primary choice, allowing players to maintain suppression and accurate fire. When transitioning into close-quarters, such as entering a building, clearing a destructible wall, or reacting to a sudden push, immediately switch to the paired secondary weapon. This ensures optimal time-to-kill for the specific engagement distance. For instance, with the M4A1, leverage its higher fire rate for aggressive pushes into newly exposed areas after destruction. The SGX demands a more mobile, aggressive playstyle in tight spaces, utilizing its superior sprint-to-fire time. The M87A1 requires precise aiming in close quarters for one-shot eliminations. Maximizing synergy involves understanding each weapon's optimal range and transitioning proactively. Anticipate changes in engagement distance due to levolution events or enemy movements. Communicate with your squad to cover each other's weaknesses, ensuring that while one player engages at range with the L85A3, another is ready to clear close threats, enhancing overall squad synergy and adaptive sightline control.
Conclusion
Strategic weapon pairing with the L85A3 is essential for success on Battlefield 6 Big Maps. The M4A1 offers a versatile close-to-medium range complement, ideal for aggressive pushes and adapting to destruction. The SGX excels in tight interiors, providing superior close-quarters lethality and mobility for dynamic combat. For unparalleled stopping power in extreme close-range encounters, the M87A1 shotgun is the definitive choice, especially effective in defending objectives or countering flankers in levolution-altered environments. Each pairing suits different playstyles: the M4A1 for balanced aggression, the SGX for agile objective play, and the M87A1 for defensive or reactive close-quarters specialists. Mastering these combinations is vital for individual performance and enhancing squad synergy. Experiment with these suggested pairings to discover which best amplifies your combat effectiveness and allows you to adapt to the ever-changing battlefield.