Key Takeaways
- M4A1 offers balanced medium-range firepower, complementing the DRS-IAR's sustained long-range suppression and providing agility for adaptive repositioning in varied combat scenarios.
- SGX provides superior close-quarters combat capability and mobility, effectively covering the DRS-IAR's limitations in tight spaces and during rapid objective pushes or navigating destruction.
- M87A1 delivers devastating stopping power at extreme close ranges, making it optimal for clearing buildings or defending objectives where the DRS-IAR's slower handling would be a disadvantage.
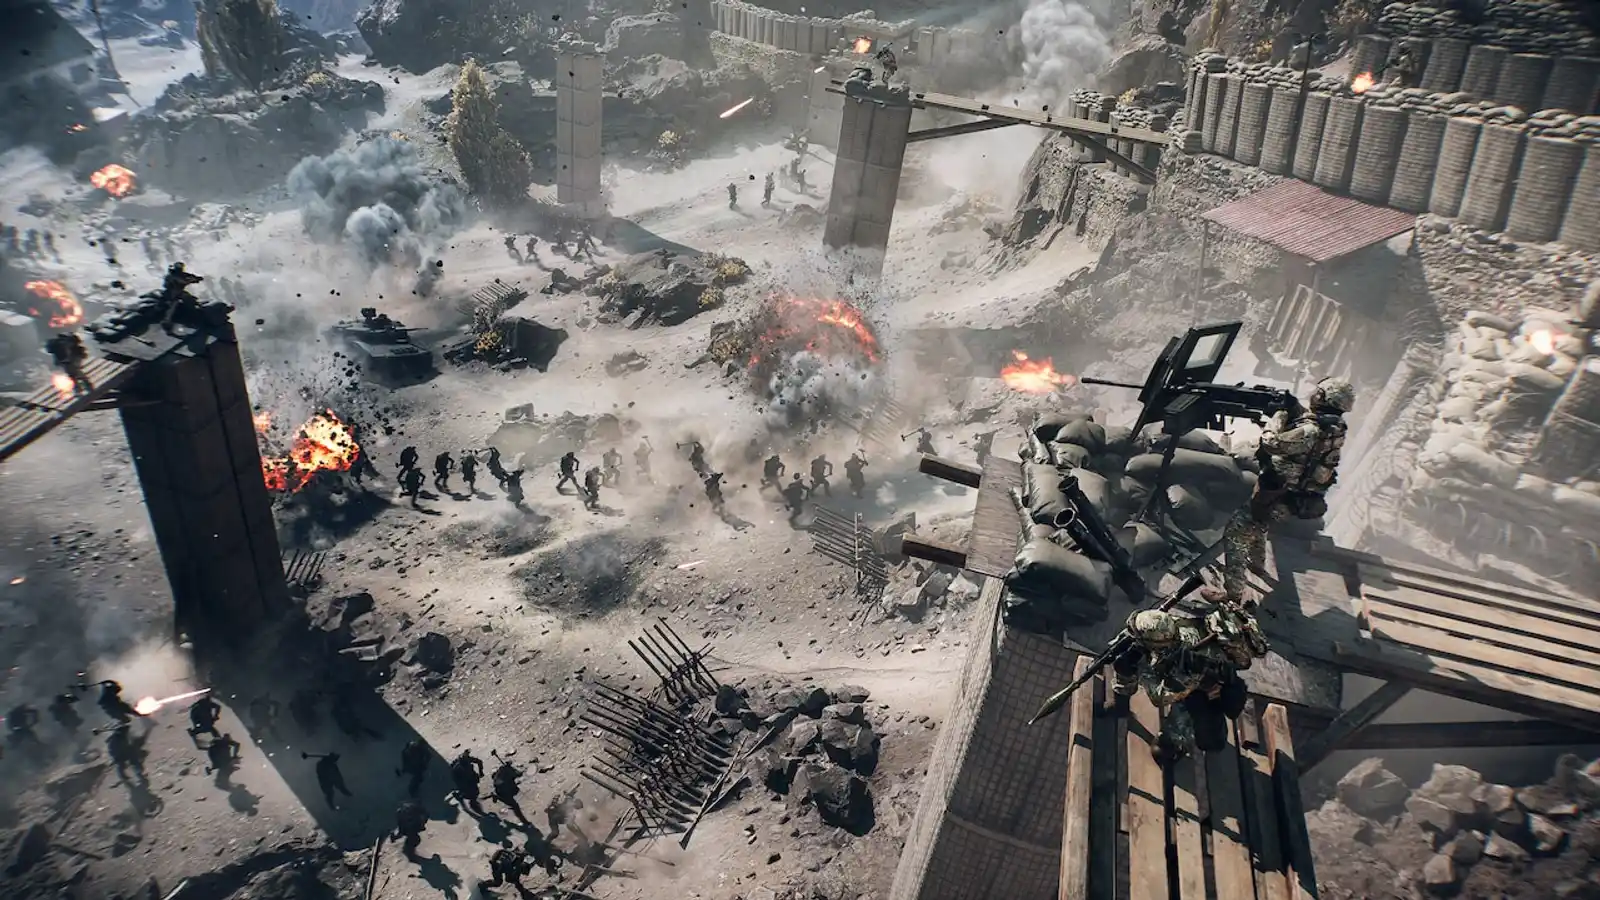
In Battlefield 6 Big Maps, the DRS-IAR stands as a versatile Light Support Weapon (LSW) that can adapt to various engagements depending on its attachments. Its unique position, blurring the lines between an LMG and a service rifle, makes proper weapon pairing not just beneficial but crucial for maximizing its potential across the game's expansive environments.
The dynamic nature of Big Maps, with their mixed distance bands and evolving destruction, demands a strategic approach to loadouts. This article will guide players through optimal weapon combinations for the DRS-IAR, offering detailed insights into how specific secondary weapons can enhance its strengths and mitigate its weaknesses. Readers will learn to leverage strategic advantages, ensuring they are prepared for any combat scenario, from long-range suppression to unexpected close-quarters skirmishes, ultimately leading to more effective gameplay and squad synergy.
Overview of the DRS-IAR
The DRS-IAR functions as a reliable Light Support Weapon in Battlefield 6 Big Maps, offering a blend of LMG characteristics with the adaptability of a service rifle. Its performance is defined by sustained fire capability, a large magazine capacity, and effective damage output at medium to long ranges, making it suitable for lane control and suppressing enemy positions.
The weapon's versatility allows it to be configured for various roles through the Gunsmith system, from a dedicated long-range support tool to a more aggressive, albeit heavier, assault rifle substitute. However, the DRS-IAR's primary weaknesses include its slower mobility, longer aim-down-sight time, and slower reload speed, which can be detrimental in rapid close-quarters engagements or when needing to quickly reposition. Strategic weapon pairings are essential to cover these limitations, allowing players to maintain effectiveness across the diverse engagement distances present in Big Maps and adapt to dynamic battlefield changes like destruction and levolution events.
Best Guns to use with the DRS-IAR
The following weapon recommendations have been carefully selected to complement the DRS-IAR's inherent strengths while directly addressing its limitations. Each pairing offers distinct tactical advantages, ensuring players are equipped for the varied combat scenarios presented by Battlefield 6 Big Maps. These combinations aim to enhance overall combat effectiveness, improve adaptability, and promote stronger squad synergy.
#1 M4A1
The M4A1, an assault rifle with a high cyclic rate, serves as an excellent complement to the DRS-IAR, particularly in Battlefield 6 Big Maps where engagements frequently shift between medium and long distances. While the DRS-IAR excels in sustained fire and suppression at range, its slower handling can be a disadvantage when needing to quickly engage closer threats or reposition. The M4A1 fills this gap by offering superior mobility and a faster aim-down-sight time, allowing for rapid target acquisition and more agile movement through destructible environments.
This pairing creates a versatile loadout: the DRS-IAR can be used to hold long sightlines, provide suppressive fire, and control lanes, while the M4A1 is ideal for aggressive pushes, clearing newly formed adaptive sightlines, or engaging enemies who breach established defensive positions. For the DRS-IAR, a recommended loadout includes a long-range optic, a heavy barrel for increased bullet velocity, and a bipod for enhanced stability during sustained fire. The M4A1 should be equipped with a red dot sight for quick target acquisition, a compensator to manage its recoil, and an extended magazine to sustain engagements.
This combination excels in scenarios involving objective pushes across varied terrain, where players might need to quickly transition from long-range suppression to medium-range assaults. Its limitation lies in the M4A1's requirement for competent recoil management, especially when extending its effective range.
#2 SGX
The SGX, a modern 9.19mm PDW, is a formidable SMG designed for close-range engagements, making it an ideal pairing for the DRS-IAR in Battlefield 6 Big Maps. The DRS-IAR, despite its versatility, struggles with mobility and quick target acquisition in tight, confined spaces. The SGX directly addresses these weaknesses by providing exceptional close-quarters lethality, high mobility, and a rapid sprint-to-fire time.
This synergy allows players to dominate close-range skirmishes, clear buildings, and navigate through areas impacted by destruction or levolution events with confidence. The DRS-IAR can maintain its role in providing suppressive fire and controlling longer sightlines, while the SGX becomes the primary tool for breaching, flanking, and securing objectives that require rapid, close-range combat. A recommended loadout for the DRS-IAR would focus on long-range performance, featuring a high-magnification optic, a heavy barrel, and a bipod. For the SGX, attachments that enhance close-range effectiveness are crucial, such as a laser sight for improved hip-fire accuracy, an extended magazine for sustained close-quarters combat, and a short barrel to maximize mobility and aim-down-sight speed.
This pairing excels in urban combat zones, clearing chokepoints, or reacting to sudden enemy pushes in close proximity. The primary limitation of the SGX is its significantly reduced effectiveness at longer ranges, necessitating a reliance on the DRS-IAR for distant threats.
#3 M87A1
The M87A1, a reliable pump-action shotgun, offers unparalleled stopping power at extreme close ranges, creating a potent pairing with the DRS-IAR in Battlefield 6 Big Maps. While the DRS-IAR excels in sustained fire and area denial at medium to long distances, its slower handling and rate of fire can leave players vulnerable to immediate, close-range threats. The M87A1 provides an instant solution for these situations, capable of quickly eliminating enemies in very tight spaces.
This combination allows for a clear division of roles: the DRS-IAR secures open sightlines and provides suppressive fire, while the M87A1 acts as a devastating last-resort or primary weapon for clearing highly contested, confined areas. This is particularly effective in environments prone to destruction, where new close-quarters paths can emerge, or during levolution events that drastically alter engagement distances. For the DRS-IAR, a loadout prioritizing long-range accuracy and stability, such as a high-power optic, a heavy barrel, and a bipod, is recommended. The M87A1 should be equipped to maximize its close-range lethality, including a choke for a tighter pellet spread and a laser sight for improved hip-fire accuracy in frantic close-quarters battles.
This pairing shines in objective defense, clearing heavily fortified buildings, or ambushing enemies in narrow corridors. The significant limitation of the M87A1 is its extremely limited effective range, making precise weapon switching crucial for success.
Tactical Usage Tips
Effectively utilizing DRS-IAR weapon combinations on Battlefield 6 Big Maps requires strategic weapon switching and an understanding of each weapon's optimal range. For engagements at medium to long distances, the DRS-IAR should be your primary tool, providing sustained suppressive fire and controlling lanes. When enemies close the distance or you need to push into tight spaces, quickly switch to your secondary weapon.
For instance, if suppressing a lane with the DRS-IAR and an enemy flanks into a building, rapidly switch to the SGX or M87A1 to clear the interior. This fluid transition maximizes your lethality across varied combat scenarios. To enhance synergy, use the DRS-IAR's suppression capabilities to pin down enemies, creating opportunities for your squad or for you to advance with your more mobile secondary. Conversely, use your secondary weapon to clear a path through destructed cover, then establish a new firing line with the DRS-IAR.
Always consider adaptive sightlines: as destruction occurs or levolution events change the map, be prepared to adjust your weapon choice to the new engagement distances. Coordinating with your squad, where one player provides sustained fire with the DRS-IAR while another pushes with a close-range secondary, significantly amplifies effectiveness.
Conclusion
Mastering the DRS-IAR in Battlefield 6 Big Maps hinges on strategic weapon pairing. The M4A1 offers a balanced approach, providing agility for medium-range engagements while complementing the DRS-IAR's long-range suppression. For aggressive close-quarters combat, the SGX is unmatched, covering the DRS-IAR's limitations in tight spaces. The M87A1 delivers devastating stopping power for objective defense and clearing confined areas.
Choosing the right pairing depends on your playstyle: M4A1 for versatile, adaptive players; SGX for aggressive, objective-focused players; and M87A1 for those prioritizing close-range security. Strategic weapon combinations are vital for adapting to Big Maps' dynamic environments, including destruction and levolution. Experiment with these suggested pairings to discover which best suits your tactical approach and enhances your squad synergy, ultimately leading to greater success on the battlefield.